What's on this page
- What “mirrorless camera for beginners” actually means
- Mirrorless vs DSLR: why start here
- Sensor size: the first real decision
- Micro Four Thirds for beginners: the pocketable system
- APS-C: the beginner sweet spot
- Full frame: when it is (and is not) worth it as a first camera
- Kit lens vs body only for your first purchase
- Autofocus and subject detection: what actually helps beginners
- Megapixels: how many you actually need
- In-body stabilization: worth paying for?
- Battery life and the spare-battery habit
- Size and weight: the camera you actually carry
- Handling and grip: holding it in a shop before you buy
- Video features beginners actually use
- The screen and viewfinder: what to check
- Manual mode: how soon a beginner needs it
- Budget split: body, lens, and the extras that get skipped
- New versus used: the beginner value play
- Brand and lens ecosystem: the real lock-in
- Common first-camera mistakes
- The worked example: three beginners, three cameras
- Your first 90 days with a new mirrorless camera
- The bottom line
Short answer: Buy an APS-C mirrorless body from a system with a healthy lens lineup, paired with its kit zoom or one affordable fast prime, and split the budget roughly 45 percent body, 40 percent lens, 15 percent extras. Choose Micro Four Thirds instead if a genuinely pocketable kit matters more to you than anything else, and skip full frame until you know your own priorities.
Buying a mirrorless camera for beginners should be the easy part of getting into photography, and instead it is where most people freeze: dozens of bodies, three sensor sizes, kit lens or body only, new or used, and a spec sheet that buries the handful of decisions that actually matter under a hundred that do not. The good news is that the real decision tree is short. Sensor size, lens, and budget split settle almost every case, and everything else on the spec sheet is a rounding error for a first year of shooting.
This field note walks that short decision tree in the order it actually matters: why mirrorless over a DSLR for a first camera, which sensor size fits your carry habits and your budget, kit lens versus body only, and the features worth paying for versus the ones marketing wants you to chase. It builds on our field note on mirrorless versus DSLR, which handles the body-type question in full, and our first-camera budget field note, which handles where your money should go once the camera is chosen. Price your own kit in the upgrade budget planner as you read.
Key takeaways
- For a beginner starting fresh, mirrorless is the easier system to learn on: the electronic finder previews the exposure and the autofocus finds faces and eyes automatically.
- APS-C is the strongest all-around beginner sensor size; Micro Four Thirds wins if a genuinely pocketable kit is your top priority; full frame is rarely worth it as a first camera.
- Buy the kit lens with your first body almost every time. It is usually cheaper as a bundle and its zoom range covers more of early photography than a single prime does.
- Split the budget roughly 45 percent body, 40 percent lens, 15 percent extras, since the lens and a spare battery matter more to your results than a fancier body.
- Autofocus and a healthy lens lineup matter far more than megapixels, buffer depth, or weather sealing for a first year of shooting.
What “mirrorless camera for beginners” actually means
The phrase gets used loosely, so it is worth pinning down before anything else. A mirrorless camera for beginners is not a stripped-down or lesser device; it is simply the entry tier of the same mirrorless technology that professionals use, built around a smaller sensor or a slower autofocus chip to hit a lower price, not around missing features that matter to a first year of learning. The core mechanism, an electronic finder that previews the shot and autofocus that can find a subject automatically, is present at every price tier, which is exactly why mirrorless has become the default recommendation for anyone starting fresh.
What actually separates a beginner-tier body from a professional one is mostly things a beginner does not yet need: faster continuous shooting for sports, more rugged weather sealing, dual card slots, and a body built to survive years of daily professional abuse. None of that improves a beginner’s photographs in the first year, which is why the smarter beginner purchase spends less on the body and more on the lens and the learning. Keep that framing in mind through the rest of this field note, because every recommendation below follows from it.
Mirrorless vs DSLR: why start here
If you are choosing your very first interchangeable-lens camera with no existing lenses to protect, start the whole search by ruling out the DSLR path, and our full mirrorless-versus-DSLR comparison makes the complete case. The short version: a mirrorless camera’s electronic finder shows you the actual exposure before you shoot, which shortens the learning curve dramatically, and its autofocus can find and track a face or an eye across the frame, which removes the single hardest technical skill from your early photographs. Every camera maker is also putting new lenses almost exclusively on mirrorless mounts now, so buying in means buying into the system that keeps growing.
The one case where a DSLR still wins a beginner’s first purchase is a genuinely inherited kit: someone hands you a working DSLR body and a lens or two for free, or a family member’s old glass sits unused in a closet. Free glass beats an empty mount every time, and a used DSLR system remains a perfectly capable way to learn exposure, composition, and light. But if you are starting from zero dollars of existing gear, mirrorless is the shorter, easier road in, and the rest of this field note assumes that starting point.
Sensor size: the first real decision
Once mirrorless is the chosen body type, the next fork is sensor size, and this is the decision that shapes body size, lens size, price, and low-light ability all at once. Three sizes dominate the beginner-friendly market: Micro Four Thirds, the smallest of the three; APS-C, the common middle ground; and full frame, the largest and most expensive. A bigger sensor gathers more light per pixel, which generally means better low-light image quality and an easier time blurring a background, but it also means a bigger, heavier, pricier body and, more importantly, bigger and pricier lenses, since the lens has to cover more sensor area.
The mistake beginners make most often is picking the biggest sensor they can afford on the body and then discovering the lenses for it cost more than the camera did. Size the sensor to your actual budget for the whole kit, body and lens together, not to the body alone, because the lens is the part of the system you live with the longest and the part that decides most of your image quality. The three sections below take each size in turn.
Micro Four Thirds for beginners: the pocketable system
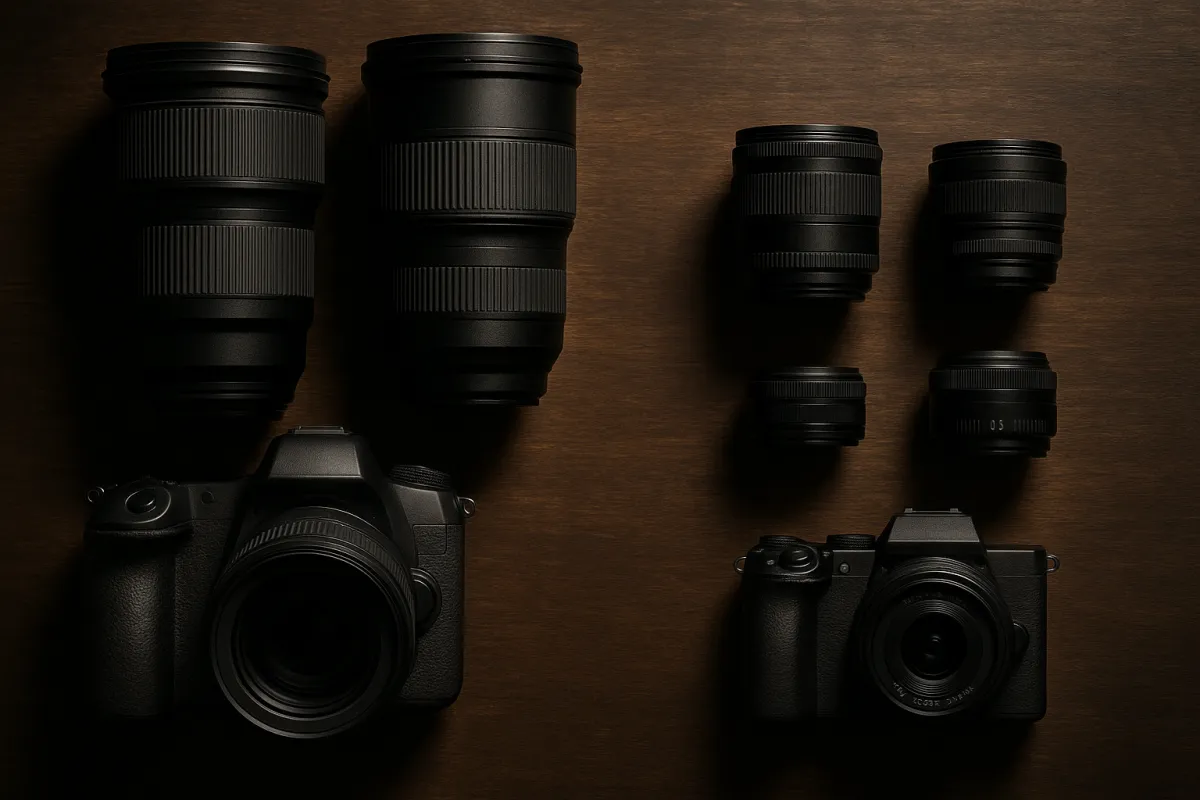
Micro Four Thirds is the smallest of the three common sensor sizes, and our dedicated field note on the format covers the sensor math in full. For a beginner, the practical takeaway is simple: because the sensor is smaller, the whole system, body and lenses both, can be built noticeably smaller and lighter than APS-C or full frame equivalents, which makes it the strongest choice for anyone whose top priority is a camera that is actually small enough to carry every single day rather than one that looks impressive on a shelf.
The trade is a real one. At the same aperture, a Micro Four Thirds sensor gathers less light than a larger sensor, so low-light images show more noise and backgrounds blur a little less easily, and telephoto reach on paper needs a small correction to compare fairly with larger formats. For a beginner who mostly shoots in good light, daytime travel, street, family life outdoors, that trade barely registers, and the size and weight savings are the thing you actually feel every time you pick the camera up. If your camera bag is the thing standing between you and taking more photographs, Micro Four Thirds deserves serious consideration.
APS-C: the beginner sweet spot
APS-C sits in the middle, and it is the sensor size most often recommended as a beginner default for good reason: it gathers meaningfully more light than Micro Four Thirds, which shows up as cleaner low-light shots and slightly easier background blur, while its bodies and lenses stay noticeably smaller and cheaper than full frame equivalents. Nearly every major camera maker builds a deep APS-C mirrorless lineup aimed squarely at exactly this buyer, so the lens selection at this size tends to be the widest and most affordable of the three, which matters enormously once you start adding a second or third lens.
The honest case for APS-C as the default beginner pick is that it makes the fewest compromises for the price. It is not the smallest system, and it is not the highest image quality ceiling, but it clears the bar for both comfortably while keeping the whole kit, body plus a lens or two, inside a budget a beginner can actually justify. If nothing about your priorities points strongly toward pocketability or toward professional-grade low-light performance, APS-C is the size that will serve you longest without regret.
Full frame: when it is (and is not) worth it as a first camera
Full frame is the largest common sensor size, and our field note on full frame versus crop sensor walks the complete tradeoff. For a beginner specifically, the honest advice is to skip it on the first purchase in the overwhelming majority of cases. Full-frame bodies cost more than APS-C equivalents, and full-frame lenses cost meaningfully more still, so the same dollar buys a smaller, slower lens on full frame than it buys on APS-C, which is the opposite of what a beginner on a budget wants.
The image-quality gap that full frame offers over a good APS-C body is real, better low-light noise performance and easier background blur, but it is not the gap that decides whether a beginner’s photographs improve. Composition, light, and timing decide that, and none of them require a bigger sensor to practice. The sensible sequence is APS-C or Micro Four Thirds first, a year or more of shooting to learn what you actually love and where you feel limited, and then a full-frame upgrade if a specific limitation, usually low light or shallow depth of field for a particular genre, justifies the jump. Buying full frame on day one usually means an underpowered lens on an overpowered body, which serves nobody.
Kit lens vs body only for your first purchase
Once the sensor size is picked, the next choice is whether to buy the body with its kit zoom lens or body only, and our field note on kit lens versus prime lens goes deep on this exact fork. For a true first mirrorless camera, buy the kit lens almost every time. It is usually priced as a bundle discount rather than as a full separate lens purchase, so body-plus-kit-lens typically costs less than buying the body alone and adding any other lens afterward, and its zoom range covers portraits, groups, travel, and everyday scenes while you are still discovering what you like to shoot.
Body-only makes the most sense for a second body joining a system where you already own lenses, or for a buyer who has done enough research to know precisely which prime lens they want on day one, which describes very few true beginners. Let the kit lens teach you your favorite focal length over its first few months of use, then use that real evidence, not a forum recommendation, to pick your second lens. Our prime versus zoom field note covers that second-lens decision once you reach it.
Autofocus and subject detection: what actually helps beginners
If one spec deserves real weight in a beginner purchase, it is autofocus, specifically subject detection that finds and tracks a face, an eye, or a moving subject across the frame. This single feature does more to make a beginner’s photographs look intentional than any other spec on the sheet, because focus is the technical skill that takes longest to learn by hand and the one that a missed shot is hardest to forgive. A camera that reliably keeps a child’s eyes sharp while they run around a yard removes an entire category of frustration from the first months of ownership.
Nearly every current mirrorless body, even at the entry tier, includes some form of subject detection now, which is part of why mirrorless overtook DSLRs for beginners in the first place. The gap between entry and flagship autofocus mostly shows up in trickier situations, low light, fast unpredictable sports, small or partially obscured subjects, that most beginners are not yet shooting anyway. Confirm the body you are considering has face or eye detection in its stills mode before you look at almost any other spec, because it will matter to your keeper rate more than resolution, burst speed, or body material combined.
What actually matters when picking a first mirrorless camera
Illustrative importance for a beginner's first year of shooting, scored out of ten. A longer bar means it changes more of your early photographs.
Autofocus and the lens lineup behind the mount do the most work for a first year of photographs. Megapixels and burst speed sit near the bottom because most beginners never hit the limits they solve.
Megapixels: how many you actually need
Megapixel count is the single most oversold spec on any camera box, and our dedicated field note on how many megapixels you need walks the full reasoning. For a beginner, the short version is that any current mirrorless camera, even the most affordable one at any sensor size, carries enough resolution for prints, screens, and social sharing far beyond what a first-year photographer will output. Chasing a higher megapixel count than a rival body usually just means paying more for larger file sizes and slower transfers, without a visible difference in the finished photograph at normal viewing sizes.
Ignore the megapixel number entirely until autofocus, lens lineup, and handling have already picked your short list, then use it only as a tiebreaker between two bodies that are otherwise equal, not as a headline reason to choose one system over another. The spec sheet wants megapixels to feel like the decision; for a beginner’s actual photographs, it almost never is.
In-body stabilization: worth paying for?
In-body image stabilization, a mechanism that shifts the sensor to counteract small hand shake, is a genuinely useful feature for a beginner, and our field note on image stabilization explains the mechanism in depth. Its practical benefit is letting you hand-hold a sharp photo at a slower shutter speed than you could manage otherwise, which matters most in dim rooms, at dusk, and for handheld video, all situations a beginner runs into constantly before they own a tripod or understand shutter speed.
It is worth a modest price premium if two similarly priced bodies differ mainly on this feature, but it is not worth stretching your budget out of the lens and into a pricier body to get. A stabilized body with a mediocre lens still produces mediocre photographs; an unstabilized body with a good lens, handled with reasonable shutter-speed discipline as covered in our manual mode field note, still produces good ones. Treat stabilization as a genuine but secondary tiebreaker, not a must-have that justifies cutting the lens budget.
Battery life and the spare-battery habit
Battery life is the one area where mirrorless cameras genuinely trail their DSLR ancestors, because powering an electronic finder and a live sensor the whole time the camera is on draws more energy than a DSLR’s optical finder ever did. For a beginner this shows up as a battery that empties faster over a day of shooting than expected, especially if you spend a lot of time reviewing shots or shooting video. It is a real adjustment, not a myth.
The fix is inexpensive and near-universal: buy one or two spare batteries with the camera rather than after the first time you run out mid-outing. This single fifteen-dollar habit solves the entire problem for the overwhelming majority of beginners, so do not let battery-life comparisons between bodies swing your purchase much; budget for the spare instead. It is exactly the kind of extra our budget split below deliberately protects.
Size and weight: the camera you actually carry
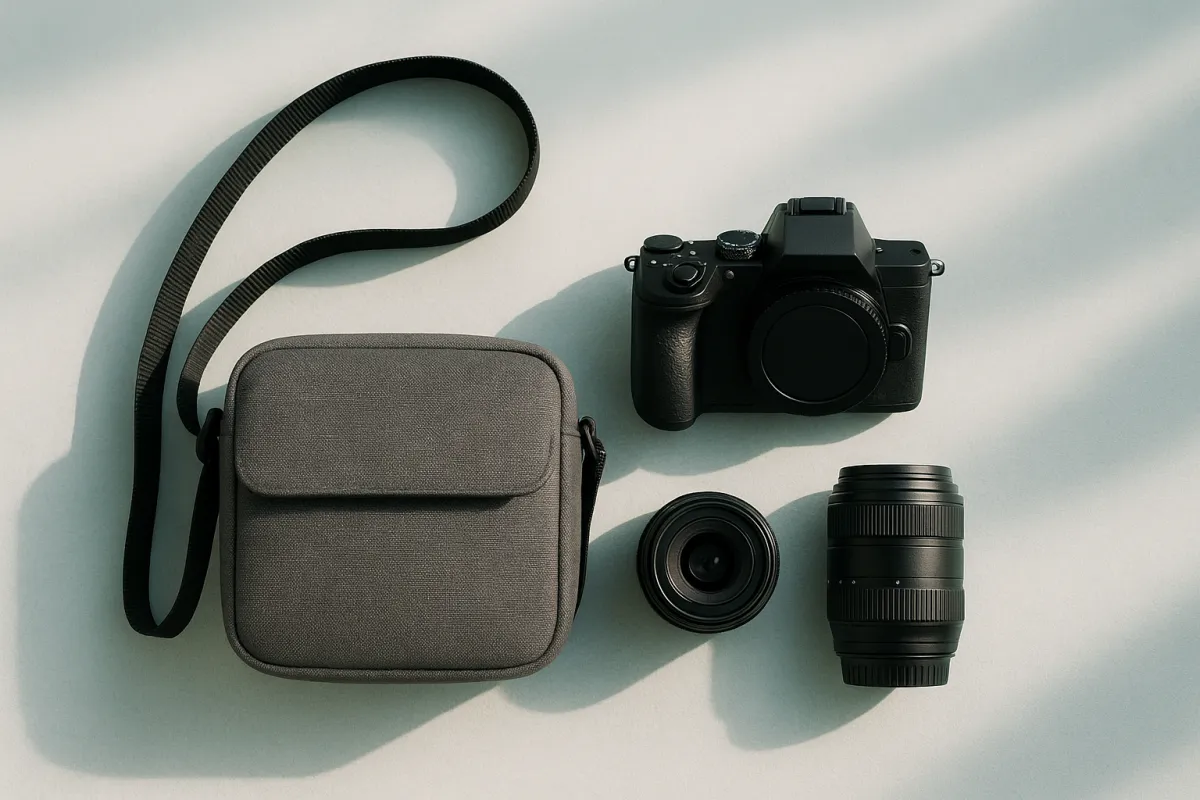
The single best camera for a beginner is the one that comes along, and size is the spec that decides that more reliably than any other. A camera left in a drawer because it felt heavy or bulky takes zero photographs, no matter how capable its sensor is on paper. Before you finalize sensor size or body, be honest about your own carrying habits: do you want a camera that lives in a jacket pocket or a small bag every day, or are you fine with a slightly larger body that mostly comes out for planned shoots?
This is precisely where Micro Four Thirds earns its keep for the right buyer, and where a full-frame body with a fast zoom becomes a genuine liability for the wrong one. Hold candidates in a shop before buying whenever you can, because a spec sheet cannot tell you whether a grip fits your hand or whether a body feels front-heavy with its kit lens attached, and that physical impression predicts how often you will actually use the camera far better than any number does.
Handling and grip: holding it in a shop before you buy
Beyond raw size, handling covers how the controls fall under your fingers, how deep the grip is, and whether the menu makes sense after ten minutes of poking around. These are things a spec sheet cannot convey and a review video can only partially convey, which is why an in-person shop visit, even if you ultimately buy online for a better price, is worth the trip before a first camera purchase. Ask to put the exact lens you plan to buy on the body, not just the display unit’s default lens, since weight and balance change with the glass attached.
Pay attention to whether the most common controls, shutter, main dial, and the button that switches modes, feel natural within a few minutes, because that ease is what keeps a beginner shooting in the modes that teach the most rather than retreating to full auto out of frustration. A body that measures slightly worse on paper but that you enjoy holding will get used more, and use is the only variable that actually improves a beginner’s photography.
Video features beginners actually use
Most current mirrorless cameras, even at entry price points, shoot solid video, and the beginner-relevant video features are simpler than the spec sheet makes them look: continuous autofocus that keeps a moving subject sharp while recording, a flip or tilt screen so you can see yourself or a low or high angle while filming, and a reasonable recording time limit that will not cut off a short clip. Higher-end video specs, like professional codecs, high frame-rate slow motion at full resolution, and advanced color profiles, matter enormously to working video creators and barely at all to a beginner’s first vlogs or family clips.
If video is a real part of your plan rather than an occasional bonus, weight autofocus-during-recording and the flip screen heavily in your shortlist, since both directly determine whether your early footage is usable. If video is a rare extra, do not let a body’s video spec sheet pull you away from the sensor size and lens lineup that will matter to the photography you actually do most.
The screen and viewfinder: what to check
Every current mirrorless body has a rear screen, and most beginner-friendly bodies also include a small electronic viewfinder, a tiny eye-level display that shows the same live preview as the screen. The viewfinder matters more than it sounds like it should, because bright outdoor light can wash out a rear screen to the point of uselessness, and holding the camera to your eye also braces it against your face for a steadier shot than holding it at arm’s length. If you plan to shoot much outdoors, prioritize a body with a viewfinder over one that relies on the screen alone.
Beyond that, check whether the screen tilts or flips, since a screen that only faces straight back makes low or high angle shots and self-recording awkward. None of this needs to be a large factor in your final decision, but it is worth five minutes of hands-on checking before you buy, because it is one more piece of handling that decides whether the camera actually gets used in the situations you shoot in most.
Manual mode: how soon a beginner needs it
A common beginner worry is whether a first mirrorless camera needs to be shot in full manual mode from day one, and the honest answer is no. Every mirrorless body offers auto and semi-automatic modes that handle exposure competently while you learn to see light and composition, and our exposure triangle field note explains the three settings, aperture, shutter speed, and ISO, that manual mode lets you control directly. Shooting in a semi-automatic mode first, letting the camera handle one or two of those three settings while you learn the third, is a perfectly good on-ramp.
What does matter from day one is understanding what those three settings do conceptually, even if the camera is handling most of them for you, because that understanding is what turns “point and hope” into deliberate photographs. Our manual mode field note lays out a practical path to full manual control once you are ready, and there is no rush to get there in the first weeks with a new camera.
Budget split: body, lens, and the extras that get skipped
Pull the sensor, lens, and feature decisions together and the last piece is simply how to divide the money, and this is where beginners most often go wrong by pouring nearly everything into the body. A sturdier plan splits an illustrative total budget roughly 45 percent to the body, 40 percent to the lens, and 15 percent to the extras, a spare battery, a memory card, and a basic bag, because a body without any of those three is not actually a working kit on day one.
A beginner's first mirrorless budget, split three ways
A sensible starting division of a first-kit total across the three buckets. Sums to 100 percent, illustrative.
On a $900 first kit that is about $405 for the body, $360 for the lens, and $135 for the extras. The split moves a little in either direction, but never skip the extras slice entirely.
This split is a starting point rather than a law. A buyer choosing the used-body value play, covered next, can push the body slice down and the lens slice up, since a depreciated body frees real money for glass. Run your own total through the upgrade budget planner to see the three buckets filled with your own numbers.
New versus used: the beginner value play
Buying used is one of the sharpest moves a beginner can make, and it is underused simply because it feels riskier than it actually is when done through a reputable channel. A camera system’s previous-generation bodies typically sell for a real discount once a newer model replaces them, while still carrying autofocus and image quality that comfortably exceeds what a beginner needs for their first year or two. Buying that used body from an established dealer with a return or warranty window captures most of the savings while keeping the risk of the private secondhand market off the table.
The money saved on a used body is best redirected straight into the lens budget, since as this whole field note argues, the lens is what shapes your photographs the most. A beginner who buys a used previous-generation body and a new, better lens will often out-photograph one who bought the newest body and settled for the cheapest lens available, simply because the glass is doing more of the optical work. New still has its place if a full warranty and the latest autofocus genuinely matter to your plans, but for most first purchases, used is the value play worth taking seriously.
Brand and lens ecosystem: the real lock-in
It is tempting to treat the camera body as the purchase and the brand as a footnote, but the honest framing, covered in depth in our mirrorless-versus-DSLR field note, is that you are choosing a lens mount, not a body, and the mount is the multi-year commitment. Bodies get replaced every few years; the lenses you buy for a mount can outlast three or four of them, and switching mounts later means selling glass at a loss and rebuying at retail.
Before you finalize a body, spend a few minutes looking at that system’s lens catalog for your sensor size: is there an affordable fast prime, a general-purpose zoom, and at least one lens for whatever you already suspect you will shoot most, portraits, travel, or wildlife? A body from a system with a thin, aging lens lineup is a worse long-term buy than a slightly less flashy body backed by a mount that keeps growing, even if the second body’s spec sheet reads a little better on release day.
Common first-camera mistakes
The recurring ways a first mirrorless purchase goes wrong, so you can step around them before the money moves.
- Maxing out the body budget and starving the lens. The lens shapes the photograph more than the body; an expensive body with a cheap, slow lens underperforms a modest body with a good one.
- Buying full frame on day one. The lenses cost more too, so the same total budget usually buys a worse kit than APS-C or Micro Four Thirds would.
- Skipping the spare battery and card. A camera without either is not a working kit, and both are inexpensive compared with the frustration of running out mid-outing.
- Choosing a body before checking its lens lineup. The mount is the real commitment; a thin lens catalog limits you for years after the body is old news.
- Ignoring how the camera actually feels in your hand. A camera you do not enjoy holding gets left at home, no matter how it scores on paper.
- Chasing megapixels and burst speed over autofocus. Subject detection changes your keeper rate; extra resolution and extra frames per second mostly do not, for a beginner’s typical subjects.
Every mistake on this list shares a root: treating a spec-sheet number as the decision instead of the lens, the mount, and your own carrying habits. The chart, the split, and the companion above are the antidotes.
The worked example: three beginners, three cameras
Three composite buyers, each with an illustrative $500 to $1,200 to spend, land on three different correct answers. Buyer one is a parent who wants sharp, candid photos of two young kids indoors and at the park, on an $800 budget, with no interest in carrying a large bag. Her case points to a Micro Four Thirds body with its kit lens: subject-detection autofocus keeps moving kids sharp, and the small, light system is the one she will actually bring to the park. Roughly $360 goes to the body, $320 to the lens, and $120 to a spare battery, a card, and a small bag.
Buyer two is a college student building a photography portfolio, with a $1,100 budget and a strong interest in portraits and street work, comfortable carrying a slightly larger kit. His case points to a used previous-generation APS-C body plus a new affordable fast prime rather than the newest body with the kit zoom, since the used-body savings buy him a materially better lens, which matters more to a portfolio than the newest sensor. Buyer three wants one camera for travel video and photos on a $600 budget, prioritizing battery life and a flip screen over ultimate image quality. Her case lands on an APS-C body with the kit lens and two spare batteries built into the budget from day one, since travel days rarely include a wall outlet. Three different buyers, three different correct kits, all from the same short list of questions the companion above walks through on your own numbers.
Your first 90 days with a new mirrorless camera
Buying the camera is the easy half; the next ninety days decide whether it earns its keep. Start by shooting in a semi-automatic mode and deliberately noticing what the camera chose and why, rather than defaulting straight to full auto and never looking at a setting again. Turn on subject-detection autofocus and leave it on for most of your early shooting, since it is the single feature most likely to make your photos look intentional while you are still learning composition and light.
Resist buying a second lens for at least the first month or two. Let the kit lens teach you which focal length you keep reaching for, wide for groups and rooms, longer for portraits and details, and let that real evidence, not a forum recommendation, pick your next purchase, exactly as our kit-lens-versus-prime field note argues. By the end of the first ninety days, most beginners know far more about what they actually want from a second lens than any spec sheet could have told them on day one.
The bottom line
A mirrorless camera for beginners is a shorter decision than the spec sheets make it look. Rule out the DSLR unless you already own its lenses, pick APS-C for the strongest all-around value or Micro Four Thirds if a genuinely pocketable kit is your top priority, skip full frame until a specific limitation earns it, and buy the kit lens with your first body almost every time. Split the budget roughly 45 percent body, 40 percent lens, and 15 percent extras, weight autofocus and the lens lineup far above megapixels and burst speed, and consider a reputable used body to stretch that split further. Price your own kit in the upgrade budget planner, hold a few candidates in a shop if you can, and then stop reading comparisons and start shooting, because the camera that teaches you the most is the one already in your hands.
This field note is written to help a first camera purchase go well, not to sell one: no brand or specific model is named on purpose, and nothing here is sponsored. Every dollar figure and budget split is an illustrative planning aid rather than a quote, since real prices shift with brand, generation, and the used market, and current lens lineups vary by mount, so confirm what actually exists for the system you are considering before any money moves. Hold a camera in your own hands before you decide whenever that is possible, since handling matters more than any paragraph here can convey.
Frequently asked questions
What is the best mirrorless camera for a beginner?
There is no single best model, because the right beginner mirrorless camera depends on sensor size, budget, and what you actually shoot, but the right category is easy to name: an APS-C mirrorless body from a maker with a healthy lens lineup, paired with either its kit zoom or a cheap fast prime. APS-C sits in the sweet spot of price, size, and image quality for someone still learning, while Micro Four Thirds wins if pocketability is your top priority and full frame is usually more camera and more money than a beginner needs on day one. Match the sensor to your budget and your carry habits before you chase a specific badge on the body.
How much should a beginner spend on a mirrorless camera?
A workable first mirrorless kit, body plus one lens, commonly lands in an illustrative few hundred to around a thousand dollars new, with the used and open-box market often cutting that substantially. The more useful number than the total is the split: roughly 45 percent to the body, 40 percent to the lens, and the remaining 15 percent to a spare battery, a card, and a bag, because a body without a spare battery or a memory card is not actually a working kit. Spend less on the body and more on the lens where you can, since the lens shapes the photograph far more than the body does.
Should a beginner buy a mirrorless camera or a DSLR?
For almost every beginner starting fresh, mirrorless is the easier system to learn on, because the electronic finder previews the actual exposure before you press the shutter and the autofocus can find and track a face or an eye automatically. A DSLR still makes sense if you already own a shelf of its lenses or the used market stretches a tight budget further than new mirrorless can, but if you own no glass at all, mirrorless is where the learning curve is shortest and where new lenses keep arriving. Our full comparison lays out every case in more depth if you want the complete picture.
Should a beginner buy a mirrorless camera with a kit lens or body only?
Buy the kit lens almost every time you are choosing your very first mirrorless camera, because the kit zoom is usually cheaper as a bundle than buying the body and any lens separately, and its zoom range covers portraits, groups, and travel while you are still learning what you actually like to shoot. Body-only makes sense mainly for a second body joining a system you already own glass for. Once the kit lens has taught you your favorite focal length, a single affordable prime is usually the smarter next purchase rather than a second zoom.
Is Micro Four Thirds or APS-C better for a beginner?
APS-C is the more common beginner recommendation because it balances image quality, price, and lens selection well, but Micro Four Thirds has a real and specific edge: its smaller sensor allows noticeably smaller bodies and lenses, so a beginner whose top priority is a camera that is actually small enough to carry every day often does better on Micro Four Thirds. The trade is a step down in low-light performance and background blur compared with APS-C at the same aperture. Neither is wrong; the honest split is APS-C for the strongest all-around beginner value and Micro Four Thirds for the beginner who will only carry a genuinely pocketable kit.
Do beginners need a full-frame mirrorless camera?
Almost never as a first camera. Full frame costs more for the body and considerably more for its lenses, and the image-quality gap over a good APS-C body is real but modest for the kind of learning, everyday, and travel photography most beginners do first. The stronger beginner path is an affordable APS-C or Micro Four Thirds body plus a decent lens, learning what subjects and settings you actually love, and then deciding whether full frame's low-light and shallow-depth-of-field advantages are worth its price once you know your own priorities.
What features actually matter on a beginner mirrorless camera?
Weight these in order: autofocus that can find and track a face or an eye, because it removes the hardest technical skill from your early photos; a lens mount with a healthy, growing lineup, because the lens matters more than the body; a body size and grip you actually enjoy holding; and a clear electronic viewfinder or screen that previews your exposure. Megapixel count, buffer depth for sports bursts, and weather sealing matter far less for most beginners than the marketing suggests, and chasing them tends to overspend on specs a first year of shooting will not stress.
Should a beginner buy a new or used mirrorless camera?
Used is often the sharper beginner purchase, because a camera system's older or previous-generation bodies typically sell for a meaningful discount while still offering autofocus and image quality that easily outperforms what a beginner needs. Buying used from a reputable dealer with a return window captures most of that savings with limited risk, and the money saved on the body can move straight to a better lens, which is usually the upgrade that improves your photographs the most. New still makes sense if a warranty and the latest autofocus genuinely matter to how you plan to shoot.