What's on this page
- What the best camera for beginners actually is
- The honest budget question: how much is enough
- Illustrative first-camera budget tiers
- Where the money should actually go
- Why glass deserves the bigger slice
- Used versus new for a first camera
- What a beginner actually needs versus the marketing
- The megapixel myth and other spec traps
- The kit lens reality and your first upgrade
- The hidden costs nobody budgets for
- Crop versus full frame for a first camera
- Phone versus dedicated camera: when to actually buy one
- Matching the budget to your goal
- Cost per shoot: the frame that reframes the price
- Avoiding the gear-acquisition trap
- The resale-value safety net
- A worked beginner budget, fully allocated
- Rent or borrow before your first purchase
- A complete first-kit checklist, nothing forgotten
- The upgrade path your first purchase should protect
- The bottom line
Short answer: An illustrative $500 to $700 entry kit rarely holds a beginner back, and how you split it matters more than the total. A rough starting split is body 35 percent, lens 45 percent, accessories 20 percent, because the lens improves photos more than the body does. Buy used to stretch the budget toward better glass, start on a crop sensor, and budget cards, a spare battery, a bag, and editing from the start.
Ask the internet how much to spend on your first camera and you will get two useless answers shouted at once: the crowd insisting you need to buy the best you can afford so you never outgrow it, and the crowd insisting any camera is fine so just start. The first sells you overkill; the second sells you nothing you can act on. Neither tells you the one thing that actually decides whether your first camera makes you happy, which is not the total you spend but how you split it.
This field note fixes the number for your specific case. It walks the honest budget question (how much is genuinely enough versus how much is marketing), lays out illustrative tiers so you can find your level, and then spends most of its length on the split that matters: less on the body, more on the glass, and never zero on the boring accessories that quietly end shoots. It covers used versus new, the specs that do not matter, the hidden costs, and whether you should buy a dedicated camera at all. It picks up where our field note on upgrade order leaves off, and prices the whole plan against our upgrade budget planner.
Key takeaways
- The total matters less than the split: an illustrative $500 to $700 entry kit rarely holds a beginner back, and how you divide it decides whether you are happy.
- Spend less on the body and more on the lens than instinct wants: a rough starting split is body 35 percent, lens 45 percent, accessories 20 percent.
- Buying used is the smart-money move, stretching the budget toward better glass and softening the resale hit if the hobby does not stick.
- Megapixels, burst rates, and weather sealing solve problems beginners do not have yet; composition, light, and timing are what actually improve photos.
- Budget the hidden costs (cards, a spare battery, a bag, editing) from the start, and start on a crop sensor so the difference becomes glass.
What the best camera for beginners actually is
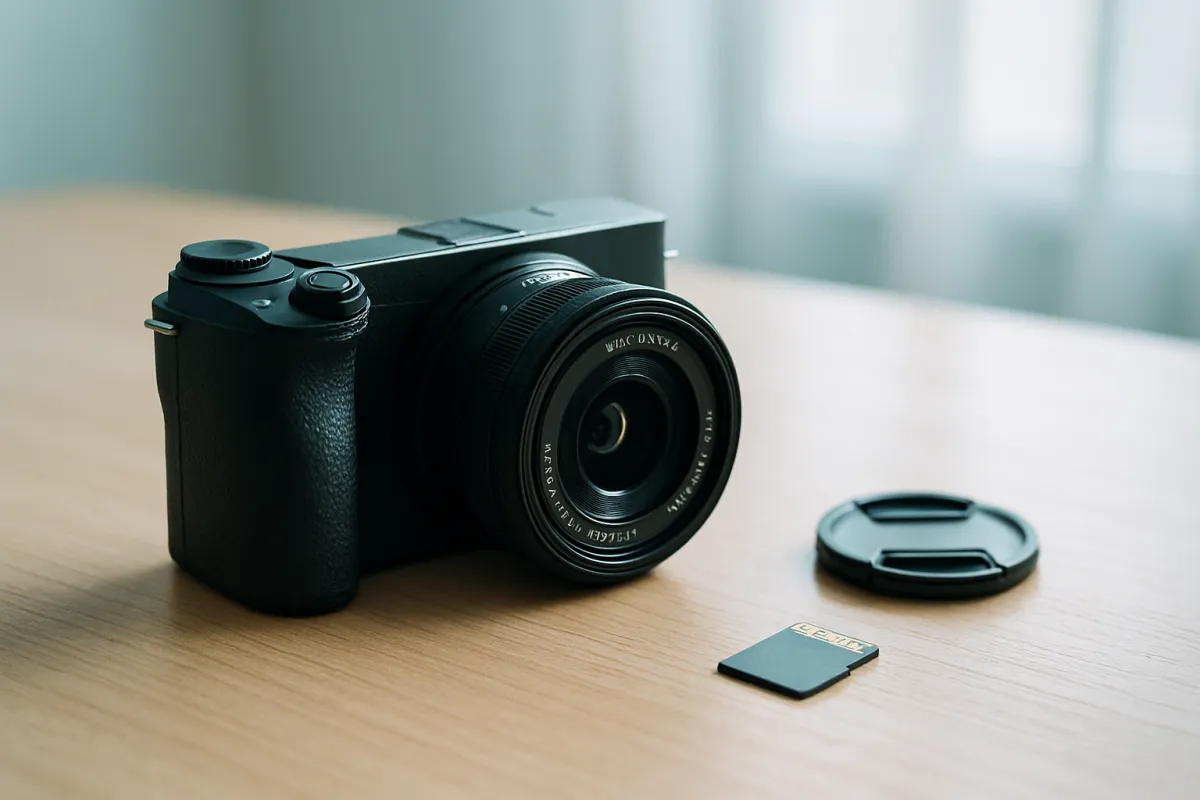
Before any budget makes sense, it helps to defuse the question most first-time buyers actually type: what is the best camera for beginners? The honest answer is that there is no single best beginner camera, only the best match for your budget, your subjects, and the lenses you can afford to feed it. Every current entry-level body takes photographs that would have cost professionals a fortune a decade ago, so the model on the box is rarely what decides whether your pictures improve. Treat the sections below as a way to find the camera that is best for you, which is almost always a modest body, one good lens, and the discipline to spend the rest on getting out and shooting.
The honest budget question: how much is enough
Start by separating two questions that first-time buyers tangle together: how much a good camera costs, and how much you should spend. The first has a genuinely low answer. A capable, current entry-level camera with a kit lens takes photographs that would have cost a fortune a decade ago, and it will not be the thing standing between you and a good picture for years. The gear ceiling for a beginner is far higher than the beginner’s skill floor, which means almost any modern camera is more than you can currently use.
So the real question is not how much is enough, because enough is a surprisingly small number. The real question is how much is overkill: how much money you can spend before it stops buying you anything you can point at a subject. That ceiling arrives faster than the sales floor suggests. Past a modest tier, extra dollars buy faster autofocus, weather sealing, and burst rates that a working professional needs and a beginner never touches. The honest budget is the one that clears the low bar of competence and stops there, banking the rest for the lens, the lessons, and the trips where the photos actually happen.
Illustrative first-camera budget tiers
It helps to see the levels laid out, because most beginners overestimate which one they belong in. Think in three rough tiers, each a midpoint of a range rather than a fixed price, and each defined by what it buys rather than what it costs.
Illustrative first-camera budget tiers
Rough total for body plus a starter lens, by tier. Midpoints of typical ranges, illustrative only.
Widths scale with the dollar midpoints: the entry kit is 30 percent of the serious kit's cost yet takes photographs a beginner cannot tell apart. The extra money in the top tier buys speed and sealing, not better everyday pictures.
The entry tier, an illustrative $500 to $700, is where the honest answer lives for most people. It buys a current crop-sensor body and a kit lens that together handle the large majority of everyday photography. The enthusiast tier, around $800 to $1,200, adds a nicer body or a second lens and makes sense only if you already know what you shoot. The serious tier, $1,500 and up, is where beginners overspend most, paying for professional features on the theory that they are buying headroom. They are mostly buying a heavier bag. Find the lowest tier that clears your actual needs, then stop climbing.
Where the money should actually go
Here is the single most important idea in this field note, and the one that separates a happy first purchase from a frustrated one. The number on the price tag is a total, and a total is a decision about a split. Two beginners can spend the same $800 and end up with wildly different photographs, because one poured it into the body and the other spread it correctly.
How to split a first-camera budget
A sensible starting division of the total across the three buckets. Sums to 100 percent, illustrative.
Note what leads: the lens takes the biggest slice, not the body. Beginners who reverse this, spending most of the total on the body and grabbing the cheapest lens, end up with expensive snapshots.
The split above tilts deliberately toward glass, and that tilt is the whole trick. Instinct says the camera is the camera and the lens is an accessory, so instinct spends 70 percent on the body. The correct move nearly inverts that. Adjust the split to your goal: portraits push more toward the lens, video nudges a little back toward the body, but the accessories bucket never goes to zero. Set your own total and goal in the companion above and watch the three buckets fill, then read the next section for why the lens deserves the biggest one.
Why glass deserves the bigger slice
The reason to feed the lens first is that a lens does more work, on more photographs, for longer, than the body does. Every photograph you ever take passes through the lens, and its aperture, sharpness, and character shape the image in ways the body cannot override. A brilliant sensor behind a mediocre lens produces mediocre files; a modest sensor behind a good lens produces photographs people stop scrolling for. The glass is the part of the system your eye actually sees.
There is a second reason, and our field note on upgrade order builds its whole argument on it: glass outlasts bodies. A camera body is a computer with a shutter, and both age. It will feel dated in a handful of years and you will likely replace it. A good lens bought today will still be a good lens across three or four bodies, because optics do not go obsolete the way sensors and processors do. Money spent on the body depreciates and gets replaced; money spent on the lens compounds and stays. That is why the first upgrade almost every experienced photographer recommends is a lens, and why the first-camera split should front-load it from day one. Years later, when a genuine wall does appear, our field note on when to upgrade your camera shows how to replace the body without repeating the beginner’s mistake.
Used versus new for a first camera
The fastest way to make any of these budgets go further is to buy used, and a first camera is one of the best candidates for it. A used purchase does two good things at once: it stretches the total toward better glass, and it softens the loss if the hobby does not stick, because you paid a depreciated price you can largely recover by reselling. The buyer who spends $500 used has risked far less than the one who spends $900 new for effectively the same photographs.
Camera bodies depreciate on a predictable curve. A model one or two generations old, displaced by a newer version that improved little for a beginner, routinely sells for an illustrative 50 to 65 percent of its launch price while performing nearly identically in your hands. Lenses are even safer used, because glass has no shutter to wear out and no sensor to age; barring damage or fungus, a decade-old lens performs like new. The inspection ritual takes minutes: check the shutter count on the body, work every dial and button, look through the glass toward a light for haze or fungus, and shoot a few test frames of a blank wall to check the sensor for dust. Do that, and a used first camera is a bargain, not a gamble. Buy the cheap accessories new for the warranty, and spend the used savings on the lens.
What a beginner actually needs versus the marketing
Camera marketing is built to sell the expensive tiers, so it emphasizes the specifications that separate a $2,000 body from a $600 one, precisely the specifications a beginner cannot use. Cutting through it is mostly a matter of knowing which numbers to ignore. A beginner needs a sensor large enough to gather decent light (any modern crop sensor qualifies), a lens mount with affordable glass available, comfortable ergonomics, and controls you can learn. That list is short, and every current entry camera satisfies it.
What a beginner does not need is the headline spec sheet. Professional autofocus tracking earns its cost photographing birds in flight and midfield tackles, not a toddler in a living room. Weather sealing matters to someone shooting a rainy wedding for money, not to a hobbyist who can step under an awning. A twenty-frames-per-second burst rate fills a card with near-identical frames you will never cull. These features are real and worth paying for, when you have a subject that demands them. Buying them first, before you have that subject, is buying the answer to a question you have not asked. The features will still be there when you actually need them, and by then you will know which ones you need.
The megapixel myth and other spec traps
No specification misleads beginners more than the megapixel count, because it is a single big number that feels like it must mean quality. It mostly does not. A screen shows about two megapixels, a large print needs perhaps eight, and a social post far fewer, so a 24 megapixel sensor already has more resolution than nearly any use will show. Doubling to 45 megapixels changes your everyday photographs not at all, while it fills cards faster, slows your computer during editing, and eats storage. More resolution is occasionally useful for heavy cropping or gallery prints, and irrelevant for everyone else.
The other traps follow the same pattern: an impressive number attached to a capability you will not exercise. Maximum ISO figures in the six digits describe settings that look like colored sand and exist for marketing. Video specifications quoting 8K matter to nobody who is not editing on a professional workstation. The lesson generalizes: a spec is only worth paying for if you can name the photograph it will let you take that you currently cannot. If you cannot finish that sentence, the spec is not a feature you need, it is a number someone hopes you will pay for. Judge a first camera by how it feels and what lenses it can wear, not by the biggest number on the box.
The kit lens reality and your first upgrade
The lens bundled with a beginner camera, the kit lens, gets more scorn than it deserves and more loyalty than it earns, and the truth sits between. A modern kit zoom is genuinely useful: it covers a flexible range, it is light, it is sharp enough in good light, and it is the right lens to learn on because it teaches you which focal lengths you actually reach for. Do not let a forum convince you it is junk. For your first months it is exactly the right tool, and the metadata it records will tell you where to spend next.
Its real weakness is aperture. A kit zoom opens only to something like f/3.5 to f/5.6, which means it gathers little light and blurs backgrounds reluctantly, so indoor photos come out dim or grainy and portraits look flat. That is why the first lens upgrade nearly every photographer recommends, and the one our field note on prime versus zoom crowns the best bargain in the hobby, is a cheap fast prime like a 50mm or 35mm f/1.8. For an illustrative $150 to $250 it gathers several times the light of the kit zoom and produces the soft-background look beginners associate with expensive cameras. Shoot the kit lens until you can feel its limits, then let those limits pick your first upgrade. That is the whole reason our upgrade-order note exists.
The hidden costs nobody budgets for
The camera’s price tag is a down payment on the real cost, and the extras that follow are easy to forget until they end a shoot. A camera with a dead battery and no memory card is an expensive paperweight, so these are not luxuries to add later; they belong in the total from the first day. Left out of the plan, they arrive as an unwelcome surprise at checkout or, worse, as a missed photograph in the field.
The standard list is short and predictable. Budget for at least one quality memory card from a reputable maker (a cheap card is where photographs go to corrupt), a spare battery so a full day does not end at noon, and a bag that actually protects the gear rather than a tote that lets it knock around. Add a basic cleaning kit (a blower and a microfiber cloth), and consider editing software, though excellent free options exist. Together these commonly run an illustrative 15 to 25 percent of the camera’s cost, which is exactly the accessories slice in the split above. Fold that percentage into your total before you shop, so the extras come out of the plan instead of out of your surprise. A budget that ignores them is not smaller, it is just wrong, and it reveals the error at the worst possible moment.
Crop versus full frame for a first camera
The sensor-size question arrives early, dressed up as a quality decision, and for a beginner it is really a budget decision. Full-frame cameras have larger sensors that gather about a stop more light and blur backgrounds more easily, and the marketing frames them as the serious choice. For a first camera, they are usually the wrong one, and the reason is total system cost rather than image quality.
Our field note on full frame versus crop walks the full trade, and its verdict for beginners is unambiguous: start crop. A crop-sensor body and the lenses built for it cost meaningfully less, weigh less, and reach further into distant subjects, which is exactly the headroom a beginner should want. The stop of light and the easier blur that full frame offers are real, but they arrive at roughly double the whole-kit cost, a premium a beginner cannot yet turn into better photographs. Worse, buyers who stretch to a full-frame body often have nothing left for glass and end up pairing a premium sensor with a cheap slow lens, which throws the advantage away. Start crop, put the saved money into a fast lens, and you will out-shoot the beginner who bought the bigger sensor and the cheaper lens every time.
Phone versus dedicated camera: when to actually buy one
Before spending anything, it is worth asking whether you should buy a dedicated camera at all, because the honest answer for some people is not yet. A modern phone camera is genuinely excellent for everyday snapshots and social sharing, and computational tricks make it flatter light and difficult scenes in ways that surprise even enthusiasts. If your photography is memories and sharing, the phone in your pocket may be all you ever need, and spending on a dedicated camera would buy you frustration rather than better pictures.
A dedicated camera earns its cost when you keep hitting specific walls the phone cannot climb. The clearest are real background blur from a large sensor and fast lens, genuine reach for distant subjects that a phone’s digital zoom smears, clean files in low light, and the deliberate, hands-on process that turns photography from a reflex into a craft you improve at. If you find yourself wishing for those things again and again, that recurring frustration is your buy signal, and it means you will actually use the camera. If you are not sure whether you want them, that uncertainty is itself the answer: keep shooting with the phone, learn what you reach for, and let a real limit, not a wish, trigger the purchase.
Matching the budget to your goal
There is no single right first camera, because the right split depends on what you point it at, and matching the money to the goal beats copying someone else’s kit. The genres pull the budget in different directions, and knowing your dominant one before you buy prevents the most common overspend: paying for capability that your actual subjects never ask for.
Travel rewards small and versatile over powerful, so a compact crop body and one flexible zoom beat a heavy kit you leave in the hotel, and the money that would have gone to a bigger body goes to a bag that carries all day. Portraits are the genre that most rewards spending on glass: a fast prime does almost all the work, so tilt the split hard toward the lens and buy the cheapest capable body. Video shifts the balance a little back toward the body, because features like autofocus and stabilization live in the camera, though a decent lens still matters. Wildlife and sports are the expensive outliers, where reach and autofocus genuinely cost money, and the honest advice is to start with a modest kit and a used telephoto rather than stretching for professional speed you cannot yet exploit. Name your goal, set it in the companion above, and let the split shift to match it.
Cost per shoot: the frame that reframes the price
When the total still feels large, change the units, because a camera is not a price, it is a price divided by the photography it enables, and that division reframes everything. A $700 kit that comes along every week for three years costs a rounding error per outing; a $2,000 kit that attends a handful of trips a year is renting shelf space. The gear that looks expensive on the sticker is often the cheapest per photograph, and the impulse buy that looks affordable can be the most expensive thing in the bag if it never leaves it.
Run your own version in the upgrade budget planner: your total and your sessions per month, and suddenly the first-camera price has a denominator you can judge it by. A camera you use is nearly free per shoot within a year; a camera you do not use is expensive at any sticker. This framing also settles the tier question honestly. The beginner debating whether to stretch to the serious tier should ask how many more shoots the extra thousand dollars will actually attend, and the answer is usually none, because the entry camera would have come along to all the same ones. Buy the total you will divide across the most photographs, not the one that looks most impressive sitting still. Price it per shoot before you price it against your savings.
Avoiding the gear-acquisition trap
The most expensive mistake in this hobby is not any single purchase, it is the pattern where every plateau in your photographs gets diagnosed as a gear problem and treated with a credit card. The trap feels like progress and functions like a treadmill: a new lens, then a new body, then a new bag, each promising the improvement that the last one did not deliver, because the limit was never the gear. It is worth naming early, because a first camera bought well is also the first chance to buy the habit that follows.
The defense is a rule, and it is the same rule that governs every section here: buy the thing you can name a reason for, and refuse the thing you cannot. Before any purchase, finish the sentence “my photographs are failing because my current gear cannot,” and if you cannot finish it honestly, the purchase is the trap talking. Skills, not gear, break most plateaus, and a lesson, a book, or a hundred deliberate frames often does what a new body cannot. Our upgrade-order field note frames this as buying the wall you can name, and it applies from the very first camera. The buyer who internalizes it early spends a fraction of what the gear treadmill costs and takes better photographs, because the money and the attention go where the improvement actually lives.
The resale-value safety net
One fact takes most of the fear out of a first purchase: camera gear holds its value better than almost any other hobby equipment, which means a first camera is more a rental than a bet. If photography does not stick, or if you outgrow the kit faster than expected, a well-chosen body and lens can be resold for a large share of what you paid, especially if you bought used near the flat part of the depreciation curve in the first place. The downside is bounded in a way that most spending is not.
This safety net rewards two habits. First, buy used, because gear bought at a depreciated price has already taken its biggest loss, so your resale recovers a higher percentage. Second, keep the boxes, the receipts, and the condition, because clean, complete, documented gear sells faster and higher. The practical effect is freedom: knowing you can recover most of the money lets you commit to a real kit instead of agonizing, and lets you correct a wrong choice cheaply if you make one. Glass especially barely depreciates once it has aged, so a good lens is close to a store of value you happen to be able to take photographs with. Buy with the resale market in mind, and the first-camera decision stops feeling like a leap and starts feeling like a loan against your own gear.
A worked beginner budget, fully allocated
Theory into a single number: take an illustrative $800 total, the middle of the entry-to-enthusiast band, and allocate it completely so nothing hides. Using the split from earlier, body around 35 percent, lens around 45 percent, accessories around 20 percent, the money lands like this, and every dollar has a job before checkout.
Body: about $280, spent on a used crop-sensor camera one or two generations old, which at that price is a genuinely capable machine that will not limit a beginner for years. Lens: about $360, and here is where the plan earns its keep. If the body came with a kit zoom, this whole slice can buy a fast prime and a used standard zoom; if it did not, it buys a good used standard zoom with room left for the cheap fast fifty soon after. Accessories: about $160, covering a quality memory card, a spare battery, a protective bag, and a cleaning kit, with a little left for editing if the free options do not suit you. The result is a complete, working kit with no gap that ends a shoot, more capable in practice than a naive $800 spent 70 percent on a shiny new body and 30 percent on a slow lens. That is the entire argument of this field note in one allocation: the total was ordinary, the split was everything. Price your own version in the upgrade budget planner and adjust the buckets to your goal.
Rent or borrow before your first purchase
For a first camera, the cheapest way to spend wisely is to not buy at all yet, but to rent or borrow one for a week and learn what you actually reach for. Rental houses will hand you a body and a lens for a small fraction of their price, and a friend’s spare kit costs nothing, so a first-time buyer can test whether the hobby sticks and which controls suit them before any money leaves the account. Point the borrowed camera at the subjects you imagine shooting, the kids, the trips, the food, the street, and see which ones you keep returning to.
The rental week answers questions no review can. You learn whether you enjoy the deliberate, hands-on process enough to carry a dedicated camera, whether the size and weight fit your life, and which focal lengths you instinctively frame at, which quietly tells you what lens to buy first. Many would-be buyers discover their phone was closer to enough than they thought, and save the whole purchase; others come back certain, and buy the right kit instead of the popular one. Either way the small rental fee de-risks a purchase many times larger, and it turns the first camera from a guess into an informed choice, which is exactly the discipline the rest of this field note is built on.
A complete first-kit checklist, nothing forgotten
The surest way to keep the accessories slice from becoming a checkout surprise is to shop from a list, so the whole working kit arrives together rather than in expensive dribs. A complete first setup is short, and every item on it exists to keep a shoot alive rather than to impress anyone.
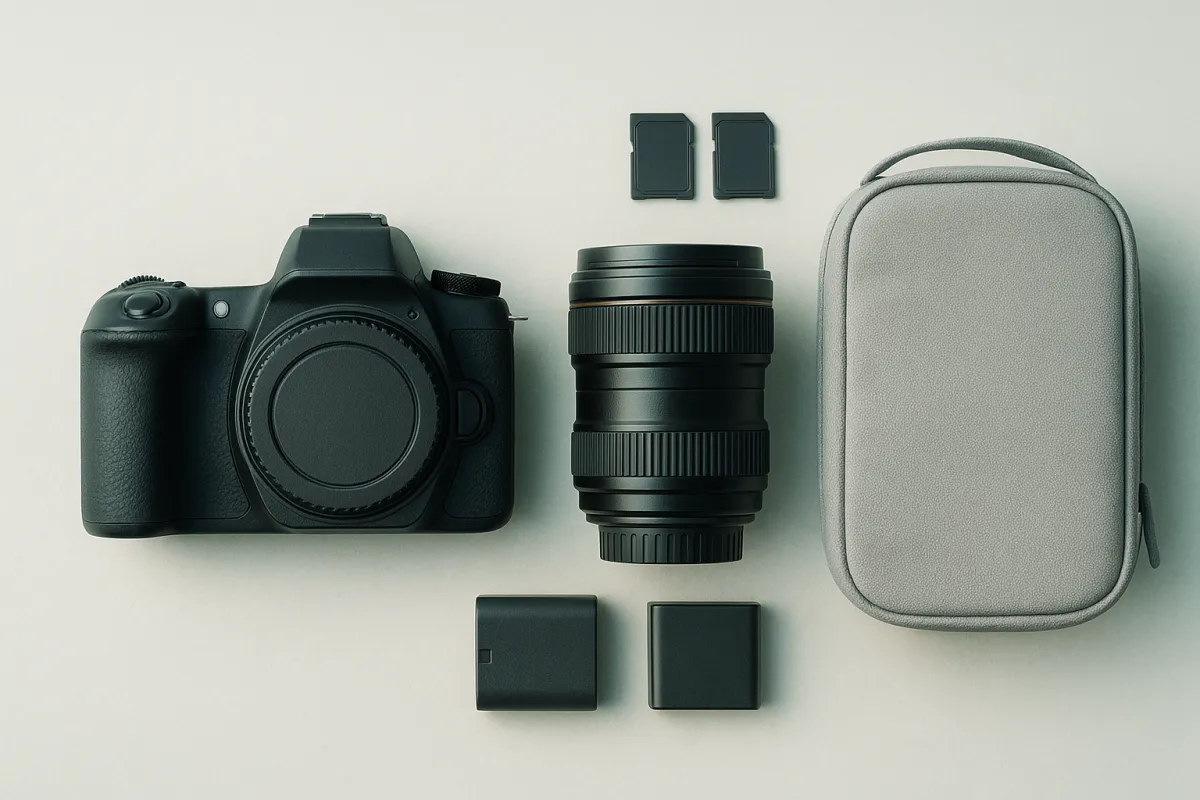
The body and a lens are the obvious two, ideally a capable used crop body and a lens with room in the budget for a fast prime soon after. Then the quiet essentials: at least one quality memory card from a reputable maker and a spare, a spare battery so a full day does not end at noon, a bag that genuinely protects the gear rather than a tote it rattles inside, and a basic cleaning kit of a blower and a microfiber cloth. Add a card reader for transfers, a way to back up files so a single failure does not erase a trip, and free or modest editing software. None of these is glamorous, and every one of them prevents a specific way a shoot dies: a full card, a dead battery, a scratched lens, a corrupted file with no backup. Budget the list as a whole, buy it as a whole, and the first outing goes smoothly instead of teaching these lessons the hard way.
The upgrade path your first purchase should protect
A good first camera is not just cheap and capable, it is the start of a system, and the smartest first buy leaves room to grow without forcing you to start over. The single decision that protects the future is the lens mount, because the mount decides which lenses you can add later and whether an eventual body upgrade lets you carry your glass forward. Choosing a system with a healthy catalogue of affordable lenses matters more at the beginning than any feature on the body, since the body is the part you will replace first while the lenses stay.
This is where the glass-first thinking from our field note on upgrade order pays off from day one. A fast prime bought early keeps working across every future body on the same mount, so its cost is spread over years rather than tied to a camera you will outgrow. If you suspect you might move to a larger sensor someday, favouring lenses that will mount on that future body turns the eventual switch into a simple body swap instead of a full system replacement, a hedge our full frame versus crop note endorses. Buy the first camera as the foundation of a path, not as a one-off, and each later step becomes an addition rather than a restart, which is how a modest beginning grows into a serious kit without the budget ever lurching.
The bottom line
How much should you spend on your first camera? Less than the marketing wants, and more thoughtfully than instinct manages. For most beginners an illustrative $500 to $700 clears the real bar, and the total matters far less than the split: lean toward the lens, keep the body modest, and never zero out the accessories that quietly keep shoots alive. Buy used to stretch the money and cap the risk, start on a crop sensor so the difference becomes glass, and ignore the specs that solve problems you do not have yet. Then judge the whole plan per shoot, not per sticker, in the upgrade budget planner, and let the forums keep arguing about flagship bodies. You will be out taking photographs with a kit that was cheaper, smarter, and more complete than theirs.
This field note is written to sharpen a first purchase, not to close a sale: nothing here is sponsored, and no maker is named on purpose. Every dollar figure, tier, and percentage is an illustrative planning aid rather than a quote, and real prices swing with brand, model year, condition, and the used market where the best beginner deals live. Camera lineups and lens availability differ by system, so confirm what actually exists for the mount you are considering, and weigh any purchase against the photographs you genuinely take rather than the ones the box promises. When in doubt, spend less on the camera and more on getting out to use it.
Frequently asked questions
What is the best camera for beginners?
There is no single best camera for beginners, because the honest answer is a match to your budget and what you shoot, not a model name. For most people a current entry-level mirrorless or DSLR body paired with one good lens, an illustrative $500 to $700 together, is already more camera than a beginner can outgrow for years. At this level the body barely matters: pick a system with affordable lenses available, comfortable controls, and a kit light enough that you actually carry it, then put the saved money into glass. The best beginner camera is the modest, capable one you buy and shoot often, not the expensive one you buy and admire on a shelf.
How much should you spend on your first camera?
For most beginners, an illustrative $500 to $700 buys a capable entry kit that will not hold your photography back for years, and spending more than that mostly buys features you cannot yet use. The important number is not the total but the split: aim to put more money into the lens and accessories than a first-time buyer instinctively wants to, and less into the camera body. If money is tight, a used entry kit at half that figure still takes excellent photographs. The camera is rarely the reason beginner photos disappoint, so buying an expensive one first solves a problem you probably do not have.
Is it worth buying an expensive camera as a beginner?
Almost never, and the reason is that the expensive parts of a premium camera solve problems beginners have not met yet. Faster autofocus, weather sealing, and higher burst rates matter to working professionals shooting sports or weddings, and they sit idle in a beginner's hands. A pricier body will not make your composition, light, or timing any better, and those are what separate good photos from forgettable ones. The smart-money move is a modest body paired with better glass, which our upgrade-order field note explains improves every photo you take.
Should a beginner buy a used camera?
Buying used is one of the best moves a first-time buyer can make, because it stretches the budget toward better glass and softens the resale hit if the hobby does not stick. Camera bodies depreciate steadily after release, so a one or two generation old model often sells for an illustrative 50 to 65 percent of its launch price while performing nearly identically for a beginner. Lenses are even safer used, since glass has no shutter to wear out. Inspect the shutter count, work every dial, and check the sensor for dust, and a used first camera is a genuine bargain rather than a gamble.
Do megapixels matter when buying a first camera?
Far less than the marketing suggests, and past a modest threshold they matter almost not at all for a beginner. Virtually every current camera has more resolution than a screen, a print, or a social post can show, so a 24 megapixel sensor and a 45 megapixel sensor produce indistinguishable photos in normal use. More megapixels can even work against you by filling memory cards faster and demanding a stronger computer to edit. Judge a first camera by how it feels in your hands and the lenses available for it, not by the resolution printed on the box.
How should I split my camera budget between the body and the lens?
Lean the split toward glass more than instinct tells you to: a rough illustrative starting point is body around 35 percent, lens around 45 percent, and accessories around 20 percent of the total. The reasoning is that a lens shapes the look of every photo and outlasts several camera bodies, while the body is the part you will most likely replace first. Beginners who reverse this, spending 70 percent on the body and grabbing the cheapest lens, end up with expensive snapshots. Tilt more toward the lens for portraits, slightly more toward the body for video, and keep accessories funded either way.
What hidden costs come with a first camera?
The sticker price is rarely the real price, and the extras are easy to forget until checkout. Budget for at least one quality memory card, a spare battery, a bag that actually protects the gear, a cleaning kit, and possibly editing software, which together can add an illustrative 15 to 25 percent to the camera's cost. These are not optional luxuries: a single card and a dead battery will end a shoot faster than any spec limitation. Fold these into the total from the start so they come out of the plan rather than as a painful surprise.
Is a phone camera good enough, or should I buy a real camera?
For everyday snapshots and social sharing, a modern phone is genuinely excellent and may be all you ever need. A dedicated camera earns its cost when you want things a phone struggles with: real background blur from a large sensor and fast lens, reach for distant subjects, clean low-light files, and the deliberate, hands-on process that makes photography a craft rather than a reflex. If you find yourself hitting the same walls with your phone again and again, that frustration is the signal to buy. If you are not sure, that uncertainty is a sign to wait and keep shooting with what you have.
Should a beginner start with a crop sensor or full frame?
Beginners are almost always better served starting with a crop sensor, and the reason is total cost, not image quality. Crop bodies and their lenses cost meaningfully less, weigh less, and reach further into distant subjects, which frees budget for the glass and accessories that actually improve your photos. Full frame gathers about a stop more light and blurs backgrounds more easily, but at roughly double the system cost, a premium most beginners cannot yet cash. Our field note on full frame versus crop walks the trade in detail, and its verdict for first-time buyers is clear: start crop, spend the difference on lenses.