
What's on this page
- The best camera for macro photography, in one answer
- What makes a good macro camera
- Sensor size and macro reach
- Megapixels and cropping in for extra magnification
- Autofocus for macro, why it struggles and what helps
- Manual focus and focus peaking for macro work
- In-body image stabilization for handheld macro
- Live view, magnification and focus aids
- Mirrorless versus DSLR for macro
- Crop sensor vs full frame for macro photography
- Macro camera by budget tier
- Pairing a camera with the right macro lens
- Working distance and why it depends on the lens, not just the camera
- Flash and lighting considerations tied to camera choice
- Weather sealing and macro work outdoors
- Camera settings that matter most for macro
- Smartphone and compact macro, when it is enough
- The specification lines that actually matter on a macro camera
- Mistakes people make choosing a macro camera
- Buying a macro-capable camera used
- The worked recommendation, three macro scenarios
- The bottom line
Short answer: The best camera for macro photography is the mirrorless or DSLR body you already own, paired with a true macro lens, because magnification is a property of the lens, not the body. If you are choosing a camera specifically for macro, prioritize in-body stabilization for handheld work, a precise single-point autofocus mode, and a magnified live view for manual focus checks over sensor resolution or brand.
The best camera for macro photography is, for the overwhelming majority of people, the camera they already have, and the real purchase that unlocks macro work is a dedicated macro lens rather than a new body. That is not a dodge of the question, it is the single most important fact in this entire field note: true macro magnification, the ability to render a small subject life-size or larger on the sensor, is a property of the lens design, not the camera attached to it. What the camera body changes is everything around that magnification, autofocus behavior, stabilization, resolution, and how easily you can confirm focus.
This is the gear-recommendation half of a pair. Our macro photography field note covers the technique, the working distance, the lighting, and the focus-stacking habits that make macro work; this one is purely about which body features actually help once you own the right lens. It leans on the sensor math in our full-frame versus crop field note, the stabilization mechanics in our image stabilization field note, the resolution question in our megapixels field note, and the format choice in our mirrorless versus DSLR field note. Run your own case as you read in the upgrade budget planner.
Key takeaways
- True macro magnification comes from the lens, not the camera body, so the highest-value first purchase is almost always a dedicated macro lens, not a new camera.
- In-body image stabilization matters more for macro than for most other genres, because magnification multiplies the visible effect of every small handheld movement.
- Autofocus helps on living subjects with a narrow, single focus point; manual focus with a magnified live view is usually more precise for static, tripod-mounted work.
- A crop sensor is not a downgrade for macro: it frames tighter at the same lens and distance, a genuine advantage for distant or skittish subjects.
- Shoot macro stopped down, usually f/8 to f/16, because the zone of sharp focus at close magnification is extremely thin, far thinner than any other kind of photography asks for.
The best camera for macro photography, in one answer
The best camera for macro photography is the one you already own, paired with a true macro lens capable of 1:1 magnification, and understanding why requires separating two things most beginners assume are linked: magnification and camera body. Magnification, how large a small subject renders on the sensor, is entirely a function of the lens’s optical design. A camera body cannot add magnification a lens does not already provide, no matter how many megapixels or how advanced its autofocus.
What the camera body changes instead is how comfortably and reliably you capture a sharp frame at that magnification. A body with in-body stabilization steadies a handheld macro shot noticeably more than one without it. A body with a precise, narrow autofocus point locks onto a small, specific part of a subject rather than hunting across it. A body with a magnified, high-resolution live view lets you confirm focus by eye at a precision autofocus sometimes cannot match. None of these change what the lens can magnify, but all of them change how many usable frames come out of a session.
- Already own a camera: buy a true macro lens or a set of extension tubes before considering a new body at all.
- Handheld insects and living subjects: a mirrorless body with in-body stabilization and fast, narrow-point autofocus.
- Tripod-based product or detail work: almost any capable body, since manual focus and a tripod remove most body-specific concerns.
- Distant or skittish subjects: a crop sensor body, which frames tighter at the same lens and distance for free.
- Tightest budget: extension tubes on the lens you already own, before any camera or lens purchase.
What makes a good macro camera
A macro-oriented camera body is judged on four things, and none of them is the one most people ask about first. First, autofocus precision at close range, specifically whether the camera offers a small, single focus point rather than only a wide area that tends to grab the nearest contrasty edge, which at macro distances is rarely the exact point you want sharp. Second, in-body image stabilization, which does more for a handheld macro frame than for almost any other kind of photography, because magnification amplifies even tiny hand movement.
Third, a rear screen or viewfinder that can magnify the live view for a manual focus check, since autofocus confidence drops as magnification rises and your own eye, assisted by a zoomed display, is often the more reliable judge. Fourth, and the one most overrated, resolution. More megapixels record finer detail, which sounds like an obvious macro win, but a tripod, correct lighting, and a sharp lens deliver more visible improvement than an extra ten million pixels on a body that is otherwise unremarkable for the task. Weigh your own priorities in the companion above and price the result in the upgrade budget planner.
What makes a macro camera
Illustrative weighting of what moves a camera body from limiting to excellent for macro, once paired with a true macro lens.
Autofocus precision and resolution carry the most weight, with stabilization close behind for anyone shooting handheld. Tune the weighting to your own macro style in the companion above.
Sensor size and macro reach
Sensor size changes field of view, not true magnification, and conflating the two is the single most common misunderstanding in macro gear shopping. A full-frame sensor captures the widest view at a given focal length and distance; a crop sensor, roughly 1.5 times narrower, frames a tighter slice of the exact same scene through the exact same lens. That tighter frame can look like extra magnification in a photo, and for practical purposes of filling the frame with a small, distant subject it behaves like a free bonus, but the optical magnification the lens is actually producing on the sensor has not changed at all.
This matters for a specific, common macro situation: a skittish subject, an insect or a small animal, that will not tolerate you moving physically closer. A crop sensor body lets you fill the frame more from the same working distance than a full-frame body would, which is a genuine practical advantage even though nothing about the lens’s magnification changed. Our full-frame versus crop field note works the arithmetic behind this in full if you want to translate it to your own system.
Framing crop factor by sensor format
Widely documented focal-length multiplier by sensor format, relative to full frame. This changes framing only, never the lens's true optical magnification.
A smaller sensor frames tighter at the same lens and distance, a free assist on a subject you cannot get closer to. It is a crop in framing, not a change in what the lens is actually magnifying.
Megapixels and cropping in for extra magnification
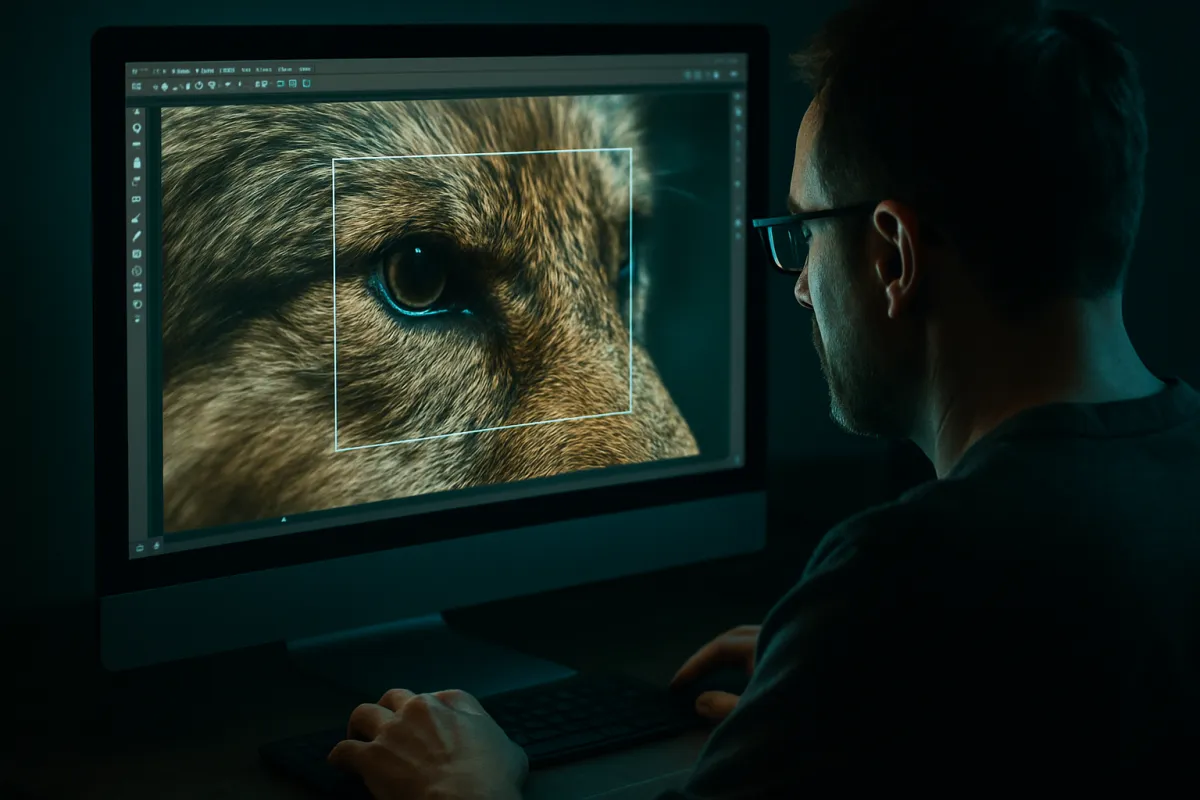
A higher-resolution sensor offers a second, honest way to gain apparent magnification after the fact: crop the image in software. A 40-megapixel body gives you meaningfully more room to crop into a frame and still have enough resolution left for a sharp print or a detailed web image than a 16-megapixel body does, which is a real technique working macro photographers use when a lens cannot get them as close as they want.
The limit is obvious once stated plainly: cropping discards pixels, so the final image resolution drops with every crop, and a body with modest resolution to begin with runs out of room to crop fast. This technique is a genuine supplement to a macro lens’s native magnification, not a replacement for it, and it rewards a higher-resolution body more than almost any other genre does, which is the one place in this field note where megapixels actually earn their reputation.
Autofocus for macro, why it struggles and what helps
Autofocus struggles more at macro distances than almost anywhere else in photography, for a simple reason: the zone of sharp focus is so thin, often just a few millimeters, that even a small, confident autofocus lock can land on the wrong plane of a three-dimensional subject, the front of an insect’s eye instead of its face, for instance. A wide autofocus area makes this worse, since it often grabs whatever has the most contrast in its zone rather than the specific point you intended.
What helps is narrowing the autofocus area to its smallest single-point setting, which forces the camera to focus exactly where you place that point rather than guessing across a wider zone. A fast, accurate autofocus motor still matters for living, moving subjects, since you often have a second or two before an insect moves on, but precision matters more than raw speed here, which is a different priority than almost any other kind of photography asks a camera to optimize for.
Manual focus and focus peaking for macro work
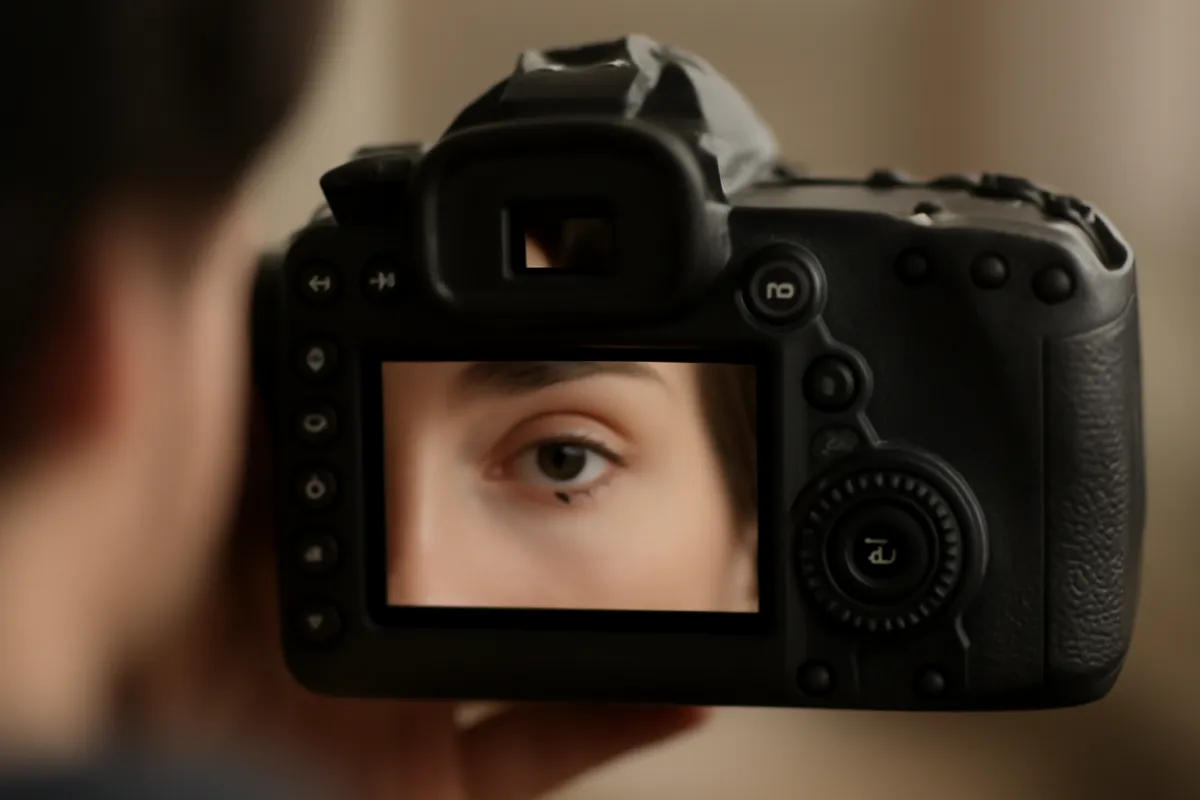
For static, tripod-mounted macro subjects, manual focus is often the more precise choice, and the technique looks different from manual focus anywhere else in photography: rather than turning the focus ring, many macro shooters set focus roughly with the ring and then move the entire camera, mounted on a focusing rail or simply by hand, forward and back in tiny increments until the intended point snaps sharp in a magnified live view.
A camera’s magnified live view, usually accessed by pressing a zoom button while composing on the rear screen, is the single feature that makes this workable, since it shows critical focus at a scale no viewfinder or unmagnified screen can. Focus peaking, a highlighted outline over the areas currently in sharpest focus, is a useful supplement on bodies that offer it, though it is less essential at extreme magnification than the plain magnified view, since peaking can struggle to isolate a razor-thin zone precisely.
In-body image stabilization for handheld macro
Stabilization matters more for handheld macro than for almost any other kind of photography, because magnification multiplies the visible effect of every small movement, including your own pulse and breathing, not just camera shake from a slow shutter. A body with in-body image stabilization visibly steadies a handheld macro frame in a way that is immediately obvious the first time you compare a stabilized and unstabilized attempt at the same close-up subject.
This is also one of the clearest, most honest reasons to prioritize a specific camera feature when choosing a macro-oriented body, since the benefit is large, consistent, and does not depend on the lens you eventually pair with it. For tripod-based work the benefit mostly disappears, since the tripod already removes the handheld movement stabilization is built to correct, which is why stabilization matters enormously for field macro of insects and flowers and far less for a controlled tabletop product setup.
Live view, magnification and focus aids
Beyond stabilization, the single most useful screen feature for macro is a live view that magnifies on demand, letting you punch in to ten times or more on the exact point you intend to focus before committing to a frame. A bright, high-resolution rear screen or electronic viewfinder makes this practical in the field, where a dim or low-resolution display makes fine focus confirmation genuinely difficult, especially outdoors in bright sun.
Some bodies add focus-stacking assistance, automatically shooting a sequence of frames at slightly different focus distances to be blended later in software, which is a genuinely useful macro-specific feature given how thin the in-focus zone runs at high magnification. It is a convenience rather than a necessity, since the same result is achievable manually with a focusing rail and patience, but it is worth checking for if focus stacking is a technique you plan to use often.
Mirrorless versus DSLR for macro
Mirrorless and DSLR bodies both handle macro photography well, and the honest answer is that neither format has a decisive structural advantage for this genre the way mirrorless does for fast continuous autofocus tracking in sports or wildlife work. A mirrorless camera’s electronic viewfinder shows a live, already-magnified preview of focus and exposure before you shoot, which many macro photographers find more useful than an optical viewfinder’s unmagnified view, and in-body stabilization is more commonly found across mirrorless lineups today.
A DSLR’s optical viewfinder has no lag and a direct, unprocessed view of the scene, which some photographers simply prefer, and plenty of excellent macro work was and still is made with DSLR bodies using live view for the magnified focus check. Our mirrorless versus DSLR field note covers the broader comparison; for macro specifically, the mirrorless advantage is real but modest, centered on the magnified electronic preview rather than any difference in achievable sharpness.
Crop sensor vs full frame for macro photography
The choice between crop and full frame for macro comes down to field of view and light-gathering rather than magnification, since magnification is set by the lens either way. Full frame typically delivers cleaner results at a given ISO, which helps in the dim, heavily diffused lighting many macro setups use to soften harsh shadows on a tiny subject, and it gives the widest field of view at a given focal length for context shots around the main subject.
Crop sensor cameras frame tighter at the same lens and distance, which functions as free extra reach on a subject you cannot physically approach, and crop-system macro lenses are often smaller, lighter, and less expensive than their full-frame equivalents. Neither is the objectively correct choice; a crop body is arguably the better practical choice for insect and wildlife-adjacent macro where distance is often forced on you, while full frame suits controlled studio and product macro where light quality and noise performance matter more than reach.
Macro camera by budget tier
Budget changes which purchase does the most for your macro work, and at every tier the lens outranks the body. At the tightest budget, an illustrative $30 to $60, a set of extension tubes paired with the lens already on your camera is the highest-value macro purchase available, letting an ordinary lens focus much closer than its native design allows, with some loss of light and a narrower usable aperture range as the tradeoff.
At a mid tier, an illustrative $200 to $500, a dedicated macro lens at true 1:1 magnification is the move, and it will do more for your macro photography than any camera body upgrade at the same price. At a higher tier, an illustrative $1,000 and up for the body, in-body stabilization, a precise single-point autofocus system, and a high-resolution magnified live view are the features that justify the spend, not raw megapixel count or brand reputation. Price any of these tiers in the upgrade budget planner.
Pairing a camera with the right macro lens
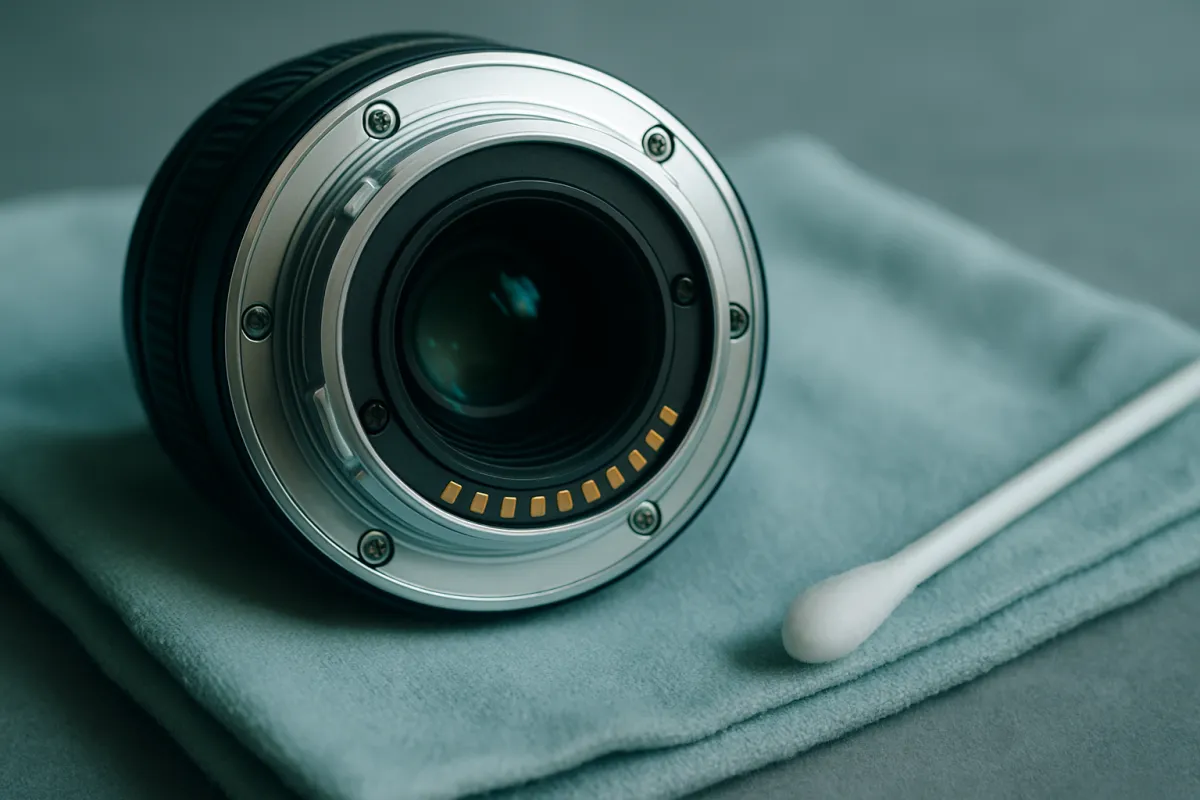
A camera body only becomes a macro setup once it is paired with a lens capable of true 1:1 magnification, and this pairing is where the real buying decision lives. A true macro lens, typically in the 60mm to 105mm range on full frame, delivers the full magnification its spec sheet promises at its closest focus distance. A lens merely marketed with the word macro on a zoom, common on budget kit lenses, usually tops out at a fraction of true 1:1 magnification, which is worth checking before assuming any lens labeled macro does the job this field note describes.
Extension tubes, hollow spacers that fit between any lens and the camera body, are the budget alternative, increasing any lens’s magnification without adding glass, at the cost of some light loss and the loss of infinity focus while they are attached. Either route gets you to true macro magnification faster and cheaper than any camera body change, which is the single idea worth carrying out of this whole field note.
Working distance and why it depends on the lens, not just the camera
Working distance, how far the front of the lens sits from the subject at maximum magnification, is set primarily by the lens’s focal length, not the camera body. A 60mm macro lens reaches 1:1 magnification only a few centimeters from the subject, which is fine for a cooperative flower but can spook an insect or cast the lens’s own shadow over a small subject. A 100mm or 105mm macro lens reaches the same 1:1 magnification from roughly twice the distance, which is the main reason longer macro lenses are more popular for living subjects.
The camera body’s only real influence on working distance is through its crop factor, since a crop sensor lets you back up slightly farther and still fill the frame to the same degree, a small but real assist on top of whatever the lens provides. If working distance is the deciding factor in your macro work, the lens choice matters far more than the body, and our working distance discussion in the technique field note covers the tradeoff from the shooting side.
Flash and lighting considerations tied to camera choice
Macro photography is routinely shot stopped down to f/8 through f/16 for depth of field, which lets through far less light than a landscape or portrait aperture, and that light shortfall usually gets made up with flash rather than a higher ISO, since macro subjects rarely tolerate the shutter speeds a handheld low-light exposure would otherwise need. A camera’s flash sync speed and its ability to drive an off-camera or ring-style flash system matter more here than they do for most other genres.
A body with a fast flash sync speed lets you freeze a moving subject, a bee or a hovering insect, with ambient-light-defeating flash duration rather than a long exposure that motion blur would ruin. This is a real, if secondary, camera consideration behind autofocus, stabilization, and live view magnification, and it is worth checking if insect and living-subject macro, rather than static tripod work, is the bulk of your interest.
Weather sealing and macro work outdoors
Outdoor macro, flowers, insects, dew on a leaf, happens in exactly the conditions that punish an unsealed camera: damp grass, early morning humidity, and the occasional unexpected drizzle while you are lying on the ground to get level with a subject. Weather sealing, a set of gaskets around a body’s buttons, dials and card doors that keep dust and moisture out, is not strictly required to shoot macro, but it is a real comfort for anyone who spends a season of mornings in wet grass chasing insects before the light gets harsh.
The practical case is less about rain itself and more about the humidity and ground moisture that outdoor macro work puts a camera through routinely, which is a harsher environment over a season than an occasional downpour would be. A sealed body paired with a sealed lens lets you keep shooting through a damp morning that would otherwise send an unsealed kit back into a bag early, and macro’s best light is very often exactly that damp, overcast or dew-laden morning window. This is a secondary consideration behind autofocus, stabilization and live view magnification, but it is worth weighing if outdoor, ground-level macro is where most of your shooting happens rather than a controlled indoor setup.
A second outdoor consideration is battery life in cold or damp conditions, since an early morning macro session often means a cold camera and a battery that drains faster than it would at room temperature. Carrying a spare battery is a cheap, effective fix that matters more for a long outdoor macro session than almost any spec on the body itself, and it costs far less than any of the upgrades discussed elsewhere in this field note.
Camera settings that matter most for macro
Beyond the body you choose, the settings you dial in matter more for a sharp macro result than almost any spec on a camera’s box. Aperture leads the list: f/8 to f/16 is the typical working range, since the depth of field at macro magnifications is so thin that even f/5.6 often leaves most of a three-dimensional subject soft. Shutter speed follows from the lighting choice, flash-lit work can use a comparatively fast shutter regardless of aperture, while natural-light macro often needs a tripod and a slower shutter to compensate for the smaller aperture.
ISO is the setting most macro photographers keep as low as the lighting allows, since noise is more visible when heavily cropped or viewed at the close inspection macro images invite. Our camera settings reference is a useful lookup for the aperture and shutter numbers this field note references, and our exposure triangle field note explains how the three settings trade against each other when light is limited.
Smartphone and compact macro, when it is enough
A modern smartphone with a dedicated macro mode or a clip-on macro lens attachment is a genuinely capable starting point for casual close-up work, flowers, food, small objects, and it is worth trying before spending on a dedicated system if you are not yet sure macro is a genre you want to pursue seriously. The image quality, dynamic range, and true magnification ceiling all fall well short of a dedicated macro lens on an interchangeable-lens camera, but the convenience of always having it in your pocket produces more frames than a drawer-bound dedicated setup some weekends.
The honest line is that a smartphone handles casual macro well and struggles with anything that needs precise manual focus control, flash synchronization, or magnification much beyond roughly half life-size. If you find yourself repeatedly frustrated by a phone’s limits rather than satisfied by its convenience, that is the signal to move to a dedicated macro lens rather than a reason to buy a new phone.
The specification lines that actually matter on a macro camera
Camera listings run long, and most of the lines on them barely affect macro work. Four are worth reading closely. In-body image stabilization comes first, since it is the single feature with the largest, most consistent benefit for handheld macro of anything on a spec sheet. Autofocus point selection and precision comes second, specifically whether the camera offers a genuinely small single-point mode rather than only wider area options.
Live view magnification and screen resolution comes third, since this is how you actually confirm focus at macro distances in practice, regardless of what the autofocus claims. Flash sync speed comes fourth if living, moving subjects are your main interest. Two specifications you can mostly deprioritize for macro specifically: continuous burst rate, since most macro subjects are either still or move too unpredictably for burst shooting to meaningfully help, and headline megapixel count beyond a sensible modern baseline, since a sharp lens and a tripod outperform a resolution bump on an otherwise average body.
Mistakes people make choosing a macro camera
Four recurring errors account for most of the money wasted chasing macro gear. Buying a new camera body before a macro lens. The body cannot add magnification the lens does not provide, so a new camera paired with a lens that only reaches a fraction of true 1:1 magnification will disappoint regardless of how advanced the body is. Assuming more megapixels fixes soft macro images. Most soft macro shots trace back to focus landing on the wrong plane or motion blur from handheld shake, neither of which resolution fixes.
Using a wide autofocus area out of habit. At macro distances a wide area frequently locks onto the background or the nearest edge rather than the intended point, and narrowing to a single small point solves more focus problems than any autofocus upgrade. And shooting macro at a wide aperture by default. An aperture that looks great for a portrait leaves most of a close-up subject soft, since the depth of field at macro magnifications collapses far faster than intuition from other genres suggests.
Buying a macro-capable camera used
A used camera body is a sound macro purchase, since none of the features that matter most for macro, autofocus point selection, in-body stabilization, and live view magnification, degrade meaningfully with age in a body that has not been damaged or heavily used past its shutter life expectancy. What is worth checking before buying used is specific to macro: confirm the in-body stabilization, if the model has it, actually engages and visibly steadies the live view, and test the smallest single-point autofocus setting on a close, low-contrast subject rather than trusting a spec sheet claim.
Check the sensor for stuck or hot pixels by reviewing a frame at full magnification, since macro work is viewed and cropped more closely than most other genres and a sensor flaw that is invisible in a landscape can become obvious in a tight macro crop. A reasonable framing is that the money saved buying a used body is better spent on a new, dedicated macro lens, since the lens is what actually sets your ceiling for this kind of photography. Set your number in the upgrade budget planner and shop against it.
The worked recommendation, three macro scenarios
Theory into practice: three composite photographers, each with a different macro goal, each landing on a different correct setup for the same underlying reasons. Scenario one is a beginner who already owns an entry mirrorless camera and wants to try macro on flowers and household objects without much spending. The verdict is a set of extension tubes, an illustrative $30 to $50, on the kit lens already in the bag, shot on a tripod at f/11 with manual focus and the live view magnified, no new camera or lens needed yet.
Scenario two is a hobbyist who has confirmed macro is a genre worth investing in and shoots mostly handheld in the field. The verdict is a dedicated 100mm macro lens, an illustrative $500 to $700, paired with the mirrorless body already owned if it has in-body stabilization, or a modest body upgrade specifically for that feature if it does not. Scenario three is an enthusiast chasing live insects who needs working distance and fast, precise autofocus. The verdict is the same 100mm class macro lens for the extra working distance, on a mirrorless body chosen specifically for a narrow single-point autofocus mode and a fast flash sync speed, with a crop sensor body considered seriously for the free extra reach. Three different answers, one identical logic: buy the lens first, then choose a body around the specific feature your style of macro actually needs.
The bottom line
The best camera for macro photography is, for almost everyone, the camera already in the bag, paired with a dedicated macro lens or a set of extension tubes, because true magnification is set by the lens rather than the body. If you are choosing or upgrading a body specifically with macro in mind, prioritize in-body image stabilization for handheld steadiness, a precise single-point autofocus mode over a wide area, and a magnified live view for manual focus checks, in that order, well ahead of raw megapixel count or brand. Shoot stopped down to f/8 through f/16 for enough depth of field, use a tripod and manual focus for static subjects, and lean on a narrow autofocus point and fast flash sync for living ones. Buy the lens first, let your own sessions tell you which body feature you are actually missing, and upgrade toward that. Price the plan in the upgrade budget planner, and go get close.
This field note is written to teach a macro camera decision rather than to push any particular product: no brand paid for a mention, and none is named on purpose, only the sensor formats, focal lengths and features that exist across camera systems. All dollar amounts are illustrative planning figures rather than quotes, because real prices swing with brand, mount, condition, and when you shop. Confirm which lenses and accessories your specific camera mount actually offers, and let the subjects you actually want to photograph, not any writer’s preference, decide which body feature is worth paying for.
Frequently asked questions
What is the best camera for macro photography?
For most people the honest answer is the mirrorless camera they already own, paired with a dedicated macro lens, because true macro magnification is a property of the lens, not the camera body. If you are choosing a body specifically with macro in mind, prioritize in-body image stabilization for handheld work, a reliable single-point autofocus mode, and a rear screen that magnifies for manual focus checks, since those three features help macro more than sensor resolution or brand does. A tripod and the right lens will do more for your macro photography than any camera upgrade.
Does a full frame camera make macro photography better?
A full frame sensor gives the widest field of view at a given focal length and usually the cleanest high-ISO performance, which helps in dim, diffused macro lighting, but it does not change true optical magnification at all, since that is set entirely by the lens. A crop sensor camera actually frames tighter at the same lens and distance, which some macro shooters use on purpose for extra reach on a distant or skittish subject. Neither sensor size is strictly better for macro; the tradeoff is field of view and noise performance against a free crop-in effect.
What camera settings matter most for macro photography?
Aperture and focus method matter more than almost anything else. At macro magnifications the zone of sharp focus is extremely thin, often just millimeters, so most macro work is shot stopped down to f/8 through f/16 for enough depth of field to keep a subject readable, well past where a landscape photographer would stop for sharpness. Manual focus, done by moving the camera slightly rather than turning the focus ring, is often more precise at these magnifications than autofocus, which is why a magnified live view or focus peaking display matters as much as any autofocus spec on the body.
Is autofocus good enough for macro photography?
Autofocus works reasonably well for macro on living, moving subjects like insects, especially with a single small focus point rather than a wide area, since a wide area often locks onto the wrong part of the subject or the background behind it. For static subjects on a tripod, manual focus is usually more precise, because at high magnification the margin for error is so small that even a confident autofocus lock can land a hair off the intended point. Most working macro photographers use both, autofocus to get close and a final manual nudge to land exactly where they want.
Do you need image stabilization for macro photography?
For handheld macro work, stabilization matters more than it does for almost any other genre, because magnification multiplies the visible effect of every small movement, including your own heartbeat and breathing. In-body image stabilization, built into the camera rather than a specific lens, visibly steadies a handheld macro frame and is one of the single most useful features to look for in a macro-oriented body. For tripod-based macro work, stabilization matters far less, since the tripod already removes the movement it would otherwise correct.
What is the best budget camera for macro photography?
The best budget macro setup for most people is the mirrorless or DSLR camera already in the bag, paired with an inexpensive set of extension tubes, an illustrative $30 to $60, which thread between the lens and body and let an ordinary lens focus much closer than it normally can. A dedicated budget macro lens, an illustrative $200 to $400, is the next step up and the highest-value macro purchase for most people, since it is the lens, not the camera, that sets true magnification. Spend here before spending on a new camera body.
Is a crop sensor camera good for macro photography?
Yes, and in one specific way a crop sensor is a genuine advantage: it frames tighter at the same lens, focal length, and distance than a full-frame sensor does, which effectively gives you extra working reach for free on a subject you cannot get physically closer to, such as a skittish insect. The tradeoff is a narrower field of view overall and typically a little more visible noise at a given ISO than a full-frame sensor of similar generation, which matters in the dim, heavily diffused light many macro setups use.
What lens do I need for macro photography and does the camera matter?
You need a lens capable of true 1:1 magnification, meaning the subject is rendered life-size on the sensor, which is the technical definition of a macro lens, and this is set by the lens design, not the camera body. The camera matters for autofocus behavior, stabilization, resolution, and how comfortably you can check focus, all of which affect how many usable frames you get from a session, but none of which change the maximum magnification itself. Pair any capable camera with a true macro lens before upgrading the body.