What's on this page
- Before you start
- Step 1: Weigh your heaviest realistic setup
- Step 2: Decide what problem you actually have
- Step 3: Read the load rating honestly
- Step 4: Choose leg sections and material
- Step 5: Choose the foot that matches your shooting angle
- Step 6: Choose the head that matches your subject
- Step 7: Set a budget and test before you commit
- Mounting point: camera body or lens collar
- Care in cold, wet, or sandy conditions
- A worked example: a wildlife shooter choosing a monopod
- Monopod versus tripod versus gimbal, honestly
- Travel and the case nobody mentions
- Common mistakes to avoid
- Troubleshooting the hard cases
- Your monopod checklist
- The bottom line
Short answer: Choose a monopod by weighing your heaviest realistic camera and lens, then buying a leg rated at roughly one and a half times that number. Pick three or four leg sections for speed and stiffness, or five for a smaller folded size you can pack. Add an articulating foot if you shoot at an angle rather than straight ahead, and skip the head entirely or add a small tilt or ball head depending on whether you need to track moving subjects.
A monopod is the camera support nobody plans to buy and almost everyone who shoots a long lens eventually does. It shows up after the third event where a tripod was too slow to reposition between plays, or after an arm finally gives out holding a telephoto lens through an afternoon on a sideline. Unlike a tripod, which gets researched and compared for weeks, a monopod purchase is usually rushed, made in the gap between one sore shoulder and the next shoot, which is exactly how people end up with a monopod that is either too flimsy for the lens riding on it or heavier and more expensive than the job actually needed.
KitBorough already covers the full-support side of this decision in our tripod buying field note and the motorized side in our camera gimbal buying field note. This field note is about the single-leg tool that sits between those two, doing neither job fully and doing its own job, removing arm fatigue while keeping you fast and mobile, better than either one can.
Key takeaways
- Weigh your real camera and lens, then buy a monopod rated at roughly one and a half times that weight, since bracing and panning load the leg harder than a static weight on a scale suggests.
- A monopod trades a little stillness for a lot of speed. It sets up in seconds and lets you swing with the action, which is why it beats a tripod for sports, wildlife, and events, and loses to a tripod for anything static.
- Leg sections are a speed-versus-pack-size trade. Three or four sections extend fastest and stay stiffest; five sections fold smaller for travel at a small cost in rigidity and setup speed.
- The foot matters more than most buyers expect. A fixed rubber tip is fine held upright; an articulating foot earns its place the moment you lean the monopod at an angle regularly.
- A monopod is not a tripod substitute and not a gimbal substitute. It removes static fatigue; it does nothing for a long exposure and nothing for the smooth continuous movement a gimbal corrects.
Before you start
Choosing a monopod is a quick, low-difficulty purchase, usually the fastest decision in this entire buying category once you know your numbers. Budget about fifteen minutes of honest thinking before you shop, since most of the work is simply weighing your gear and being clear about why you want a monopod rather than a tripod in the first place.
Here is what helps before you start, roughly in order of how much it matters:
- Your heaviest camera and lens, assembled. Not the lightest lens you own; the one you actually mount when the shoot gets demanding.
- A bathroom scale or a kitchen scale. Weighing the real assembled kit takes a minute and beats guessing every time.
- An honest account of how you shoot. Sideline sports, a wildlife hide, an event floor, or a travel day each point toward slightly different choices in sections, foot, and head.
- A rough figure for what the kit riding on top is worth. Just as a sanity check on how much monopod the gear justifies, not for insurance.
Run your own numbers through the monopod sizing companion above, and it will carry your weight, your use, and your budget through every step below as you read.
Step 1: Weigh your heaviest realistic setup
Everything below runs on one number: your camera, your heaviest lens, and anything that rides on top during a real shoot, flash, bracket, or battery grip, weighed together exactly as you would use it. Put the whole assembly on a scale rather than estimating, since camera and lens weights printed on a spec sheet rarely include the extras that end up mounted in practice.
Watch out: weigh the lens you actually reach for on the demanding days, not the compact prime that lives in your bag the rest of the time. A monopod sized to a light everyday lens will feel undersized the first time a long telephoto comes out, which is usually the exact day the monopod gets used hardest.
Step 2: Decide what problem you actually have
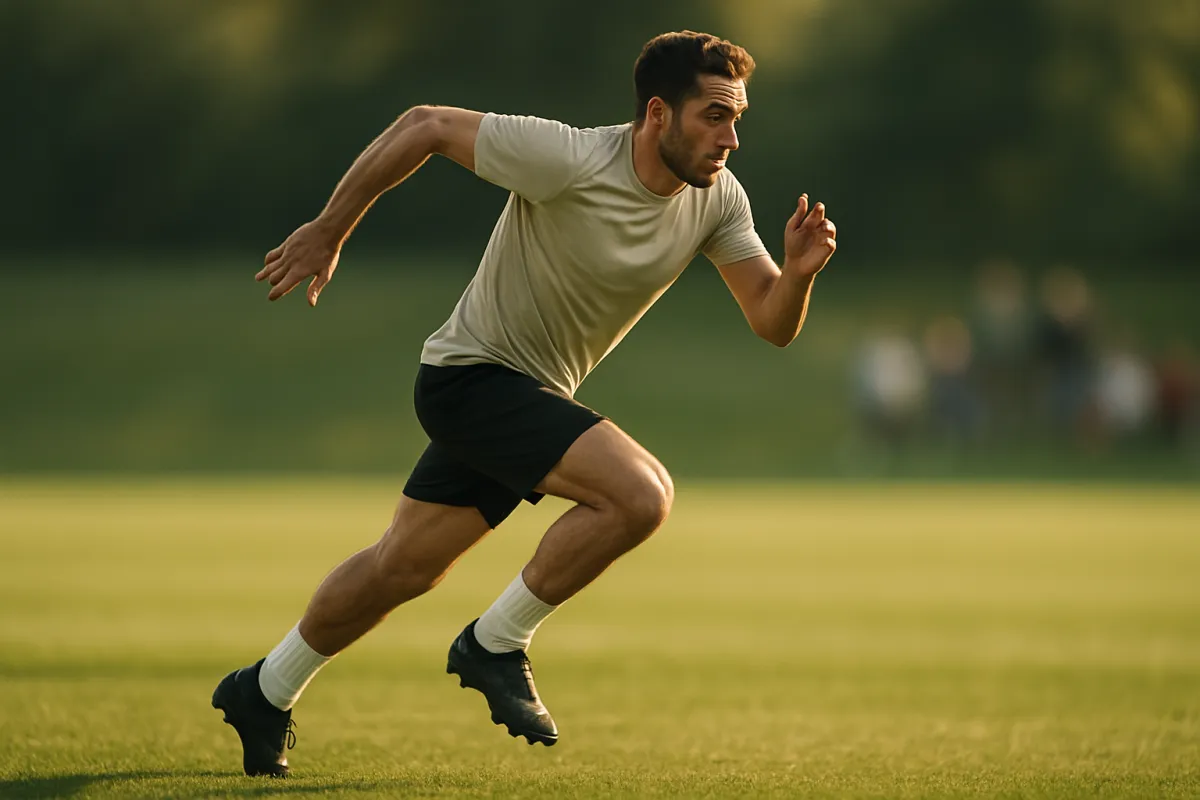
Before pricing anything, be honest about which complaint a monopod is meant to fix, because it is not the right tool for every version of camera fatigue or blur. A monopod solves arm and shoulder fatigue from holding real weight for a long stretch, and it solves the slow setup time of a tripod when you need to reposition quickly between shots. It does not solve camera shake from a jittery grip the way stabilization does, and it does not solve the need for smooth continuous walking movement the way a gimbal does.
Sports, wildlife, and events are the classic monopod cases, because all three combine a heavy lens with a need to move or reposition fast. Static work, a locked interview frame, a long exposure, a product shot left unattended, is a tripod case instead, since a monopod cannot stand on its own and offers no stability advantage once your hand leaves it. Walking or following footage that needs to look smooth while moving is a gimbal case, since a single rigid leg does nothing to correct the sway and small rotation a gimbal’s motors actively cancel.
Watch out: buying a monopod to fix a problem a tripod or a gimbal actually solves is a common and avoidable mistake. If your honest complaint is that a tripod is too slow between static shots, a monopod helps. If your honest complaint is that handheld walking footage looks shaky, a monopod will disappoint you, because that is a gimbal’s job, not a single leg’s.
Step 3: Read the load rating honestly
A monopod’s published load rating describes the heaviest weight the leg and its locks can support without failing, and that number alone understates what a real shoot demands. A monopod gets braced against the ground at an angle, leaned on, and swung while tracking a moving subject, all of which load the leg with lateral and dynamic forces a static scale weight does not capture.
The practical fix mirrors the headroom principle used throughout this site’s support-gear guides: take your weighed payload from Step 1 and multiply by roughly one and a half before you shop. That inflated number, not your bare camera weight, is the rating to buy toward. As illustrative examples, a two pound mirrorless kit points toward a three pound minimum rating, a five pound DSLR and fast zoom points toward seven and a half pounds, and a ten pound super telephoto setup points toward fifteen pounds.
Watch out: a monopod’s rated capacity assumes the leg is extended to a reasonable working length and used roughly upright. A monopod extended to its absolute maximum length with a heavy lens mounted is working closer to its limit than the same setup at a shorter, sturdier extension, so do not assume full extension and full rated weight are both available at once without some loss of stiffness.
Step 4: Choose leg sections and material
Section count is a direct trade between setup speed and folded size. A three or four section monopod extends in fewer motions, locks fewer joints, and stays stiffer under a heavy lens, which is why it is the common choice for photographers who need to deploy fast on a sideline or in a hide. A five section monopod folds shorter, which matters for travel and carry-on luggage, at a small cost in rigidity and in how many locks you have to open and close to get to full height.
Material follows the same logic as any support gear. Aluminium legs are heavier and less expensive, which matters less on a monopod than it does on a tripod since you are generally holding it rather than carrying it on a strap all day, though the difference still adds up on a long travel trip. Carbon fiber legs save real weight and damp vibration slightly better, which is worth paying for specifically if the monopod travels with you on foot for hours or rides in a bag that is already near its limit.
Watch out: more sections is not automatically better, and a monopod bought purely for the smallest folded length can end up with locks and joints that are fussier to deploy quickly in the exact moment speed matters most, which defeats a large part of why you bought a monopod over a tripod in the first place.
Step 5: Choose the foot that matches your shooting angle
The foot is the detail most buyers skip entirely, and it is the one that produces the most daily annoyance when chosen wrong. A fixed foot is a simple rubber tip bonded or screwed to the base, light, cheap, and entirely adequate if you hold the monopod close to vertical most of the time, a straight-on sideline shot or a stage-front event angle.
An articulating or tilting foot pivots a few degrees at the base, so the leg itself can sit at a comfortable angle while the foot stays flat against the ground rather than digging in at an edge. This matters specifically when you lean the monopod toward a subject regularly, shooting from a seated position at a field event, working from a raised platform, or tracking a subject that is below your eye line, any situation where a perfectly vertical leg is not the natural angle for the shot.
Watch out: a fixed foot used at a steep angle tends to slip or dig in unevenly on hard flooring, which can feel like the monopod itself is unstable when the real cause is simply the wrong foot for the angle you are using it at.
Step 6: Choose the head that matches your subject
Payload and footing answer what the monopod can support; this step answers how the camera actually moves on top of it, and it is where monopods diverge most by use case. Three honest options cover most buyers.
No head at all, mounting the camera directly to a fixed or quick-release plate on top of the leg, keeps things lightest and fastest to deploy, and works fine for straight-ahead framing with occasional tilt handled by your own wrist tipping the whole monopod slightly. This is a common choice for run-and-gun shooting where speed matters more than fine framing control.
A small ball head adds the ability to angle the camera off-axis in any direction and lock it there, useful for events and travel where framing varies shot to shot and a monopod is doing double duty as a quick, light support rather than a dedicated action tool.
A tilt head or a small fluid-style head adds smooth, controlled vertical movement specifically built for tracking a subject moving across your frame or up and down it, a sprinting athlete, a bird taking flight, a basketball play developing under the hoop. This is the common upgrade path for sports and wildlife shooters, since it lets the monopod swing laterally on the leg itself while the head handles the vertical tracking smoothly rather than jerkily.
Watch out: a full ball head’s total freedom of movement, the exact feature that makes it good for general framing, works against fast subject tracking, since it offers no resistance to hold a tilt angle steady while panning, which is why dedicated sports and wildlife shooters more often choose a tilt or fluid head over a ball head specifically for that use.
Where a first-time monopod buyer usually goes wrong
Illustrative weighting, out of 100, of how often each mistake is what a disappointed first-time monopod owner actually did. This is a mental model drawn from common experience rather than a measured study, so read it as where to spend your own attention first.
Step 7: Set a budget and test before you commit
Price a monopod the same way our tripod field note prices support gear generally, as a share of the kit it carries rather than as an isolated number. A rough illustrative starting point runs from the low tens of dollars for a compact monopod suited to a light mirrorless kit, up through roughly one hundred and fifty to two hundred dollars for a sturdier model built for a heavy telephoto lens with a tilt or fluid head attached, climbing further for a combined monopod and head purchased separately for the most demanding payloads.
Before committing, test loaded with your own gear rather than a demo unit on a store shelf. Mount your actual camera and heaviest lens, extend the leg to a working height, and walk through the motions you actually use it for, panning quickly, leaning it at the angle your real shooting position requires, locking and releasing the leg sections a few times in a row. Watch for any flex you can feel through the leg under your real weight, and listen for a lock that slips rather than holding firm.
Watch out: a monopod that feels completely rigid held upright in a shop can still flex noticeably once leaned at an angle under a long lens, which is exactly the use case most buyers actually need it for, so test the lean, not just the upright hold. Price the winner against the rest of your kit spending in the upgrade budget planner before you commit.
Mounting point: camera body or lens collar
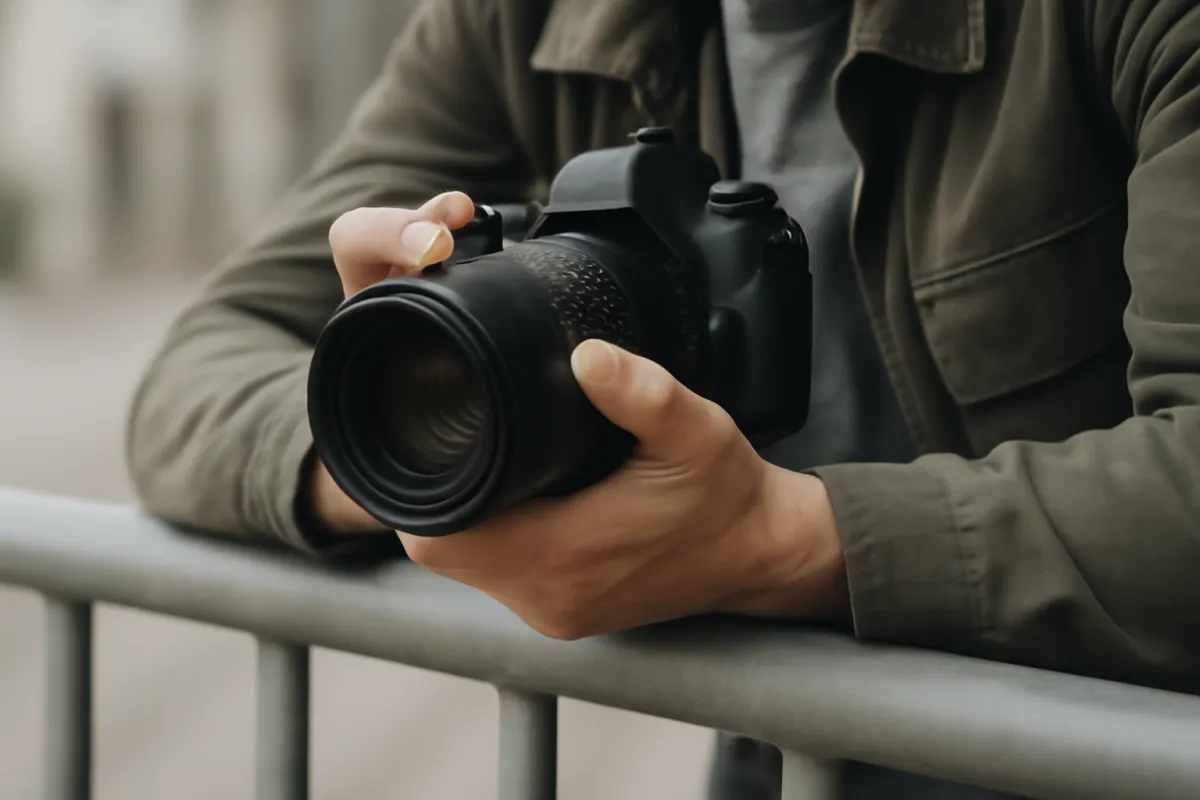
Where the monopod actually attaches changes how a heavy setup balances, and it is worth deciding deliberately rather than defaulting to whatever plate came in the box. Mounting through the camera body’s own tripod socket is the default for a lighter kit, a mirrorless body with a standard zoom or a short prime, since the body is roughly where the combined weight sits anyway, and threading the monopod there keeps the setup simple with one plate to manage.
Once a lens is long or heavy enough to ship with its own tripod collar, a ring that clamps around the lens barrel and rotates independently of the camera body, mounting the monopod to that collar rather than to the camera body is almost always the better choice. Supporting the heavy end of the assembly keeps the lens mount, which is a comparatively delicate connection point, from taking a bending load it was not designed to carry for hours at a time, and it also means rotating between horizontal and vertical framing happens at the collar rather than requiring you to twist the whole monopod and camera together.
Watch out: a long lens mounted to a monopod through the camera body rather than its own collar can work for an afternoon without obvious damage, but it is putting a sustained leverage load on the lens mount that the mount was not built to carry as a support point, and it also makes the whole assembly noticeably more front-heavy and harder to hold steady than mounting at the collar would. If your lens has a collar, use it.
Quick-release plates deserve the same attention here as they do on a tripod. A plate that is the wrong size for a heavy lens collar, or one that is not torqued down fully, is a common point of slow slippage during a long session, showing up as a slight drooping of the front of the lens over time rather than a sudden failure, which makes it easy to blame the monopod itself when the actual cause is a loose plate.
Care in cold, wet, or sandy conditions
A monopod spends more time planted directly on the ground than a tripod’s legs typically do in exactly the conditions it gets used in most, a muddy sideline, a wet dock during a wildlife session, loose sand at a beach event, which makes basic care worth a short mention. Rinse a monopod that has been in salt water or heavy mud with fresh water as soon as practical, since grit works into the leg lock threads and the foot’s pivot on an articulating model faster than it does on a tripod’s wider stance, and a gritty lock is what eventually turns a quick height adjustment into a fight.
Cold weather mostly affects the foot and the locks rather than the leg itself. A rubber foot stiffens in genuinely cold conditions and grips less reliably on ice or frozen ground, and twist locks can bind slightly until they warm from handling. Neither is usually a defect, just a property of the materials, and both resolve once the monopod has been in use for a few minutes.
Watch out: a monopod left extended and under load in direct hot sun for a long stretch, propped against a car or a fence between shots, can get warm enough that a carbon fiber leg’s grip coating softens slightly, which is rarely damaging but can feel different in the hand than a leg that has been in shade. It is a minor point, but one more reason not to leave support gear baking between uses if you can avoid it.
A worked example: a wildlife shooter choosing a monopod
Setup. A mirrorless body with a long telephoto lens weighs 6.0 pounds fully assembled, a realistic combined weight for that kind of reach.
Step 2. The complaint is arm fatigue through a multi-hour wildlife session, plus the need to pan and reposition quickly when a subject moves, both classic monopod cases rather than a tripod or gimbal problem.
Step 3. Multiplying 6.0 pounds by one and a half gives a minimum rating to shop for of 9.0 pounds. A monopod rated right at 6.0 pounds would already be close to its limit before any lean or swing force is added.
Step 4. Hours in a hide or walking between positions favor a three or four section leg for fast, stiff deployment over a five section model built mainly for packing small.
Step 5. Shooting from a low seated position at a hide means the monopod leans regularly rather than standing fully upright, pointing toward an articulating foot rather than a fixed one.
Step 6. Tracking birds in flight and animals moving unpredictably points toward a tilt or small fluid head over a full ball head, since the tracking needs controlled vertical movement rather than total freedom.
Step 7. Illustrative starting spend for a monopod in this class, leg plus a tilt head: $180. Against a kit valued around $3,500 for the body and lens combined, that is about 5.1% of the kit’s value, a reasonable illustrative share for a support tool.
What a monopod purchase is actually paying for
Illustrative split, summing to 100, of where the cost typically lands in a monopod built for a heavy telephoto lens. The three parts sum to the whole spend, and they are where the surprises live for buyers pricing the leg alone.
A head and a proper foot together can account for more than half of a well-specified monopod's total cost, which is why pricing just the bare leg and assuming the rest is a rounding error tends to produce a budget surprise.
Monopod versus tripod versus gimbal, honestly
A tripod, covered in our tripod buying field note, wins decisively at anything static, a long exposure, a locked interview, leaving a camera unattended, none of which a monopod is built for since it cannot stand on its own at all.
A gimbal, covered in our camera gimbal buying field note, wins at smooth continuous movement, walking, following, and panning footage that needs to look glide-smooth, which a rigid single leg cannot deliver regardless of how well it is balanced or how good its head is.
A monopod wins specifically at removing static arm fatigue while staying fast to deploy and reposition, which is a narrower job than either of the other two but one neither of them does as well. Many serious long-lens shooters own all three and reach for whichever one matches the actual complaint of the day, rather than treating any single support as a universal answer.
Travel and the case nobody mentions
A monopod is the lightest and most packable of the three supports discussed here, which is a real part of its appeal, but it still needs honest handling on a travel day. Folded, even a longer five section monopod is typically no larger than a closed umbrella, and most fit diagonally in a camera bag’s side pocket or strapped to the outside without much fuss, unlike a folded tripod or a dual-handle gimbal case.
The detail travelers miss is the head, when one is attached. A tilt or fluid head adds real length and a small amount of fragile-feeling mechanism to an otherwise simple leg, and it is worth a thin padded wrap or a small pouch if it travels loose in a bag with other hard gear. Check an airline’s current carry-on policy before a flight the same way our camera bag field note recommends for any support gear, since allowances vary by carrier and change.
Common mistakes to avoid
- Buying a monopod to fix shaky walking footage. That is a gimbal’s job. A monopod removes static fatigue and does nothing for the sway a gimbal’s motors actively correct.
- Skipping the headroom math. A monopod rated right at your bare camera weight is already near its limit before any lean or swing force from real handling is added.
- Choosing a fixed foot while shooting mostly at an angle. The leg is not unstable; the foot is simply fighting the angle it is being used at.
- Adding a full ball head for subject tracking. Total freedom of movement is the wrong feature for panning a moving subject smoothly, which is exactly what a tilt or fluid head is built for instead.
- Chasing the smallest folded size over setup speed. A five section monopod packs smaller, but more locks to open costs real seconds on a sideline, which can matter more than the pack size ever will.
- Treating the published rating as the real-world limit. Bracing, leaning, and panning load a monopod harder than a static weight on a scale, which is why the one and a half times multiplier exists.
Troubleshooting the hard cases
What if my monopod flexes noticeably when I lean it at an angle? This usually means the rated capacity was judged on an upright hold rather than a real leaning stance. Check your payload against the rating with the one and a half times multiplier applied honestly, and consider whether a stiffer, fewer-section leg at the same rated weight would hold better under the angle you actually shoot at.
What if the quick-release plate keeps loosening during a shoot? Confirm the plate is torqued to the manufacturer’s recommended tightness rather than hand-tight by feel, and check it again partway through a long session, since vibration from panning and bracing can work a loosely set plate free over time.
What if I am between a monopod and a gimbal and cannot decide? Revisit Step 2 honestly. If the complaint is arm fatigue and the need to reposition fast between mostly still frames, a monopod is the lighter, cheaper, and faster answer. If the complaint is that handheld footage looks shaky while you are walking or following a subject, no monopod fixes that, and the camera gimbal field note is the one to read instead.
What if the foot keeps slipping on a hard or polished floor? A rubber tip that grips fine on grass or dirt can skate on tile or polished concrete. A rubber foot with deeper tread, or a small add-on rubber cap sold for exactly this purpose, usually solves it without replacing the whole monopod.
Your monopod checklist
Run down this list before you buy, and again before the return window closes:
- Weigh your heaviest realistic camera and lens, assembled, on a real scale.
- Multiply that weight by roughly one and a half to get your minimum rating to shop for.
- Confirm your actual problem is arm fatigue or repositioning speed, not shaky walking footage, which is a gimbal’s job instead.
- Pick three or four sections for speed and stiffness, or five if folded size genuinely matters for your travel.
- Decide fixed or articulating foot based on whether you shoot mostly upright or mostly at an angle.
- Decide no head, a ball head, or a tilt or fluid head based on whether you need to track moving subjects smoothly.
- Set a budget before browsing, and remember the head and foot hardware can be a large share of the total spend.
- Mount your real gear and test the lean, not just the upright hold, before the return window closes.
- Check the quick-release plate torque and recheck it partway through your first real shoot.
The bottom line
A monopod is chosen well in about fifteen minutes once you have the one number that matters: your heaviest real camera and lens, weighed honestly. Multiply that by roughly one and a half for the rating to shop for, pick three or four sections unless folded size genuinely drives your decision, and match the foot and the head to how you actually hold and move the leg rather than to what looks most capable on a shelf. It is a narrower tool than a tripod or a gimbal, solving static arm fatigue and fast repositioning rather than perfect stillness or smooth continuous movement, and it is worth buying exactly for that narrow job rather than expecting it to replace either of the other two. Set your kit, your use, and your budget in the monopod sizing companion above, and weigh the spend against the rest of your kit in the upgrade budget planner before you commit.
This field note describes a general method for sizing and choosing a monopod, and it deliberately names no brands or models, because the right monopod depends on your gear, your shooting angle, and your subject, and because models change faster than any article can track. The weights, ratings, percentages, and dollar figures here are rounded illustrative planning estimates built from typical gear dimensions and common price tiers, not measurements of any particular product or quotes from any retailer, so confirm real specifications and current pricing before you buy. Airline carry-on allowances vary by carrier and route and change without much notice, so verify the current requirements with your airline rather than relying on figures read anywhere, including here.
Frequently asked questions
What is a monopod actually used for in photography?
A monopod is a single telescoping leg that takes the weight of a camera and lens off your arms without the full setup time or footprint of a tripod. It cannot stand on its own and it does nothing for a long exposure, but it removes most of the vertical fatigue of holding a heavy lens for hours, and it still lets you swing, pan, and reposition quickly, which is why it is the common choice for sports, wildlife, and any event where a tripod is either banned or simply too slow to set up between shots.
Is a monopod better than a tripod for sports photography?
For most sports shooting, yes, because the deciding factor is usually speed and mobility rather than absolute stillness. A tripod holds a frame perfectly still but anchors you to one spot and takes real time to reposition, which costs you the next play while you are still adjusting legs. A monopod sets up in seconds, lets you swing with the action, and still removes most of the arm fatigue of a long lens, trading a small amount of stability for a large amount of speed. If your subject is static, such as a fixed wide shot of a stage or a podium, a tripod remains the better tool.
What load rating do I need on a monopod?
Weigh your heaviest realistic camera and lens combination, including anything mounted such as a flash bracket, and look for a monopod rated at roughly one and a half times that number. The extra margin matters more than it sounds, because a monopod is braced and leaned on during a shoot, not simply set down, and the lateral forces from panning and following a subject load the leg differently than a static weight sitting on a scale would suggest. A rating right at your bare camera weight leaves no margin for that real-world handling.
Do I need a head on a monopod, or can I mount the camera directly?
It depends on what you shoot. Direct mounting, with no head at all, keeps the monopod as light and fast as possible and works fine if your shots are mostly straight-ahead framing with occasional vertical tilt handled by your own wrist. A small ball head adds the ability to angle the camera off-axis and lock it there, useful for events and travel. A tilt head or a small fluid-style head adds controlled up-and-down movement specifically for tracking a moving subject such as a sprinting athlete or a flying bird, which is the most common upgrade path for sports and wildlife shooters.
What is an articulating foot on a monopod, and do I need one?
A fixed foot is a simple rubber tip, cheap, light, and fine for a monopod held mostly upright. An articulating or tilting foot pivots a few degrees at the base, letting the leg sit at a slight angle to the ground while the foot itself stays planted, which matters when you are leaning the monopod for a comfortable shooting angle rather than holding it perfectly vertical. If you shoot mostly straight down a sideline or a stage front, a fixed foot is enough. If you lean the monopod toward a subject at an angle regularly, such as shooting from a seated position at a field event, an articulating foot removes a real annoyance.
Can I use a monopod for video?
Yes, with a caveat about smoothness. A monopod removes vertical fatigue and adds real stability against up-and-down bounce, which helps handheld video noticeably, but it does nothing to correct the side-to-side sway and small rotational wobble that a motorized gimbal actively corrects. For run-and-gun video where you mostly want a steadier base under a heavy lens rather than cinematic smoothness, a monopod with a fluid-style head is a lightweight, inexpensive, and genuinely useful tool. For footage that needs to look glide-smooth while walking, a gimbal is solving a different problem.
How many leg sections should a monopod have?
Fewer sections generally mean a stiffer, faster-to-deploy leg, while more sections mean a shorter folded length that packs smaller. A three or four section monopod is the common choice for most photographers, since it extends quickly and stays rigid under a long lens. A five section monopod folds shorter for travel and carry-on luggage at a small cost in setup speed and a very slight reduction in stiffness, which matters more as the payload riding on it gets heavier.
Does a monopod replace image stabilization or a gimbal?
No, it solves a different problem than either. In-body or lens stabilization corrects small, fast shake and costs nothing extra to carry, while a monopod's job is removing the static fatigue of holding real weight for hours, which stabilization does not address at all. A gimbal corrects smooth continuous movement such as walking or following a subject, which a monopod, being a single rigid leg, cannot do. Many photographers who shoot long lenses own a monopod and rely on their lens stabilization at the same time, since the two solve genuinely different problems rather than competing for the same job.