What's on this page
- Before you start
- Step 1: Inventory the Kit You Actually Carry
- Step 2: Choose Your Carry Style
- Step 3: Size the Bag to Your Real Load
- Step 4: Judge the Protection That Actually Matters
- Step 5: Match Access Speed to How You Shoot
- Step 6: Check the Comfort Hardware
- Step 7: Set a Budget and Pressure-Test Your Pick
- A worked example: three photographers, three bags
- Camera bag capacity in plain terms
- Materials, zippers, and weather resistance
- Where a camera bag fits in your gear budget
- Common mistakes to avoid
- Troubleshooting the awkward cases
- Your camera bag checklist
- The bottom line
Short answer: Choose a camera bag by sizing it to the kit you carry on a normal day, not the kit you own: gear volume plus roughly a third for padding, plus water and layers. Then pick the carry style, since slings and shoulder bags buy speed, backpacks buy capacity and comfort, rollers buy volume you never lift, and an insert buys flexibility cheaply. Past roughly eight to ten pounds loaded, one shoulder stops being viable.
Every photographer eventually owns a small graveyard of camera bags. There is the one that was too small the week after it arrived, the one that fit everything and was too heavy to carry, the one with a zipper in exactly the wrong place, and the one that was perfect for a trip you took once. The bag is the least glamorous purchase in photography and the one that quietly decides how often the camera leaves the house, because a bag that hurts, snags, or hides your lens behind three flaps is a bag you stop packing. Getting it right is not about finding the best bag. It is about matching a shape to how you actually shoot.
This field note turns that match into a repeatable seven-step method you can run in an afternoon. By the end you will know how to measure the kit you genuinely carry, how to pick between a sling, a shoulder bag, a backpack, a roller, and a plain insert, how to size volume so a bag is neither cramped nor half empty, what protection actually protects, how to judge access speed against the way you shoot, which comfort hardware matters when the load gets real, and how to set a budget and stress-test a bag before the return window closes. It pairs naturally with our field note on what to upgrade first, since a bag competes for the same money as glass, and you can weigh it against the rest of your kit spending in the upgrade budget planner.
Key takeaways
- Size the bag to the kit you carry on a normal day, not the kit you own. Gear volume plus roughly a third for padding, plus your water and layers, is the number that matters.
- Carry style is the real decision. Slings and shoulder bags buy speed, backpacks buy capacity and comfort, rollers buy volume you never lift, and an insert buys flexibility for very little.
- Loaded weight decides more than volume does. Past roughly eight to ten pounds, one shoulder stops being viable no matter how good the strap is.
- Water resistance is not waterproofing. The rain cover, not the fabric, is the part that keeps a real downpour out of your gear.
- The most expensive camera bag mistake is buying for the kit you imagine owning in two years, which produces a bag that is too big today and still wrong then.
Before you start
Choosing a camera bag is a low-difficulty job that takes about an hour of honest thinking and, ideally, a week of living with the bag before you commit. There is nothing technical about it. The difficulty is entirely in resisting two temptations: buying for a hypothetical future kit, and buying the bag that looks best in a photograph rather than the one that fits the way you move. Almost every bag that ends up unused was bought in one of those two moods.
Here is what you want in front of you before you start, roughly in order of how much it matters:
- Your actual gear, laid out on a table. Not the list in your head. Bodies, lenses, flash, filters, batteries, cards, cleaning kit, the small things. Seeing it physically is what corrects the estimate you would otherwise make.
- An honest account of a typical outing. Where do you go, how do you get there, how long are you out, and what do you carry that is not camera gear. Water and a layer take up real space and get forgotten in every calculation.
- A tape measure and a bathroom scale. Measuring the rough footprint of your gear and weighing the loaded kit takes five minutes and beats guessing every time.
- A rough figure for what your kit is worth. Not for insurance, just as a sanity check on how much bag the gear justifies. As an illustrative range, most people land somewhere between three and eight percent of the kit’s value.
- Your return window, read before you buy. The single most useful thing you can do with a new bag is load it, walk with it, and be willing to send it back.
- A budget you set before you browse, because bag pages are designed to make the next size up look obviously smarter.
With those in hand, the seven steps below take you from a vague sense that you need a bag to a specific shape, a specific volume, and a specific price band, tested against a real outing before the money is really spent. Tell the companion above what you carry and where you carry it, and it will name a carry style, a target volume, and a loaded weight that follow you through every step.
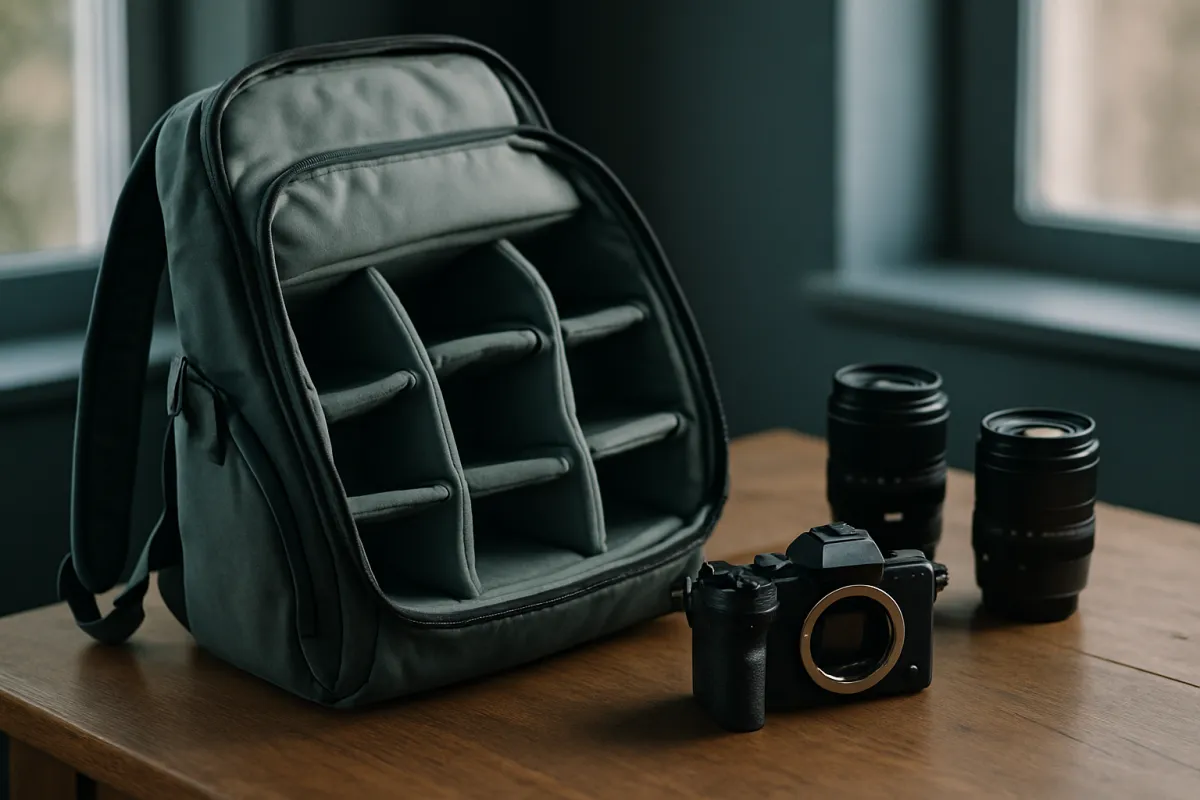
Step 1: Inventory the Kit You Actually Carry
Start by separating two lists that almost everyone conflates: the gear you own, and the gear you carry on a normal day. Owning three lenses does not mean you carry three lenses, and the gap between those lists is where oversized bags come from. Lay everything on a table, then physically move to one side only the items you took with you the last three times you went out to shoot. That smaller pile is your real kit, and it is the pile the bag has to fit.
Now measure it rather than eyeballing it. Stand the lenses up, put the body beside them in the orientation it would sit in a bag, and note the rough footprint and height. You are after approximate volume, not precision. As illustrative working figures that hold up well across systems, a body with one lens attached occupies around five liters, a body with two lenses around eight, a body with three lenses plus a flash around thirteen, and two bodies with four lenses around twenty. Those numbers are the gear alone, before any padding, and they are the input everything else in this method runs on.
Then add the small things, because they are how a bag that fit on paper ends up overflowing. Spare batteries, memory cards, a blower and cloth for the lens cleaning routine, filters, a remote, a lens hood that will not fit reversed, the cable and charger if you are away overnight. Individually trivial, collectively they claim a liter or more and they are almost always forgotten in the estimate. Write them on the list.
The watch-out here is the aspirational lens. Almost everyone adds the telephoto they might buy, or the second body they might want, and sizes the bag for it. That single decision produces a bag that is too large for two years of real use and, when the lens finally arrives, is often still the wrong shape for it because you bought before you knew. Size for the kit on the table today. If your kit genuinely grows, that is a good problem, and by then you will know exactly what the next bag has to do. The reasoning in our upgrade-order field note applies here too: buy for the photographer you are, not the one in the catalogue.
Step 2: Choose Your Carry Style
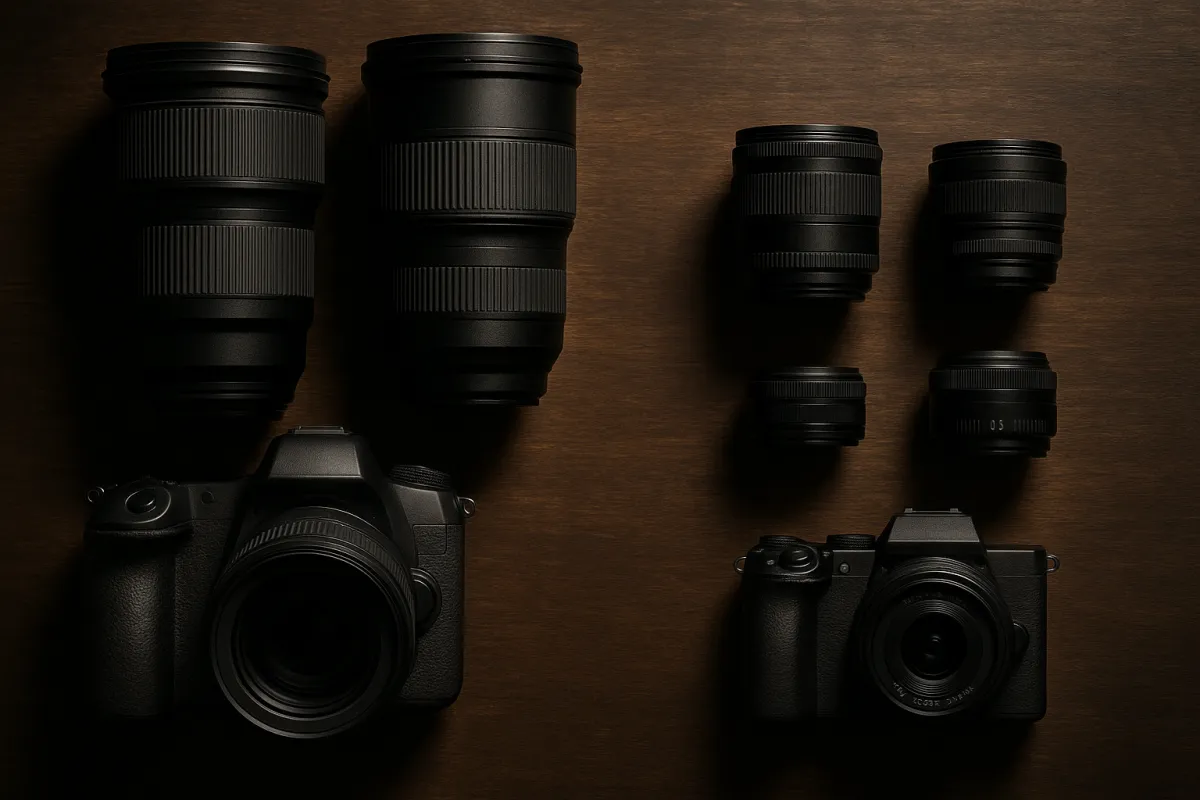
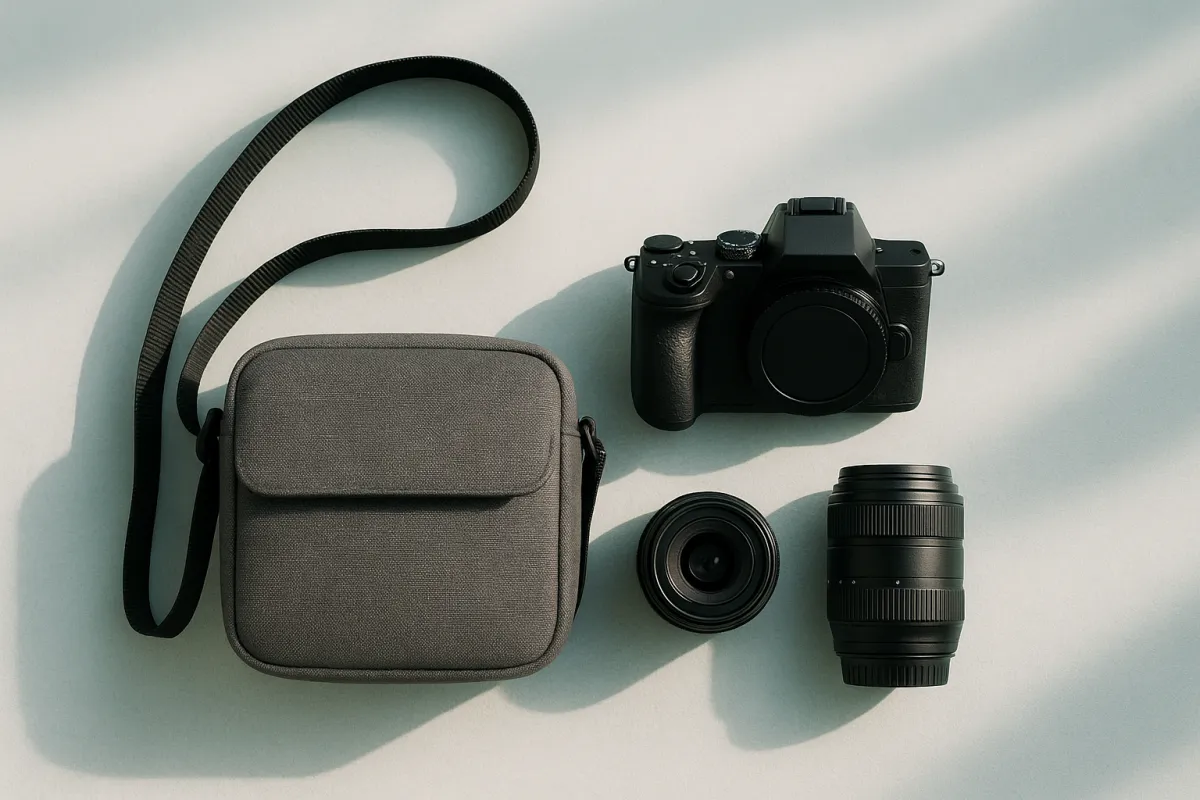
With the kit measured, pick the shape before you pick the bag, because carry style decides more about your experience than any feature on a spec sheet. There are five practical shapes, and each one is a different answer to the same question: what are you willing to trade for what.
A sling rides on one shoulder across your back and rotates around to your front without coming off. It is the fastest access there is, it carries a modest kit, roughly a body and one or two lenses, and it disappears when you are not using it. The trade is capacity and single-shoulder loading, so slings stop being pleasant once the load gets past a few pounds.
A shoulder bag hangs at your hip with a flap or zip on top. Access is quick, it holds more than a sling, and it is the traditional shape for street and documentary work. The trade is the same asymmetric weight, harder, because a shoulder bag can hold enough to hurt you.
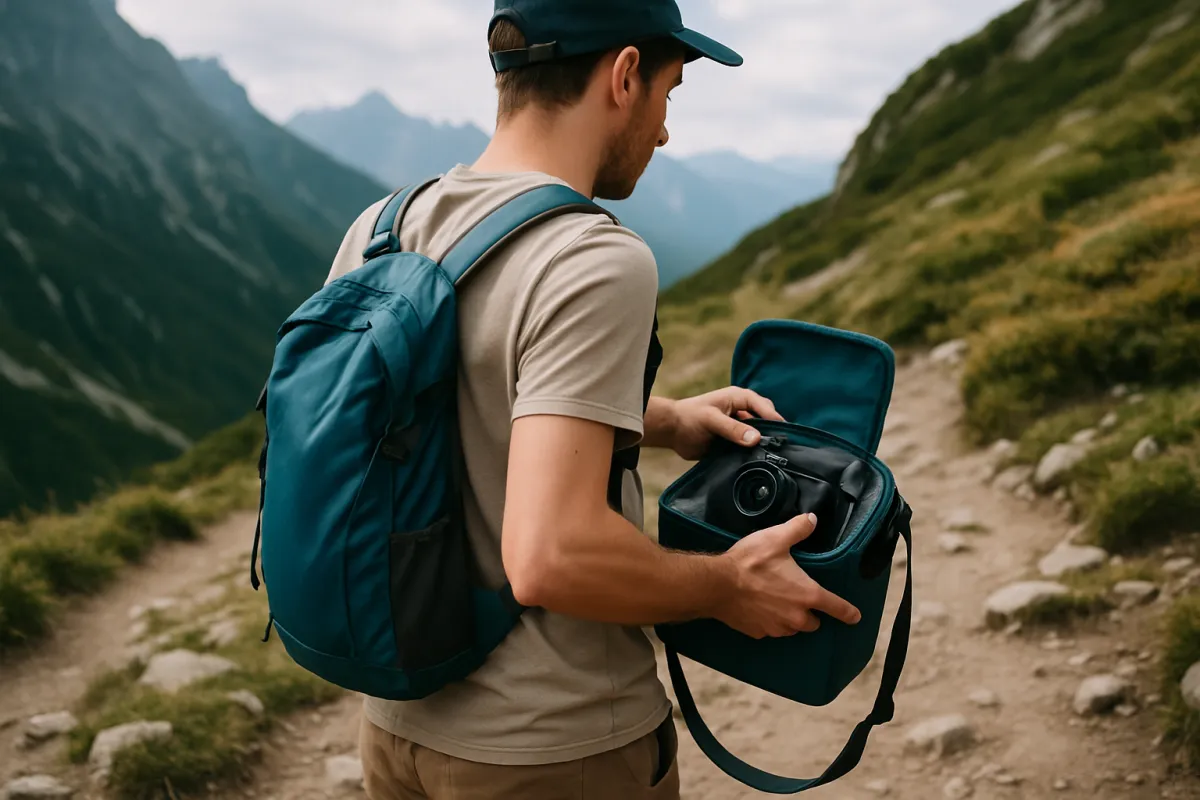
A backpack puts the weight on both shoulders and, if it has a hip belt, largely onto your hips. It is the only shape that carries a serious kit for hours without punishing you, and it is the right answer for hiking, travel days, and anything over roughly ten pounds. The trade is access: most backpacks require taking the bag off, and even side-access designs are slower than a bag already hanging at your hip.
A roller takes the weight off you entirely and moves it onto wheels. It is the studio, event, and airport shape, ideal when the gear travels from a car to a venue over hard flooring, and useless on a trail or a cobbled street.
An insert is a padded divider box that turns any bag you already own into a camera bag. It is the cheapest way to get proper protection, it is discreet, and it lets one padded system move between a daypack, a tote, and a carry-on. The trade is that you lose dedicated access panels, tripod attachment, and a harness tuned for camera weight.
The watch-out is choosing on aesthetics. The real question is whether your typical day is limited by how much you can comfortably carry or by how fast you need the camera in your hands. If it is capacity, you want a backpack. If it is speed, you want a sling or a shoulder bag. Most people who own several bags eventually own one of each, and the one they use is the one that matched that answer.
Step 3: Size the Bag to Your Real Load
Now turn the inventory into a target volume, because “medium” means nothing and bag listings are written to make every size sound right. The method has three parts and takes a minute.
Start with your gear volume from Step 1. Add roughly thirty five percent for padding and dividers, since the walls and partitions that protect your kit take up real interior space that the gear numbers do not include. That gives you a padded volume: an illustrative five liter kit needs about seven liters of padded space, eight liters needs about eleven, thirteen liters needs about eighteen, and twenty liters needs about twenty seven. Those are the numbers people are surprised by, because the padding is invisible until you try to close the zip.
Then add the non-gear allowance for how you travel. Walking around a city with nothing but keys and a phone adds about two liters. Driving to a location and shooting near the car adds about four. Flying with the kit, where a jacket, documents, and a laptop sleeve join the party, adds about six. A day hike, with water, a layer, and food, adds about eight, and that number is not negotiable in any weather worth photographing.
Add them together and you have your target. A body and two lenses on a day hike, the single most common enthusiast case, works out to eleven liters of padded gear plus eight liters of everything else, or about nineteen liters total. That is a small daypack, not the fifty liter expedition bag the internet will try to sell you.
The watch-out cuts both ways. Too small and you compress gear against zips, leave the rain jacket behind, and end up hanging things off the outside, which is how a lens cap becomes a lens. Too large and the kit slides around inside, the empty space invites gear you do not need, and you carry the weight of the bag itself for nothing. Aim to fill roughly eighty to ninety percent of the interior on a normal outing, with a couple of liters of deliberate spare room for a layer or a bottle. Run your own kit and trip through the companion above and it will do this arithmetic for you.
Step 4: Judge the Protection That Actually Matters
With a shape and a size, look at what the bag actually does to keep gear alive, and separate the protection that matters from the protection that sells. Three things do almost all the real work, and they are rarely the things in the headline.
The first is the dividers. Padded, adjustable dividers that hold each item in its own compartment stop the most common damage of all, which is gear knocking into other gear inside the bag. Look for dividers thick enough to actually cushion rather than merely separate, with fastening that grips firmly and can be rearranged without a fight. A bag with generous padding on the outside and flimsy dividers inside protects worse than a plain box with good ones.
The second is the bottom panel. Bags get set down, on concrete, on gravel, on wet grass, hundreds of times, and the base takes every one of those impacts with your camera resting on it. A reinforced, well-padded base is worth more than extra padding anywhere else. Press it with your thumb: if you can feel the shape of your hand through it, it is decorative.
The third is closure security. Zips that run away from your body, flaps that actually cover the opening, and a design where the main compartment cannot yawn open when the bag tips over. A bag that pours its contents onto the pavement when you lean forward is a protection failure regardless of how thick the foam is.
Weather protection deserves an honest sizing. Coated fabrics shed light rain for a while, and that is genuinely useful, but zips and seams are where water gets in, and almost no camera bag is waterproof. The rain cover, a separate sleeve that pulls over the outside, is what actually keeps a downpour out. If a bag includes one, that is a real feature. If it does not, budget for one, and carry a plain plastic liner as a backup.
The watch-out is confusing bulk with protection. Thick outer padding adds weight and volume, and past a certain point it protects against impacts your gear will probably never see while making the bag heavier on every outing it does see. Prioritise good dividers, a strong base, and a closure you trust, and let the rest go.
Step 5: Match Access Speed to How You Shoot
Protection and access are in direct tension, and this is the step where you decide which side of that tension your bag sits on. Every layer between your hand and your camera adds safety and subtracts speed, and the right amount depends entirely on the kind of pictures you take.
Time it honestly. With the bag as you would actually wear it, closed as you would actually close it, count how long it takes to get the camera out and shooting, and how long to swap a lens. A sling or shoulder bag typically gets you shooting in a second or two, because the bag never leaves your body. A side-access backpack takes longer, since you swing it round on one strap and reach in blind. A top-loading or rear-panel backpack means taking it off, finding somewhere clean to put it, and opening a panel, which realistically runs to half a minute or more.
Then decide what that costs you. For street, documentary, events, wildlife that appears without warning, and photographing children, thirty seconds is the difference between a photograph and a memory, so speed wins and you accept a bag that carries less. For landscape work, hiking, studio, and travel where you unpack at a location, thirty seconds costs nothing at all, and you should take the capacity and comfort instead. The same logic governs how you carry a tripod, and our phone tripod field note makes the equivalent point about support you will actually bring.
Access also decides how the bag behaves in dirt and rain. A rear-panel backpack, where the opening sits against your back, keeps the panel that touches your gear off the wet ground and makes casual theft harder, at the cost of being slow. A front-flap bag is fast and exposes the interior to whatever is falling from the sky.
The watch-out is buying speed you will not use. Fast-access bags typically trade away volume, weather sealing, and comfortable load carrying to get it. If you honestly shoot landscapes from a tripod, a sling will annoy you within a month, and if you honestly shoot street, a rear-panel pack will sit in a cupboard. Be truthful about which one you are.
Step 6: Check the Comfort Hardware
This is the step people skip, and it is the one that decides whether the bag gets used. Comfort is not a soft consideration. A bag that hurts changes what you shoot, because you leave it at home, and the bag you leave at home protects nothing.
Start with loaded weight, since it governs everything else. As an illustrative model that tracks reality well, reckon on about zero point six pounds per liter of gear, plus around two pounds for the bag itself and a bottle of water. That puts a body and one lens near five pounds, a body and two lenses near seven, a body with three lenses and a flash near ten, and two bodies with four lenses near fourteen. Somewhere between eight and ten pounds, one shoulder stops being a reasonable place to put a load for a whole day, no matter how good the padding is. That threshold, more than any feature, is what pushes people from shoulder bags to backpacks.
Then check the hardware itself. On a shoulder bag or sling, you want a wide, padded, non-slip strap, since a narrow strap concentrates the same weight into a thin line across your collarbone, and a slippery one creeps all day. On a backpack, you want shoulder straps that are contoured rather than flat, a sternum strap to stop them splaying, and, once you are past about fifteen pounds, a genuine padded hip belt rather than a token webbing strip. A real hip belt moves most of the weight onto your hips, which is the difference between an hour and a full day.
Check the back panel too, because it is the part in contact with you. Some structure and some channelling for airflow makes a real difference in warm weather, and a panel that lets a lens edge press into your spine will ruin an otherwise good bag.
The watch-out is judging comfort in an empty bag. Every bag is comfortable empty. Load it with the actual kit, including the water and the layer, and wear it for a genuine walk before the return window closes. Discomfort that is barely noticeable in ten minutes becomes the reason you stop bringing the camera at all.
Step 7: Set a Budget and Pressure-Test Your Pick
Set the number before you shop, because bag listings are engineered to make the next tier look like the sensible choice. A workable sanity check is to spend somewhere between three and eight percent of what the kit inside is worth. For an illustrative three thousand dollar kit that is roughly ninety to two hundred and forty dollars, and for a modest first kit it may well land above eight percent simply because bags have a floor, which is fine.
As illustrative typical entry points for something genuinely worth owning, a decent sling starts around forty dollars, a capable shoulder bag around seventy, a real camera backpack with a proper harness around one hundred, and a roller around one hundred and sixty. Prices move constantly and vary by retailer and season, so treat those as planning anchors rather than quotes, and check current pricing when you buy. Spending above the band buys materials, hardware, and refinement, all real, none of which change whether the bag is the right shape.
Then pressure-test the bag before you own it in earnest, which is the whole point of this step. Load it with your real kit, plus the water and the layer. Weigh it. Wear it for at least half an hour, ideally on the kind of ground you actually shoot on. Practise getting the camera out and swapping a lens, three or four times, until it stops being novel. Set it down on a hard floor and see whether it stands up or flops onto its side. Open it in the rain if you can, or at least confirm the rain cover deploys without a wrestling match.
The watch-out is the slow drift into keeping something that is nearly right. Most bags feel fine in the house, and the flaws that matter, the strap that creeps, the panel that presses, the zip you have to fight, only surface on a real outing. Do the outing while you can still send it back. A bag you return is a small inconvenience, and a bag you tolerate is one you stop packing. Price the winner against the rest of your kit spending in the upgrade budget planner before you commit.
How much padded space each kit really needs
Illustrative padded volume in liters for common kits, which is gear volume plus roughly thirty five percent for dividers and walls. This is a planning model built from typical gear dimensions, not a measurement of any specific bag, and it excludes water, layers, and personal items.
Notice how modest the common cases are. The kit most enthusiasts actually carry, a body and two lenses, needs about eleven liters of padded space, which is a small daypack rather than the large pack most people reach for. Set your own kit in the companion above to see your number.
A worked example: three photographers, three bags
Theory is easy to nod along to, so here are three realistic shooters run end to end through all seven steps, with the same arithmetic each time and three completely different answers.
Maya shoots a city on foot. Step 1: her real kit is a body with one prime attached, plus batteries, cards, and a cloth, about five liters. Step 2: she photographs strangers and street corners, where a moment lasts two seconds, so speed beats capacity and she wants a sling. Step 3: five liters of gear becomes about seven padded, plus two liters for keys, phone, and a small bottle, for a nine liter target. Step 4: she prioritises a firm base and a zip that faces her body, since she is often in crowds. Step 5: she times herself at under two seconds to shooting, which is the entire reason she chose this shape. Step 6: her loaded weight is around five pounds, comfortably inside one-shoulder territory. Step 7: she budgets ninety dollars against an illustrative twelve hundred dollar kit, which is seven and a half percent, right in the band. She walks a city afternoon with it before deciding.
Owen photographs landscapes on foot. Step 1: a body, three lenses, and a flash he uses for close-ups, about thirteen liters. Step 2: he walks for hours and shoots from a tripod, so capacity and comfort beat speed, which points to a backpack. Step 3: thirteen liters becomes about eighteen padded, plus eight liters for water, a layer, and food, for a twenty six liter target. Step 4: he wants a rear-panel opening so the side against his gear never touches wet ground, plus a rain cover he can deploy one-handed. Step 5: half a minute to open the pack costs him nothing, because his subjects do not move. Step 6: loaded weight lands near ten pounds, which is where a hip belt stops being optional. Step 7: he budgets two hundred and fifty dollars against an illustrative thirty five hundred dollar kit, about seven percent, and tests it on a real hill before the return window closes.
Priya covers events. Step 1: two bodies and four lenses, around twenty liters. Step 2: she drives to venues and works fast once inside, which splits the answer: a roller or large backpack to move the kit, and a small shoulder bag on her body while shooting. Step 3: twenty liters becomes twenty seven padded, plus about four liters for the drive-and-shoot pattern, for a thirty one liter transport target. Step 4: the base and the closure matter most, since the bag lives on venue floors. Step 5: her shooting access comes from the shoulder bag, not the transport bag, which is why the split works. Step 6: fourteen pounds is far past one shoulder, which is exactly why the heavy container has wheels or a harness. Step 7: she budgets four hundred dollars against an illustrative seven thousand dollar kit, under six percent.
Same seven steps, same arithmetic, three different shapes, because the inputs differ. Run your own kit, trip, and access needs through the companion above and it lands you on your version.
Where the volume goes in a nineteen liter day bag
An illustrative breakdown of the most common enthusiast case: a body and two lenses carried on a day hike. The four slices sum to the whole bag, and they are where the surprises live for people who size a bag by gear alone.
Camera gear is less than half the bag. Padding and the things that are not cameras take the majority, which is precisely why bags sized on gear volume alone always feel too small on the first real outing.
Camera bag capacity in plain terms
Liters are a useful unit for arithmetic and a terrible unit for imagining, so it helps to translate the numbers into what actually fits. A bag in the eight to ten liter range holds a body with a lens attached, one spare lens if it is small, and the pocket items. It is a sling or a compact shoulder bag, it is fast, and it is the size most people find they use most often once they stop overpacking.
A bag around fifteen to twenty liters holds a body, two or three lenses, and the personal items for a day out. This is the sweet spot for enthusiast travel and day hikes, it usually takes a small tripod on the outside, and it is comfortable for hours. If you buy exactly one camera bag in your life, it is probably this one.
From twenty five to thirty five liters you are into serious capacity: two bodies, several lenses including a longer one, a flash, and a laptop sleeve. These bags are genuinely useful and genuinely heavy, and they are where a proper hip belt stops being a luxury. The reach lenses discussed in our telephoto field note are the usual reason people end up here, because a long lens changes the volume equation in one purchase.
Above that, you are buying transport rather than carry. Rollers and large expedition packs exist to move a kit from one place to another, not to be worn while shooting, and the honest way to use one is as a container that a smaller working bag comes out of. The general pattern across all four tiers is that people buy one tier larger than they need and then carry a partly empty bag for years. Sizing down one tier from your instinct is right more often than it is wrong.
Materials, zippers, and weather resistance
Materials matter less than the marketing suggests, but a few things are worth knowing so you can read a listing without being misled. Most camera bags use a synthetic fabric with a water-resistant coating, and the practical differences between them come down to weight, abrasion resistance, and how they age. Heavier fabrics survive scuffs better and cost you weight on every outing. Lighter fabrics carry beautifully and scuff sooner. Neither is a mistake, but note that a photograph cannot tell you which one a bag uses, so read the specification rather than judging by appearance.
Zippers are the component most likely to end a bag’s life, and they are worth attention. A good zip runs smoothly under a small load, has a pull you can operate with cold or gloved hands, and sits under a flap or a storm strip on any opening exposed to weather. Test it by loading the bag until it is properly full and then running the zip. A zip that only feels smooth when the bag is half empty will fight you every single day.
Weather resistance needs the honest framing again: water resistance buys you time, not immunity. Coated fabric sheds a shower for a while, and then water finds the seams, the zips, and the panel resting against your back. That is why a separate rain cover, pulled over the outside, is the part that genuinely keeps a downpour out. Check that a bag includes one, that it stows somewhere you can reach quickly, and that you can get it on one-handed in wind.
The other quiet material question is what the interior lining does to your gear. A soft lining protects finishes, and a bright interior colour makes finding a black lens cap in a dark bag dramatically easier. Small, but you will appreciate it on every outing for years.
Where a camera bag fits in your gear budget
A bag competes for money with lenses, and lenses change your photographs more than bags do, so the bag should not win that competition often. The useful framing is that a bag is infrastructure: it does not improve an image, it improves how often the camera is with you, which improves images indirectly and considerably. That makes it worth funding properly and not worth funding lavishly.
The three to eight percent band from Step 7 is a sanity check rather than a rule. Read it as a signal: if you are about to spend a quarter of your kit’s value on a bag, something has gone wrong with the reasoning, and if you are spending under two percent you are probably buying something that will not protect the gear inside. Small kits sit high in the band or above it, because a bag good enough to trust has a floor price, and large kits sit low, because bags do not scale linearly with what they hold.
Timing matters too. A bag bought at the same moment as a first camera is nearly always the wrong bag, because you do not yet know how you shoot. A common and sensible sequence is to start with an insert in a bag you already own, spend the saved money on glass, and buy a purpose-built bag six months later when your habits have made the requirements obvious. That sequence follows the same logic as our first camera budget field note, which argues for putting money where it changes pictures first.
The one exception worth naming is travel. If a trip is the reason you need a bag, buy it well before you leave, load it, and walk with it, because a bag that reveals its flaws on day one of a trip you have been planning for a year is an expensive kind of cheap. Weigh the bag against the rest of the year’s spending in the upgrade budget planner and decide deliberately.
Common mistakes to avoid
Most disappointing camera bags come from a handful of predictable errors, and recognising them is faster than reading a hundred reviews:
- Buying for the kit you might own. Sizing a bag around a telephoto you have not bought produces a bag that is too large for the two years you use it, and usually still wrong when the lens arrives. Size for the table today.
- Ignoring loaded weight. Volume gets all the attention and weight does all the damage. Past roughly eight to ten pounds, one shoulder is not a viable carrying system regardless of strap quality, and no amount of padding changes that arithmetic.
- Forgetting the things that are not cameras. Water, a layer, food, and documents take real space, often as much as the gear itself. A bag sized purely on gear volume is guaranteed to feel too small on its first real outing.
- Treating water resistance as waterproofing. Coated fabric buys you a shower, not a storm. The rain cover is the actual protection, and a bag without one needs that cost added to its price in your head.
- Judging comfort empty. Every bag is comfortable in a shop. Load it with the real kit and the real water and walk for half an hour, because the strap that creeps and the panel that presses only show up under weight.
- Buying speed you will not use, or capacity you cannot carry. A landscape shooter with a sling and a street shooter with a rear-panel expedition pack have made the same mistake in opposite directions: they bought a shape that fights the way they actually work.
- Hanging gear on the outside. When the interior runs out, things get clipped to the exterior, where they swing, snag, and eventually fall. If your bag needs external attachments to hold your normal kit, it is the wrong size.
Troubleshooting the awkward cases
Real situations rarely fit a clean rule, so here is how to handle the cases that come up most often.
What if you shoot two completely different ways, say landscapes on weekends and events during the week? Do not try to solve both with one bag, because the bag that satisfies both will be mediocre at each. The usual working answer is a large container plus a small working bag: a backpack or roller that transports everything, and a sling or shoulder bag that comes out of it and rides on your body while you shoot. A padded insert makes this cheaper still, since the same divided box can move between both.
What if you carry a laptop as well? A laptop changes the shape of the bag more than the volume, because it wants a flat, padded sleeve against the back panel, and that panel is exactly where a camera bag wants structure and airflow. Look for a bag designed around a laptop rather than one with a pocket added, and expect the loaded weight to jump by several pounds, which usually pushes you into backpack territory whether or not you wanted to go there.
What if your bag is nearly right but the dividers keep collapsing? This is common and often fixable. Rearranging so the heaviest item sits low and against your back improves both stability and comfort, and packing so every compartment is snug rather than roomy stops gear shifting. If dividers still fold over, a bag with firmer partitions or a proper insert dropped inside will solve it for far less than a new bag.
What if you are flying? Assume nothing about carry-on limits, since they vary by airline, by route, and sometimes by aircraft, and they change. Measure your bag’s external dimensions, check the specific carrier’s current published allowance for your booking, and keep bodies, lenses, cards, and batteries in the bag that stays with you. Battery rules in particular vary and change, so confirm the current guidance rather than relying on what was true last year.
What if the bag is not the problem and the load is? This is more common than anyone admits. If you consistently come home having used two of the four lenses you carried, the fix is not a bigger bag or a better harness, it is carrying less. Try one outing with a single lens, and notice both the weight and, often, the pictures. And whatever the bag, remember that no bag protects your photographs after the shoot, which is what the photo backup field note is for.
Your camera bag checklist
Run down this list before you buy, and again before the return window closes:
- Lay out the kit you actually carried on your last three outings, not everything you own.
- Add the small things: batteries, cards, cloth, blower, filters, remote, charger.
- Estimate gear volume, then add about thirty five percent for padding and dividers.
- Add your non-gear allowance: about two liters around town, four driving, six flying, eight on a day hike.
- Decide the shape from how you shoot: sling or shoulder bag for speed, backpack for capacity and comfort, roller for transport, insert for flexibility.
- Weigh the loaded kit and check it against the eight to ten pound one-shoulder threshold.
- Press the base panel and flex the dividers, since those two do most of the real protecting.
- Check the closure faces your body, covers properly, and does not gape when the bag tips.
- Confirm a rain cover is included or budget for one, and check you can deploy it one-handed.
- Time yourself getting the camera out and swapping a lens, wearing the bag as you would in the field.
- Check the strap width and grip on a shoulder bag, and the sternum strap and hip belt on a backpack.
- Set the budget before browsing, aiming roughly at three to eight percent of the kit’s value.
- Load it fully and walk for at least half an hour on real ground before the return window closes.
- Aim to fill eighty to ninety percent of the interior, leaving a couple of liters of deliberate spare room.
The bottom line
A camera bag is chosen well when it disappears. The method that gets you there is unglamorous and reliable: measure the kit you genuinely carry rather than the kit you own, pick the shape from how you actually shoot rather than how the bag looks, and size it as gear volume plus about a third for padding plus an honest allowance for the water and layers you keep forgetting. Judge protection by the dividers, the base, and the closure rather than by outer bulk, then decide deliberately whether your day is limited by speed or by capacity, because that single answer separates a sling from a backpack. Check loaded weight against the eight to ten pound threshold where one shoulder stops working, and treat water resistance as time bought rather than immunity, with the rain cover doing the real work. Set a budget in the region of three to eight percent of what the kit is worth, then load the bag, walk with it, and be genuinely willing to send it back. Do that and you end up with one bag you use constantly instead of four you regret, which is the only outcome that matters. Set your kit and your typical outing in the companion above, and weigh the spend against the rest of your year in the upgrade budget planner.
This field note describes a general method for sizing and choosing a camera bag, and it deliberately names no brands or models, because the right bag depends on your kit, your body, and where you shoot, and because models change faster than any article can track. The volumes, weights, percentages, and dollar figures here are rounded planning estimates built from typical gear dimensions and common price tiers, not measurements of any particular product or quotes from any retailer, so confirm real specifications and current pricing before you buy. Airline carry-on allowances and battery rules vary by carrier and route and change without much notice, so verify the current requirements with your airline rather than relying on figures read anywhere, including here. Nothing above is an insurance, safety, or travel-compliance recommendation; if you carry gear whose loss would genuinely hurt, speak to a qualified insurance professional about how it is covered.
Frequently asked questions
What size camera bag do I need?
Size the bag to the kit you actually carry on a normal outing, not the kit you own. A useful working method is to measure the rough volume of your gear, add about a third on top for padding and dividers, then add whatever water, layers, and personal items the trip demands. As illustrative figures, a body and one lens is around five liters of gear, a body and two lenses around eight, a body with three lenses and a flash around thirteen, and two bodies with four lenses around twenty. That means a body and two lenses on a day hike lands near a nineteen liter bag once padding and personal items are counted, which is far smaller than most people guess and far more comfortable to carry.
Is a camera backpack or a shoulder bag better?
Neither is better in the abstract, because they solve opposite problems. A backpack moves weight onto your hips and spine so you can carry more for longer, which is why it wins for hiking, travel days, and anything past roughly ten pounds. A shoulder bag or sling keeps the camera swinging to your front in a second or two without taking anything off, which is why it wins for street work, events, and any situation where the shot exists for a moment and then is gone. The honest test is whether your usual day is limited by how much you can carry or by how fast you can get a lens out, and buying for the wrong one of those is the most common camera bag mistake there is.
How much should I spend on a camera bag?
Enough that the bag protects and carries the gear inside it, and rarely more. One sane sanity check is to spend somewhere in the range of three to eight percent of what the kit inside is worth, which for an illustrative three thousand dollar kit lands roughly in the ninety to two hundred and forty dollar band. Small kits often sit above that band simply because bags have a price floor, and that is fine. As illustrative typical entry points, a decent sling starts around forty dollars, a capable shoulder bag around seventy, a real camera backpack around one hundred, and a roller around one hundred and sixty, though prices move constantly and vary by where you shop.
Do I need a camera bag at all, or will an insert work?
An insert is a padded, divided box that drops into a bag you already own, and for a lot of people it is the smarter first purchase. It turns a daypack, a tote, or a carry-on into a camera bag for a fraction of the price, it lets you change bags without changing systems, and it keeps your camera from announcing itself in a bag that looks like luggage. What you give up is the dedicated access panel, the load-carrying harness, and the tripod attachment that purpose-built bags are designed around. If you already own a comfortable pack and mostly carry a modest kit, start with an insert and let the limits of that setup tell you what to buy next.
Are camera bags waterproof?
Almost none are truly waterproof, and treating water resistance as waterproofing is how gear gets ruined. Most bags use a coated fabric that sheds light rain for a while, but the zippers, seams, and the panel against your back are where water eventually finds a way in. That is why so many bags include a separate rain cover that pulls over the outside, and why the rain cover, not the fabric, is the part that actually keeps a downpour out. Assume any bag will wet through in sustained rain, carry the cover, and keep a spare bag liner or a plastic sack in the pack for the day the sky opens without warning.
Will a camera bag fit as airline carry-on?
Many camera backpacks are built around cabin dimensions, but carry-on limits differ by airline, by route, and sometimes by aircraft, so a bag that flew fine last month can be gate-checked this month. The practical approach is to measure the bag's external dimensions, compare them against the specific carrier's published allowance for your booking rather than a general rule, and confirm the current limits before you fly since they change. Keep the irreplaceable items, bodies, lenses, cards, and batteries, in the bag that stays with you, and pack anything you could bear to replace in checked luggage. Batteries in particular are subject to rules that vary, so check the current guidance for your airline rather than assuming.
How do I stop a camera bag from hurting my shoulder?
One shoulder carrying ten pounds all day is simply asking too much of a joint that was not designed for asymmetric loads. The first fix is to cut the load, since most people carry at least one lens they never mount. The second is a wider, padded, non-slip strap, which spreads the same weight over more surface and stops the strap creeping. The third, and the one that actually solves it, is switching carry style once the loaded weight passes roughly eight to ten pounds, either to a sling worn across the body, or to a backpack that puts the weight on both shoulders and a hip belt. If your shoulder hurts, the bag is telling you it is the wrong shape for your load, not that you need to toughen up.
Should I buy a bag that looks like a camera bag?
There is a real trade between convenience and discretion here. A bag that obviously carries camera gear usually offers faster dedicated access, better tripod attachment, and dividers designed around lens shapes. A bag that looks like an ordinary daypack, messenger, or tote attracts less attention on a street, on public transport, or in a hotel lobby, which matters more in some places than others. Most experienced shooters end up with something discreet on the outside and properly padded on the inside, which is exactly what an insert in a plain bag delivers. Choose the level of discretion that matches where you actually shoot, and remember that no bag is a substitute for keeping the strap on your body.