
What's on this page
- Before You Start
- Step 1: Decide How You Actually Carry the Camera
- Step 2: Weigh Your Real Camera and Lens Combination
- Step 3: Choose the Width and Padding for That Weight
- Step 4: Decide Between Sewn Loops and Quick-Release Clips
- Step 5: Match Carry Style to Your Shooting Pace
- Step 6: Check Security Features for Travel and Crowds
- Step 7: Set a Budget and Test Before You Commit
- Length Adjustment and Getting the Drop Height Right
- Dual-Camera Harnesses for Event and Wedding Photographers
- Buying a Strap Secondhand
- A Worked Example: Two Photographers Choosing a Strap
- Leather vs Nylon and Other Material Choices
- Caring for and Inspecting Your Strap Over Time
- Attaching a Strap to a Camera With No Standard Lugs
- Keeping a Strap Clean and Odor-Free Over Time
- Common Mistakes to Avoid
- Troubleshooting the Hard Cases
- Your Camera Strap Checklist
- Straps as Gifts: What to Know Before Buying One for Someone Else
- The Bottom Line
Short answer: Choosing a camera strap in seven steps: decide how you actually want to carry the camera, neck, sling or wrist, weigh your real camera and lens combination, pick a width and padding level that matches that weight, decide between sewn loops and a quick-release clip system, choose a carry style that matches how often you reposition the camera, check security features if you shoot in crowds or while traveling, and set a budget before testing the winner on your own body with your own gear for a real session, not just a few seconds in a store.
A camera strap gets treated as an afterthought on most buying lists, usually whatever came in the box, right up until a full day of actually carrying a loaded camera makes clear how much a strap’s width, carry style and attachment hardware genuinely affect comfort and confidence. Our camera bag field note and telephoto lens field note both touch on carrying weight as part of a bigger buying decision; this field note goes specifically into the strap itself, the one piece of gear that is actually attached to your body for the entire length of a shoot.
Key takeaways
- A wider strap spreads the same weight over more surface area, meaningfully reducing the pressure felt at any single point over a full day of carrying.
- Neck straps put weight directly on the neck and spine; sling straps shift most of that weight onto the shoulder and torso instead.
- Quick-release clip systems add fast on-and-off convenience at the cost of one more mechanical connection point worth inspecting periodically.
- A heavier camera and lens combination generally outgrows a simple neck strap and benefits from a sling or harness-style carry instead.
- Testing a strap with your real gear for a genuine extended session, not a few seconds in a store, is the only reliable way to judge comfort.
Before You Start
Weigh or reasonably estimate your heaviest realistic camera and lens combination, the one you would actually carry for a full day rather than your lightest setup, since strap width, material and carry style all scale with how much weight the strap is actually expected to support comfortably. Also take a moment to notice how you actually shoot: do you reposition the camera constantly, moving it from eye to hip and back, or does it mostly stay raised during a session, since this directly affects which carry style serves you best in Step 1 below.
Check your current camera’s strap attachment points too, standard lugs, a built-in loop, or a proprietary connector, since this decides whether a universal strap fits directly or needs a small adapter piece. Our camera bag field note is worth reading alongside this one if a bag’s own strap and the camera’s neck strap need to work together without constantly tangling during a shoot.
A strap also interacts with other support gear more than buyers typically expect. Our monopod field note and camera gimbal field note both cover carrying a camera on a support between shots, and a strap worth keeping on even while using either accessory, as a backup in case a grip slips or a quick-release plate briefly disengages, is a small habit worth building rather than removing the strap entirely once a monopod or gimbal is doing most of the carrying work.
Step 1: Decide How You Actually Carry the Camera
Before comparing any specific strap, settle on a carry style, since this single decision shapes every other choice in this field note. A neck strap hangs the camera centered on the chest, simple, universal and the default most cameras ship with, putting the camera’s full weight directly on the neck and upper spine. A sling strap crosses diagonally across one shoulder and the opposite hip, shifting most of that weight onto the shoulder and torso, and letting the camera swing to the hip, out of the way, when not actively being raised to shoot.
A wrist strap attaches only at the wrist, offering no over-the-body weight support at all, which suits a light compact camera held mostly in hand with occasional release rather than a heavier setup meant to hang comfortably for hours. Decide honestly which pattern matches your actual shooting style, constant repositioning favors a sling, steady raised shooting tolerates a simple neck strap fine, rather than picking based on which style looks most familiar from habit alone.
Step 2: Weigh Your Real Camera and Lens Combination
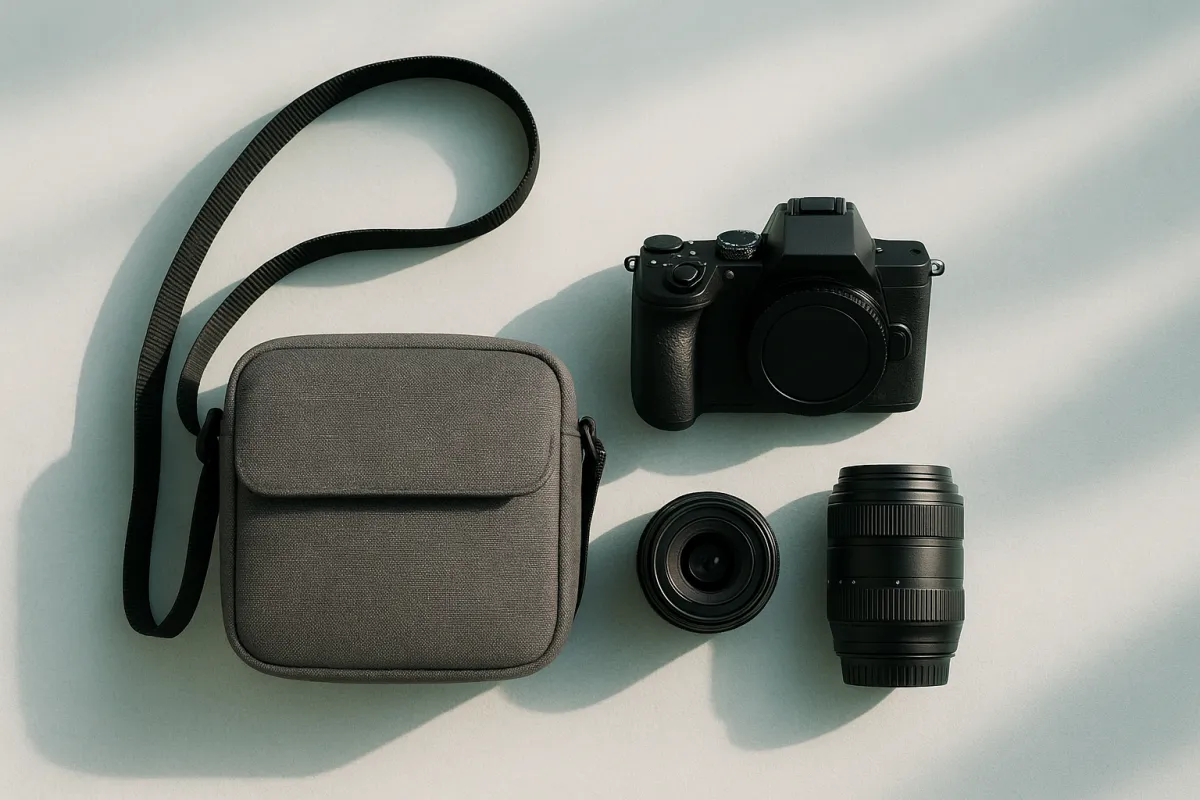
Weigh your actual heaviest realistic setup, body, lens and anything mounted on top like a flash or a microphone, on a real scale rather than estimating, since this number drives the width and carry style decisions that follow. A combined weight under roughly two pounds tolerates almost any strap comfortably for a few hours; past that, strap width and carry style start to matter considerably more the longer a session runs.
Where strap comfort actually comes from, by combined gear weight
Illustrative share of a comfortable all-day carry's total "comfort budget," out of 100, split across the factors that matter most as weight increases.
Width and carry style together account for most of what actually makes a heavier setup comfortable, which is why this field note spends the most time on those two decisions specifically.
Step 3: Choose the Width and Padding for That Weight
With a real weight figure in hand, choose a strap width and padding level that matches it rather than defaulting to whatever is thinnest or most minimal-looking. A narrow, unpadded strap works fine for a light setup carried only briefly, but the same narrow strap concentrates a heavier setup’s weight into a thin line across the neck or shoulder, which becomes genuinely uncomfortable within an hour rather than a full day.
A wider, padded strap spreads that same weight over more surface area, directly reducing the pressure felt at any single point, the identical principle behind a backpack’s padded hip belt or shoulder straps. For a combined weight past roughly three or four pounds, prioritizing a strap specifically advertised as padded or wide over one chosen purely for a slim, minimal look pays off considerably once a real session runs past the first thirty minutes.
Step 4: Decide Between Sewn Loops and Quick-Release Clips
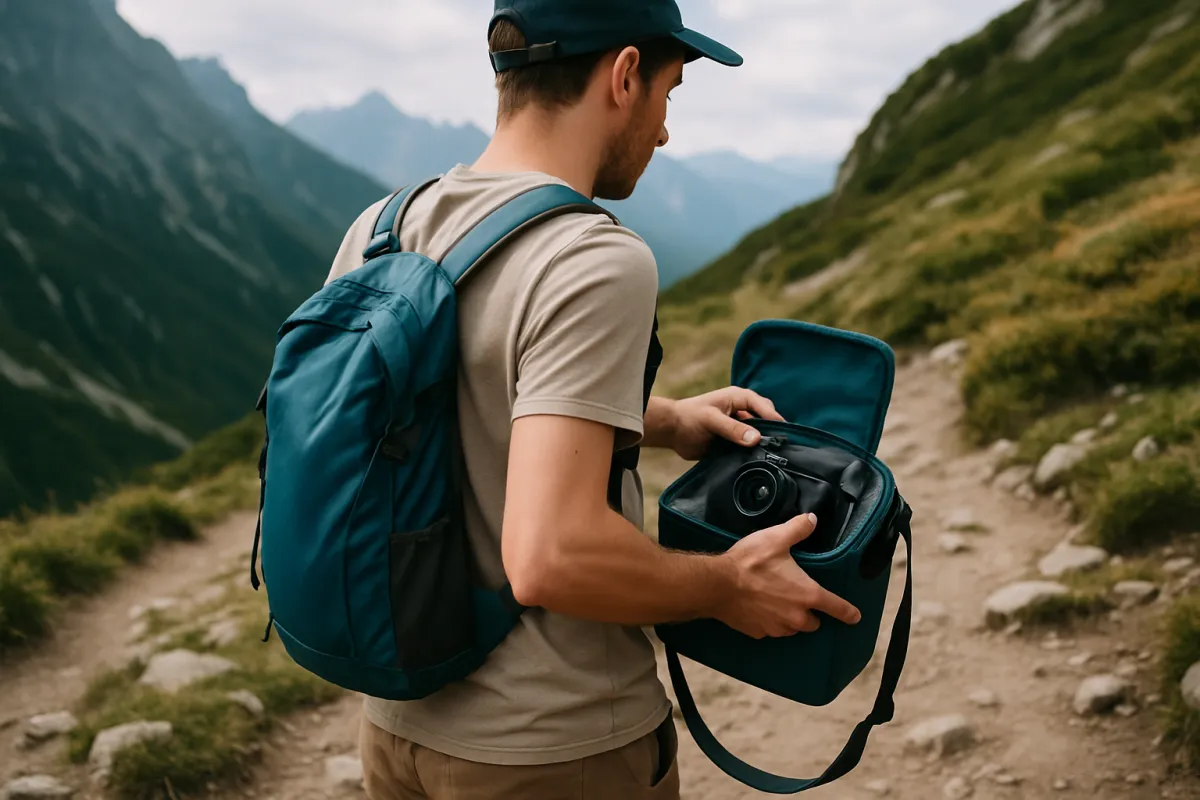
A traditional strap ties or loops directly onto the camera’s lugs, simple, proven and with nothing extra to fail, at the cost of being slower to remove entirely when a strap gets in the way, say, when mounting the camera on a tripod for an extended period. A quick-release clip system adds a mechanical connector that snaps on and off in seconds, genuinely convenient for switching between a strap and a tripod plate repeatedly, or for swapping straps between cameras, at the cost of one additional mechanical connection point worth inspecting periodically for wear.
Neither system is inherently unsafe when used correctly; a quick-release clip properly seated and occasionally checked is reliable, and the real failure mode is usually a clip not fully clicked into place or a worn connector rather than the concept itself. Choose quick-release specifically if you genuinely swap straps or remove the strap for tripod work often enough to value the convenience; choose simple sewn loops if the strap stays on the camera permanently and the extra mechanism would add nothing but one more thing to check.
What most often causes a strap-related mishap, ranked
Illustrative weighting, out of 100, of which strap-related problem most commonly causes discomfort or a near-miss, drawn from common carrying experience rather than a measured study.
Width mismatched to actual weight dominates the list well ahead of hardware failure, which is why this field note treats Step 3's width decision as more consequential than the clip-system choice in Step 4.
Step 5: Match Carry Style to Your Shooting Pace
Revisit the carry style decision from Step 1 now with your weight and hardware choices settled, and check it specifically against how often you actually raise and lower the camera during a session. A photographer who raises the camera to shoot and then lets it hang repeatedly, dozens of times an hour, benefits considerably from a sling’s ability to swing the camera to the hip out of the way between shots, rather than a neck strap that leaves it hanging directly in front of the chest the entire time, bumping against gear or getting in the way while walking.
A photographer who sets up and shoots in a more deliberate, less constantly-repositioned rhythm, tolerates a simple neck strap well, since the convenience a sling offers matters less when the camera is not being raised and lowered every few seconds. Being honest about your actual shooting rhythm, rather than your aspirational one, picks the carry style that will actually feel right over the course of a real session.
Step 6: Check Security Features for Travel and Crowds
For shooting in crowded public spaces, on public transport, or while traveling somewhere theft is a realistic concern, a few specific strap features are worth checking beyond comfort alone. A strap with a locking or more secure clip mechanism, rather than a simple open hook or an easily unclipped connector, makes a casual grab-and-run attempt meaningfully harder. Some straps also route a cut-resistant cable or wire through the strap material itself, directly addressing the specific risk of a strap being sliced rather than unclipped.
For most everyday shooting in low-risk environments, standard strap hardware is entirely adequate and these extra security features add unnecessary bulk and cost. Reserve the added security features specifically for travel to higher-risk environments or dense crowds, rather than treating every day of local shooting as requiring the same precautions a trip to an unfamiliar crowded city might.
Step 7: Set a Budget and Test Before You Commit
Set a realistic budget before browsing specific straps, since a wide range of prices deliver genuinely comfortable, reliable carrying, and the most expensive option is not automatically the best fit for your specific weight and carry style. Once a candidate strap is in hand, mount your actual, real camera and lens combination onto it rather than a lighter demo unit a store might offer, and wear it for a genuine extended period, walking around a store or around the house for several minutes at minimum, not just a few seconds standing still.
Check specifically how the strap feels across the shoulder or neck under real walking movement, whether any clip mechanism clicks confidently into place, and whether the length adjustment holds at your preferred setting without slowly loosening on its own during the test. Price the winner against the rest of your kit spending in the gear budget planner before finalizing the purchase, and return a strap that fails this real test while the return window is still open rather than tolerating a poor fit indefinitely.
Length Adjustment and Getting the Drop Height Right
Beyond width and carry style, where the camera actually hangs once the strap is adjusted matters more than most buyers consider before purchase. A neck strap adjusted too long lets the camera swing low and bang against the hip or a bag while walking, while one adjusted too short pulls uncomfortably tight against the chest and restricts natural arm and head movement during a shoot. The correct length sits the camera at a height where it can be raised to the eye in one smooth motion without first needing to lift and shorten slack by hand.
A sling strap has its own version of this same consideration: adjusted correctly, the camera rests comfortably at the hip when not in use and reaches the eye in a single fluid motion when raised, while a poorly adjusted sling either leaves the camera dangling too low, catching on other gear, or sitting too high and getting in the way of arm movement. Spending a few minutes actually adjusting length to your own body and testing the raise-to-eye motion repeatedly, rather than leaving a strap at whatever length it shipped at, is a free change that meaningfully improves how natural shooting feels.
Dual-Camera Harnesses for Event and Wedding Photographers
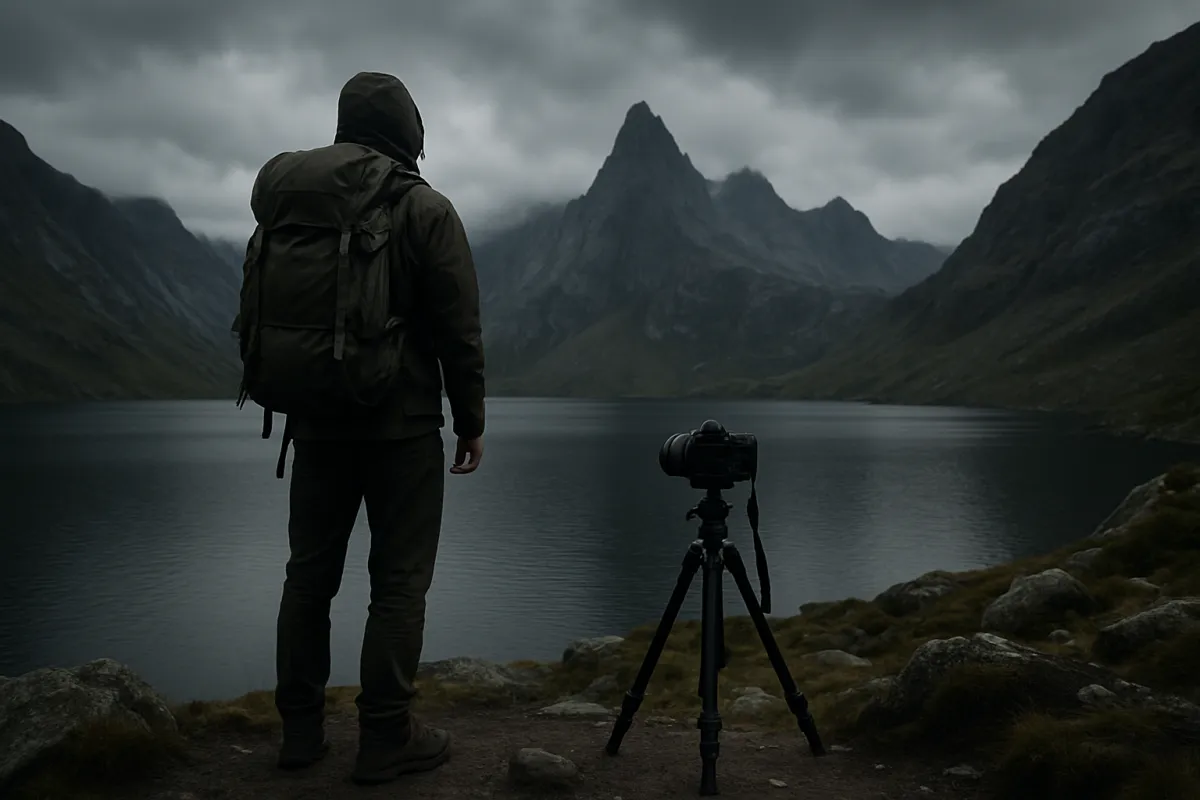
A specific niche strap style deserves its own mention: a dual-camera harness, worn across both shoulders like a small backpack’s straps, with two separate attachment points that let a photographer carry two camera bodies simultaneously, one typically fitted with a wider lens and the other with a longer one, without needing to swap lenses mid-event. This solves a specific, real problem for event, wedding and photojournalism work, where missing a fleeting moment while swapping lenses is a genuine cost a single-camera carry does not have to worry about.
For a photographer who only ever carries one body at a time, a dual harness is unnecessary complexity and expense, solving a problem that does not exist in that workflow, and adding extra straps and hardware across the chest that simply get in the way during ordinary single-camera shooting. It earns its specific place only for the genuine two-body carry case, and recognizing honestly whether that describes your actual shooting pattern, rather than buying one because it looks professional or because other working photographers at the same events seem to wear one, keeps the spending matched to a real need rather than an aspirational one.
Buying a Strap Secondhand
Straps are a reasonable category to buy secondhand, since they carry none of the mechanical complexity a camera body or lens does, and a used strap in good condition performs identically to a new one. The inspection that matters here is simple and specific: check the stitching at both attachment ends closely for fraying, flex the material near those same points checking for cracking, and for any quick-release hardware, confirm the clip mechanism still clicks confidently into place rather than feeling loose or worn from years of use.
A secondhand strap showing clean stitching, supple rather than cracked material, and confident clip engagement is a safe, often considerably cheaper way to try a specific carry style or width before committing to buying new, particularly useful for testing whether a sling or a harness style actually suits your shooting pattern before spending full price to find out. Giving any secondhand strap a thorough wash or wipe-down, covered in more detail later in this field note, before putting it into regular use is also simply good hygiene for something that will sit directly against skin for hours at a time.
A Worked Example: Two Photographers Choosing a Strap
Shooter one: a travel photographer carrying a modest mirrorless body and a single lightweight lens, repositioning constantly through crowded streets and markets. The clear pick here is a sling-style strap with a secure, locking clip mechanism, prioritizing the ability to swing the camera to the hip between shots and the added security feature for crowded, unfamiliar environments, even though the combined gear weight alone would tolerate a simpler neck strap just fine.
Shooter two: a wildlife photographer carrying a heavy body and a long telephoto lens, shooting in a more deliberate, set-up-and-wait rhythm from a fairly controlled location. Here, a wide, heavily padded neck strap or a two-point harness built specifically for heavier loads is the better match, since the weight genuinely demands serious padding and the slower, less constantly-repositioned shooting rhythm makes a sling’s swinging convenience less valuable than raw comfort under sustained weight. Run your own weight, carry style and environment through the gear budget planner to see which combination fits your actual shooting pattern.
Leather vs Nylon and Other Material Choices
Beyond width and carry style, strap material is a genuine, if secondary, comfort and durability decision. Leather typically feels more premium against skin and breaks in to mold somewhat to the wearer’s body over months of use, but it absorbs moisture in humid or rainy conditions more readily than synthetic materials and generally benefits from occasional conditioning to stay supple rather than stiffening over time. Nylon and other synthetic webbing resist moisture and abrasion better, dry quickly after getting wet, and typically cost less than a comparable leather strap.
Neither material is objectively superior across every use case, and the right choice depends on climate, budget and personal preference for how the strap feels against bare skin over a long session. A strap used mostly in humid or wet climates benefits from synthetic material’s faster drying and better moisture resistance; a strap used mostly in drier conditions can enjoy leather’s comfort and aesthetic without fighting its main practical weakness as often.
Caring for and Inspecting Your Strap Over Time
A strap is a safety-relevant piece of gear, holding a potentially expensive camera above a hard floor or ground for the entire time it is worn, and a short periodic inspection habit catches wear before it becomes a real problem. Check the stitching at both ends, where the strap attaches to its hardware, for any fraying or loose threads, since this is typically the first place wear becomes visible on a sewn-loop strap. Flex the strap material itself near the attachment points, checking for cracking or unusual stiffness that was not present when the strap was new, a sign of material degradation from age, UV exposure or repeated stress at that specific point.
For any quick-release clip system, confirm the mechanism still clicks confidently and fully into place rather than feeling loose or uncertain, and inspect the lugs or connector points on the camera itself for wear from years of the same clip repeatedly attaching and detaching at the same spot. A strap or connector showing any of these warning signs is worth replacing before it fails while actually supporting a camera, rather than after.
Attaching a Strap to a Camera With No Standard Lugs
Some compact cameras and a few specialty bodies skip standard strap lugs entirely, relying instead on a small eyelet, a single loop, or in some cases nothing dedicated at all beyond a tripod mount thread. For a camera with a single small eyelet rather than the usual two-lug setup, a wrist strap or a smaller cross-body strap designed specifically for single-point attachment is the safer fit, since forcing a two-point neck strap’s hardware onto a single attachment point concentrates all of the camera’s swinging weight onto one small connection rather than distributing it.
For a camera with no dedicated strap attachment at all, a case or cage accessory that adds strap lugs is usually the practical solution, effectively retrofitting the missing hardware rather than attempting to improvise an attachment point that was never engineered to bear a swinging camera’s weight and sudden jolts. Checking a specific camera’s actual attachment hardware before assuming any universal strap simply clips on is worth doing for compact and specialty cameras especially, since this is where strap compatibility varies the most across the market.
Keeping a Strap Clean and Odor-Free Over Time
A strap worn directly against skin for long sessions, often in warm weather, accumulates sweat, oils and general grime over time, and a few basic care habits keep it comfortable and presentable well past its first few months of use. Nylon and other synthetic webbing generally tolerates a gentle hand wash with mild soap and air drying away from direct heat, which restores much of its original feel and removes built-up odor effectively.
Leather requires a gentler approach, since water and soap can dry it out or cause it to stiffen unevenly; a dedicated leather cleaner and conditioner, applied according to the product’s own instructions, maintains suppleness far better than an improvised cleaning attempt. Letting any strap fully dry before storing it, rather than packing it away still damp from sweat or weather, prevents the kind of lingering odor and material degradation that come from trapped moisture sitting against the strap material for extended periods between uses. A strap kept reasonably clean also simply lasts longer before the stitching and material start showing the wear this field note’s inspection habits are designed to catch early.
Common Mistakes to Avoid
- Keeping the strap that came in the box regardless of fit. A stock strap is rarely optimized for your specific weight or carry style; treat it as a starting point, not a permanent decision.
- Choosing width based on looks rather than actual carried weight. A narrow, minimal-looking strap that matches a heavy setup poorly becomes uncomfortable far faster than its appearance suggests.
- Testing a strap for only a few seconds in a store. Real discomfort and real clip reliability only show up over a genuine extended wearing period.
- Ignoring security features entirely regardless of shooting environment. A locking clip or cut-resistant strap matters considerably more in a crowded or unfamiliar environment than at a quiet local park.
- Never inspecting an older strap for wear. Fraying stitching and worn clip mechanisms are the most common precursors to an actual dropped camera.
- Mismatching carry style to shooting rhythm. A sling wasted on a shooter who never repositions, or a neck strap forced onto a shooter who constantly does, both leave real comfort on the table.
Troubleshooting the Hard Cases
A strap that felt fine in a short store test but becomes uncomfortable after an hour of real use is very likely too narrow for the actual weight being carried; sizing up to a wider, more padded strap is the direct fix rather than simply tolerating the discomfort as unavoidable. A quick-release clip that feels loose or uncertain when clicking into place should be inspected immediately and replaced rather than trusted, since this is the single clearest warning sign of an impending failure in that specific hardware.
A strap that constantly twists or rides up the shoulder during movement is usually either too long, allowing excess slack to shift position, or lacks a grippy enough material on the shoulder-contact section to stay put during walking; adjusting the length shorter or choosing a strap with a textured, non-slip shoulder pad both address this directly. A neck strap that feels fine standing still but uncomfortable while walking or turning the head is likely too short, pulling the camera too tightly against the chest and restricting natural movement; lengthening it slightly to let the camera hang a bit lower often resolves this without needing a different strap entirely.
Your Camera Strap Checklist
- Decide your carry style, neck, sling or wrist, based on your actual shooting rhythm.
- Weigh your real heaviest camera and lens combination before choosing width and padding.
- Match strap width and padding to that weight rather than choosing on looks alone.
- Decide between sewn loops and a quick-release clip system based on how often you actually swap straps or remove the camera from the strap.
- Add security features specifically for crowded or unfamiliar travel environments, not by default.
- Test any candidate strap with your real gear for a genuine extended period before committing.
- Inspect stitching, material and any clip mechanism periodically for wear.
- Price the winner against the rest of your kit spending in the gear budget planner.
Straps as Gifts: What to Know Before Buying One for Someone Else
A camera strap is a common, thoughtful gift for a photographer, and a few honest considerations make it land better than a guess. Checking the recipient’s actual camera and typical lens weight before buying, rather than assuming any universal strap fits comfortably, avoids a well-meaning gift that ends up unused in a drawer simply because it does not match their real carrying needs or their actual shooting habits. Asking directly, or checking what strap they currently use and whether they have expressed any frustration with it, beats guessing at width, material or carry style on their behalf, since even a well-intentioned guess can miss the one specific detail that actually mattered to them.
A strap compatible with a quick-release ecosystem the recipient may already own is worth checking too, since a gift strap requiring an entirely separate, incompatible clip system adds friction rather than convenience to their existing setup, turning a thoughtful gift into one more accessory that quietly sits unused in a drawer alongside gear that never found its way into the actual kit. When in doubt, a classic, simply adjustable neck strap in a moderate width suits the widest range of recipients and cameras, a safer general gift choice than a specialized sling or harness aimed at a specific shooting style the recipient may not actually have or want to adopt just because it was given to them.
The Bottom Line
It is easy to treat a strap as a minor afterthought right up until the exact moment a long day of real carrying proves otherwise, and by then the discomfort has already fully happened rather than being prevented well in advance, which is the entire point of working through these seven steps before money changes hands. A camera strap is the one piece of gear that stays physically attached to your body for the entire length of a shoot, which makes its width, carry style and hardware worth genuinely deliberate choices rather than whatever came in the box by default. Match the strap’s width and padding to your real carried weight, choose a carry style that fits how often you actually reposition the camera, and decide between sewn loops and a quick-release clip based on genuine convenience needs rather than marketing appeal alone.
Test any serious candidate with your real gear for a real extended period before committing, inspect an older strap periodically for the wear that precedes a real failure, and price the winner against the rest of your kit spending in the gear budget planner. If a bag’s own carrying comfort is the more pressing question, our camera bag field note picks up that related decision from here, and our camera gimbal field note and monopod field note cover the related support gear a strap often works alongside rather than replaces.
This field note compares camera strap categories and carry styles rather than specific products: no brand or model is named on purpose, since listings and prices change faster than an article can track. Figures for comfort weighting and common mishap patterns are illustrative starting points for a general buying decision, not a specification for any one strap, so test the actual width, clip mechanism and material of any specific listing with your own gear before relying on it.
Frequently asked questions
Is a wider strap actually more comfortable than a thin one?
Generally yes, for anything beyond a very light camera and lens. A wider strap spreads the same total weight over more surface area of the neck or shoulder, which reduces the pressure felt at any single point, the same principle a backpack's padded hip belt uses for a heavier load. A thin strap concentrates that weight into a narrower line, which feels fine for a few minutes and becomes genuinely uncomfortable over a full day of carrying.
What is the actual difference between a neck strap and a sling strap?
A neck strap hangs the camera in front of the chest with the strap running around the back of the neck, which is simple and universal but puts the camera's full weight directly on the neck and upper spine. A sling strap crosses diagonally across one shoulder and the opposite hip, shifting most of the weight onto the shoulder and torso rather than the neck, and it lets the camera swing to the hip out of the way when not actively shooting, at the cost of being a slightly more involved strap to put on and adjust.
Do quick-release strap clips actually fail, or is that just marketing fear?
A genuine quick-release clip system from a reputable design, properly seated and occasionally inspected for wear, is reliable for normal use. The real failure mode is usually user error rather than the hardware itself: a clip not fully seated and clicked into place, a worn or frayed strap lug losing its grip over years of use, or a cheap, poorly made clip copy rather than a well-engineered one. Inspecting the clip and the lugs it attaches to periodically, the same habit worth applying to any load-bearing camera hardware, catches wear before it becomes a dropped camera.
Does a heavier camera and lens combination need a completely different kind of strap?
Past a certain combined weight, generally once a setup starts feeling genuinely heavy after twenty or thirty minutes of carrying, a simple neck strap alone stops being a comfortable long-term solution regardless of its width or padding, and a sling-style strap or a two-point harness that shifts weight onto the shoulder and torso becomes worth the switch. Below that weight threshold, a well-padded, sufficiently wide neck strap is usually sufficient and simpler to use.
Can I use the same strap across multiple different cameras?
In most cases, yes, provided the strap's attachment hardware, lugs, a quick-release clip system, or a wrist-strap style connector, is physically compatible with the new camera's own strap mounting points. A strap built around a specific quick-release ecosystem may need an additional small adapter piece to work with a camera that did not originally ship with a matching connector, which is worth checking before assuming any strap moves freely between every camera owned.
Is a leather strap actually better than a nylon one, or is that just aesthetic preference?
Leather and nylon trade different practical qualities rather than one being objectively better. Leather typically feels more premium and breaks in to mold somewhat to the wearer over time, but it can absorb moisture in humid or rainy conditions and generally needs more occasional care to stay supple. Nylon and other synthetic webbing resist moisture and abrasion better, dry faster, and typically cost less, but some wearers find it less comfortable against bare skin over long sessions than a broken-in leather strap.
How do I know if my current strap is actually a safety problem rather than just worn looking?
Check the stitching at both ends where the strap attaches to its hardware for any visible fraying or loose threads, flex the strap material itself at the attachment points for cracking or stiffness that was not there when new, and inspect any quick-release clip mechanism for a clean, confident click rather than a loose or uncertain engagement. A strap showing any of these signs is worth replacing before it fails while a camera is actually hanging from it, rather than after.