What's on this page
- Why Film Cameras Do Not Age the Way Digital Cameras Do
- Who This Comparison Is For
- 35mm vs Other Formats: Why Start Here
- Automatic Point-and-Shoot vs Manual SLR
- Metering: The Single Biggest Obstacle for a True Beginner
- Lens Mounts and Why They Matter for Film
- The Real Cost of Shooting Film
- Buying Used: The Inspection That Actually Matters
- A Worked Example: Two Beginners, Two Starting Points
- Developing and Scanning: What a Beginner Actually Needs to Know
- Caring for a Film Camera
- Film Stock: Starting Simple Before Experimenting
- Traveling With Film and Airport Security
- Black and White vs Color Film for a First Roll
- Half-Frame and Other Niche Formats Worth Knowing About
- Local Lab vs Mail-In Developing
- Troubleshooting Early Rolls That Come Back Wrong
- Common Buying Mistakes
- Your Film Camera Checklist
- What a True Beginner Should Honestly Avoid Buying First
- Building a Simple Film Photography Kit
- The Bottom Line
Short answer: The best film camera for a true beginner is a 35mm camera with a working built-in light meter, since the format is the cheapest and most widely available and a working meter removes the single hardest obstacle to usable first results. A simple, automatic point-and-shoot suits someone who wants the format's distinct look with the least friction; a manual SLR suits someone who wants to genuinely learn exposure and is willing to accept a rougher first few rolls while it clicks. Buy used, check the light seals and the shutter at multiple speeds, and budget for film and developing as a real, ongoing cost from the first roll onward.
Film camera shopping for a true beginner runs into a confusing mix of nostalgia-driven marketing, genuinely wide price variation for cameras that work identically well, and a handful of mechanical checks that matter far more than anything a listing’s photos can show. Unlike a digital camera, where sensor generation and processor speed meaningfully separate an old model from a new one, a film camera’s job, holding a shutter, a lens and a strip of film in the right geometric relationship, has not meaningfully changed in decades. A functioning camera from any era does that job exactly as well as it did when new, which flips the usual camera-buying logic: age matters far less here than mechanical condition.
KitBorough’s broader camera field notes cover digital cameras throughout; this field note is the site’s first dedicated look at film specifically, a distinct hobby with its own cost structure, its own learning curve and its own specific buying checks that a digital camera comparison does not prepare anyone for. Price a realistic first year of film and developing against the camera itself in the film photography budget planner before buying anything.
Key takeaways
- 35mm is the right starting format for nearly every beginner: the cheapest, most widely available, with by far the largest camera and lens selection.
- A film camera's age matters far less than its mechanical condition, since a working shutter and light seals perform identically whether the camera is five years old or fifty.
- A working built-in light meter removes the hardest single obstacle to usable first results; a fully manual camera with no meter asks considerably more of a true beginner.
- Film and developing cost real, ongoing money, typically somewhere around half a dollar to a dollar per exposure, which should be budgeted honestly from the first roll.
- Buying used is standard practice in this category and usually the smarter move, provided the shutter, light seals and meter are checked before relying on it.
Why Film Cameras Do Not Age the Way Digital Cameras Do
A digital camera’s capability is tied directly to its sensor and processor generation, which is why a ten-year-old digital body is a meaningfully different, usually weaker purchase than a current one. A film camera has no sensor and no image processor at all; it is a lightproof box that holds a shutter, a lens and a strip of chemical film in a fixed geometric relationship, and that mechanical job has been essentially solved for the better part of a century.
This single fact changes the entire buying calculus. A well-kept camera from several decades ago performs its actual job, exposing light onto film accurately and repeatably, identically to a camera made last year, provided its mechanical parts, the shutter, the light seals and the meter if it has one, still function correctly. Age itself is nearly irrelevant; mechanical condition is everything, which is why this field note spends more time on inspection checks than on comparing camera generations the way a digital buying guide would.
Who This Comparison Is For
This field note is written for someone genuinely new to film photography, drawn to the format’s distinct look, the deliberate pace of a limited roll, or simply curious to try something different from a phone or digital camera, and buying their first film camera with no prior experience in the format. It assumes no existing film gear and walks through the format-level decisions, 35mm versus other formats, automatic versus manual, that a true beginner needs settled before comparing individual cameras at all.
If a digital camera purchase is also under consideration, our mirrorless camera for beginners field note and first camera budget field note cover that decision directly; this field note stays focused on the film-specific decisions that have no digital equivalent.
35mm vs Other Formats: Why Start Here
35mm is the correct starting format for almost every true beginner, and the reasons are entirely practical rather than aesthetic. It remains the most widely manufactured and available film stock, which keeps per-roll cost lower than less common formats and means film is genuinely easy to find rather than requiring a specialty order. The selection of cameras compatible with 35mm film, spanning simple point-and-shoots through professional SLRs, is by far the largest and most affordable of any film format, which gives a beginner real choice rather than a narrow, pricier shortlist.
Medium format and other less common film formats offer real creative advantages, a larger negative producing more detail and a different depth-of-field character chief among them, and they are worth exploring once the fundamentals of shooting film at all are comfortable. Starting there as a true first camera adds cost and narrows the available camera selection without a clear beginner-level benefit, which is why this field note treats 35mm as the default rather than one option among equals.
Automatic Point-and-Shoot vs Manual SLR
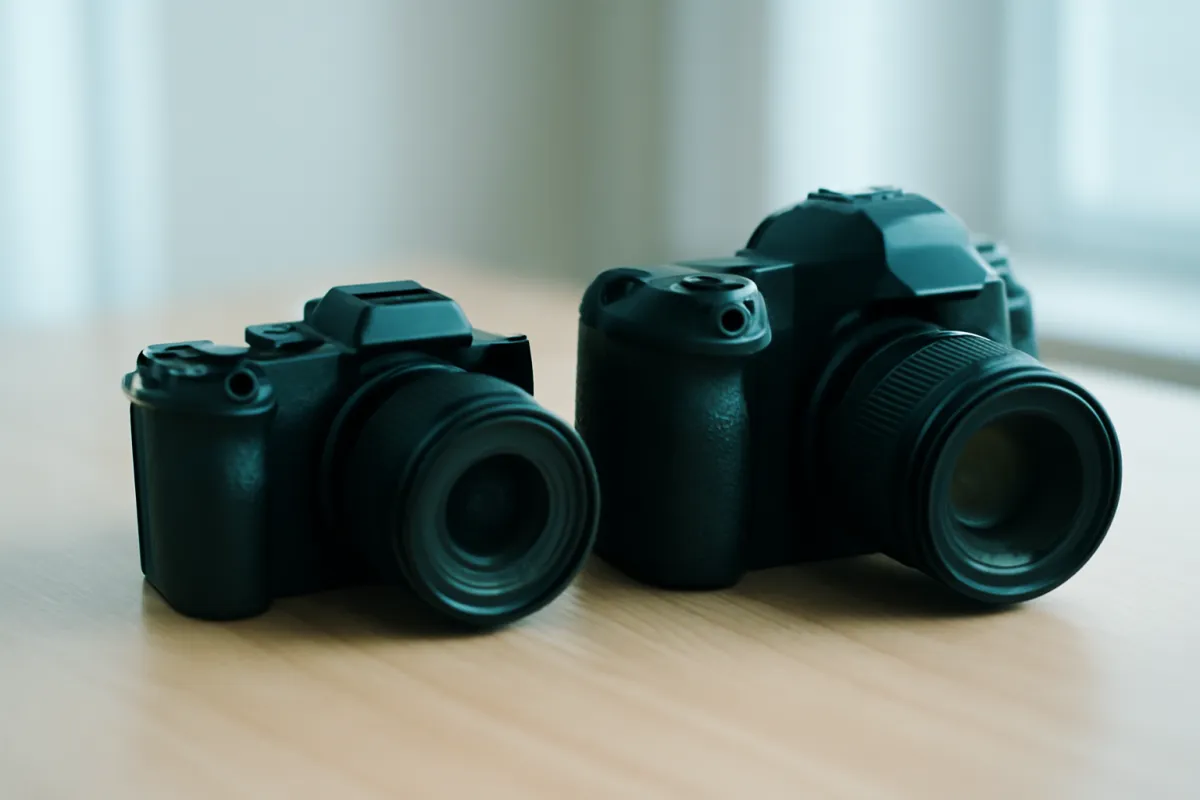
The single biggest decision in this entire comparison, after settling on 35mm, is whether to start with a fully automatic point-and-shoot or a manual SLR, and the honest answer depends on what a beginner actually wants from the experience. An automatic point-and-shoot handles exposure and focus on its own, removing the two hardest obstacles to a usable first roll and letting a beginner focus entirely on composition and the format’s distinct look with the least friction.
A manual SLR asks considerably more: setting aperture and shutter speed deliberately, often focusing manually, and genuinely understanding how the three work together to produce a correct exposure. The reward is a much deeper, more transferable understanding of photography itself, since a manual SLR makes visible and deliberate every decision a digital camera or an automatic point-and-shoot makes invisibly on a beginner’s behalf. Neither choice is wrong; the honest question is whether the goal is the format’s look with minimum friction, or genuinely learning how a camera works through its most literal, mechanical form.
Three starting points at a glance
Illustrative share of a modest first-camera budget, out of 100, across the camera itself and the ongoing costs a true beginner should plan for in the first year.
Film and developing claim the largest single share of a realistic first year, which is exactly why this field note treats the ongoing cost as seriously as the camera purchase itself.
Metering: The Single Biggest Obstacle for a True Beginner
A working light meter, whether fully automatic or a manual-match display inside the viewfinder, is the single most important feature separating an approachable first film camera from a frustrating one. Metering reads the light in a scene and tells the camera, or the photographer, what exposure setting produces a correctly exposed frame, and without it, a true beginner is left guessing at settings with real, non-refundable film on the line for every single mistake.
Checking that a candidate camera’s meter actually works, not just that the camera has one, is worth real scrutiny before buying, since old meters, especially ones relying on batteries no longer commonly manufactured, can fail or read inaccurately in ways that are not obvious just from looking at the camera. A simple test, comparing the meter’s reading against a modern phone’s light meter app in the same scene, catches a meter that is dead or significantly off before a whole roll of film is wasted finding out the hard way.
Lens Mounts and Why They Matter for Film
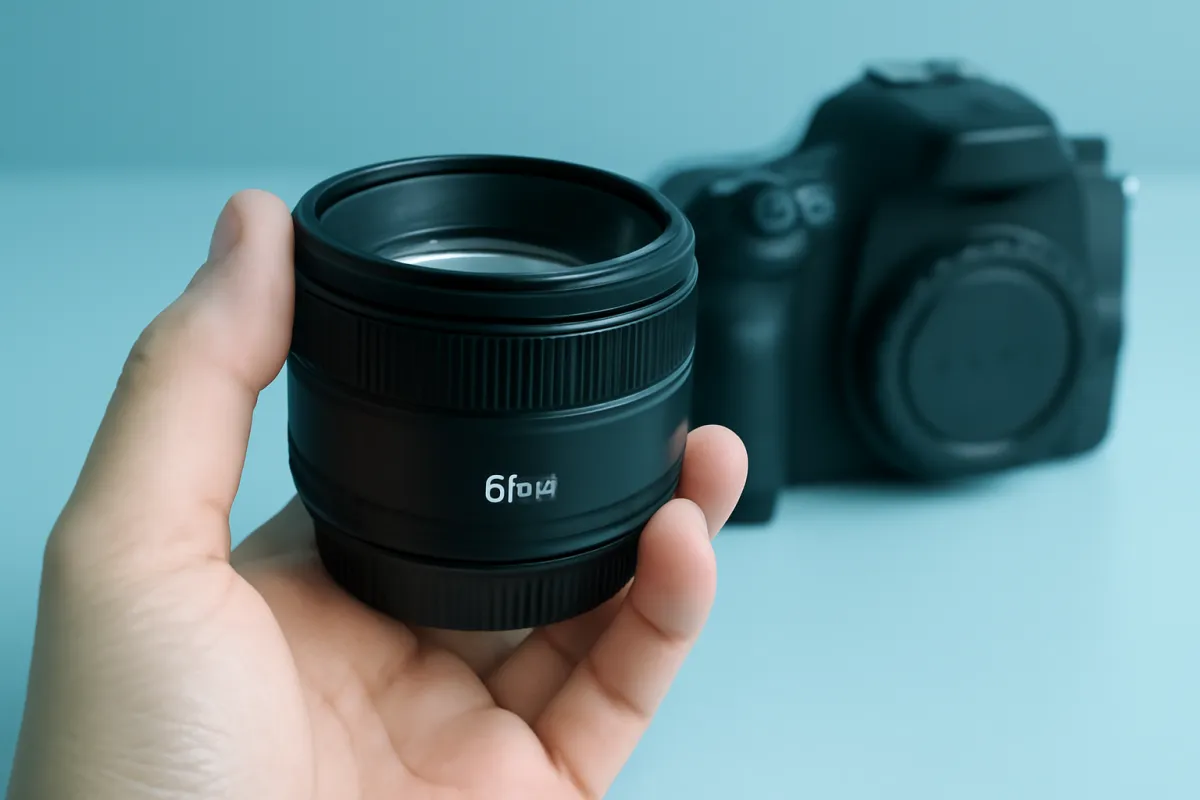
A film SLR’s lens mount determines which lenses it can use, and this matters for two reasons specific to buying used. First, a camera’s mount decides whether a wide, affordable secondhand lens selection exists for it or whether lenses for that specific mount are scarce and pricier, since some older mounts were less widely produced or have since become more collectible than practical. Second, and more subtly, some older mounts require a specific, now-obsolete battery type for their metering system, which is worth checking before assuming any camera with a functioning body is fully usable without a workaround.
A point-and-shoot camera sidesteps this question entirely, since its lens is fixed and cannot be changed, trading flexibility for simplicity. For a true beginner specifically choosing an SLR, checking that a healthy, affordable used lens market still exists for a candidate camera’s specific mount is worth doing before buying the body, since a camera with no affordable lenses available is a dead end regardless of how good the body itself is.
The Real Cost of Shooting Film
Film photography carries a genuine, recurring cost that has no digital equivalent, and being honest about it before buying avoids an unpleasant surprise after the first roll. A roll of 35mm film plus developing and basic scanning typically runs out to somewhere around half a dollar to a dollar per individual exposure once both costs are counted together, which adds up meaningfully for anyone shooting regularly rather than occasionally.
What most often derails a beginner's first few rolls, ranked
Illustrative weighting, out of 100, of which mistake most commonly ruins results for someone new to film, drawn from common beginner experience with the format rather than a measured study.
Exposure and light-seal problems dominate the list well ahead of anything the film stock itself causes, which is why this field note weighs the meter and seal checks above almost everything else.
Being realistic about shooting frequency before buying, the same discipline our instant camera field note applies to a different format with its own per-shot cost, keeps the hobby’s real ongoing expense from becoming a surprise well after the camera itself has already been bought.
Buying Used: The Inspection That Actually Matters
Buying used is the normal, sensible way to buy a first film camera, since the mechanical nature of the format means a decades-old body in good condition performs identically to a newer one. The inspection that protects this purchase is short and specific. Fire the shutter at several different speeds and listen for a consistent, distinct sound at each one, since a shutter that sounds the same at every speed setting is very likely stuck or malfunctioning rather than genuinely varying.
Check the light seals, the foam strips lining the film door and the mirror box on an SLR, for visible crumbling, stickiness or gaps, since degraded seals let light leak onto the film and ruin frames with no warning until the roll comes back from developing. Test the meter against a known-good light source or a phone’s light meter app if the camera has one. Work the film advance lever and the rewind crank to confirm both move smoothly, and open the back briefly in shade to confirm the shutter curtain itself shows no visible holes or tears. A camera that passes all of these checks is a safe used purchase regardless of its specific age, and the full routine takes only a few minutes to run through in a shop or immediately after a package arrives, well worth the small time cost against the much larger cost of discovering a dead meter or a torn shutter curtain only after a roll has already come back ruined.
A Worked Example: Two Beginners, Two Starting Points
Beginner one: curious about film’s distinct look, wants the least friction possible for a first few rolls, and is not especially interested in learning manual exposure right away. The honest move is a fully automatic 35mm point-and-shoot with a confirmed working meter and autofocus, bought used after the inspection checks above. This removes exposure and focus as obstacles entirely, letting the beginner focus purely on composition and the format’s character while deciding whether to go deeper later.
Beginner two: specifically wants to understand exposure and photography fundamentals more deeply, and is willing to accept a rougher first few rolls of mistakes while it clicks. Here, a manual SLR with a working meter, paired with a single affordable prime lens rather than a less-common zoom, is the better starting point, since it forces engagement with aperture, shutter speed and manual focus from the very first frame. Run your own shooting frequency and comfort with manual control through the film photography budget planner to see your realistic first-year cost either way.
Developing and Scanning: What a Beginner Actually Needs to Know
A true beginner does not need to learn film developing to start shooting film, and attempting both at once adds unnecessary risk to an entire roll of irreplaceable exposures while still learning the shooting side. A lab, whether a local photo shop or a mail-in service, handles developing and typically offers digital scanning alongside physical prints or negatives, giving a beginner a complete, usable result without needing any darkroom equipment or chemical handling of their own.
Turnaround time varies considerably depending on the lab, from same-day at some local shops to a week or two for mail-in services, and this delay is worth planning for mentally as part of the format’s defining character rather than a flaw to work around. Learning to shoot confidently first, with a lab handling the rest, is the more manageable path, and developing at home remains available as a later, separate skill once the shooting fundamentals are comfortable.
Caring for a Film Camera
A film camera’s care routine differs from a digital camera’s in a few specific ways worth knowing from the start. Store a film camera with the shutter uncocked when possible, since many mechanical shutters held under tension for very long periods between uses can develop sticking or inaccurate timing over years, though this varies by specific camera design. Keep batteries, where the camera uses any for metering, removed during long periods of storage, since a leaking old battery can corrode the compartment and damage the meter circuit permanently.
Our lens cleaning field note and sensor cleaning field note cover cleaning habits that mostly transfer directly to film camera lenses, with one key difference: a film camera has no digital sensor to clean at all, since the film itself, replaced with every roll, is the only light-sensitive surface involved, removing one entire maintenance task a digital camera owner has to think about. The mirror and viewfinder on an SLR still collect dust the same way a digital SLR’s does, and a gentle blower, never a cloth pressed directly onto the mirror’s delicate silvered surface, is the safe way to clear it.
Film Stock: Starting Simple Before Experimenting
A true beginner benefits from picking one common, forgiving film stock and shooting several rolls of it before experimenting widely, rather than buying a different exotic stock for every roll and never building a consistent baseline for how a given camera and film combination actually performs. A widely available, moderate-speed color negative film is the easiest starting point, since it tolerates a reasonable range of lighting mistakes better than a narrower-latitude slide film does, and mistakes early on are more a learning tool than a disappointment if the stock itself is forgiving.
Once a beginner has a few consistent rolls under their belt and understands roughly how their camera and a specific film stock render color, contrast and grain, branching out to black-and-white film or a different stock’s specific character becomes a far more informed, deliberate creative choice rather than a guess.
Traveling With Film and Airport Security
Film travels less predictably through airport security than a digital camera does, and knowing the real risk avoids a ruined trip’s worth of photographs. Modern checked-baggage X-ray scanners use a stronger dose than carry-on scanners and can fog higher-speed film noticeably, which makes packing all film, exposed and unexposed, in carry-on luggage rather than checked bags close to a firm rule for anyone traveling with film they care about.
Carry-on scanners are generally safer for lower-speed film in small quantities, though repeated passes through multiple airports on a long multi-leg trip can still add up to a visible effect on more sensitive stock. Requesting a hand inspection instead of an X-ray scan is allowed at many airports and security checkpoints, and asking politely and early, rather than at the last moment before boarding, improves the odds of actually getting one. Keeping film, especially anything already exposed with irreplaceable shots on it, separated in a clear bag specifically for this purpose makes a hand-inspection request faster and easier for security staff to accommodate.
Black and White vs Color Film for a First Roll
Choosing between black and white and color for a first roll is a smaller decision than format or camera type, but it is worth making deliberately rather than by default. Color negative film is the more forgiving starting choice for most true beginners, since a lab’s standard color processing and scanning handles a wider range of exposure mistakes gracefully and produces results closer to what most people expect a photograph to look like.
Black and white film rewards a beginner who specifically wants to focus on composition, contrast and light without color as a variable to manage, and it is often slightly more tolerant of exposure error than color slide film specifically, though less forgiving than color negative film in practice. It also opens the door to home developing earlier than color does, since black and white chemistry is simpler and more beginner-accessible than color developing, for anyone who later wants to take on that separate skill. Starting with color negative film for the first few rolls, then deliberately trying black and white once the camera itself feels familiar, is a reasonable default sequence for most beginners, and either choice remains fully compatible with the same 35mm camera, so switching later costs nothing beyond the price of the next roll.
Half-Frame and Other Niche Formats Worth Knowing About
A specific niche within 35mm deserves a brief mention: half-frame cameras, which expose a frame roughly half the normal 35mm size, doubling the number of shots available on a single roll of film. This genuinely lowers the per-shot cost of shooting film, which makes a half-frame camera an interesting, budget-conscious option for a beginner specifically bothered by film’s ongoing cost, at the trade-off of a smaller negative with somewhat less fine detail than a full-frame 35mm exposure produces.
This remains a niche choice rather than a default recommendation, since the smaller selection of half-frame cameras compared with standard 35mm options narrows the buying decision considerably, and the format’s distinctive narrower, taller frame shape suits some subjects and compositions better than others. It is worth knowing this option exists specifically for a beginner whose main hesitation about starting with film is the ongoing per-shot cost covered earlier in this field note, rather than being presented as the right starting point for everyone.
Local Lab vs Mail-In Developing
Choosing where to get film developed matters more to the overall experience than it might seem, and the right choice depends on what is actually available locally. A local photo shop offering in-house developing provides the fastest turnaround, sometimes same-day, and the chance to build a relationship with staff who can offer real, specific advice about a given camera or a specific roll’s results, a genuinely valuable resource for a true beginner working through early mistakes.
A mail-in lab is the more practical option where no local lab exists, and many mail-in services offer solid, consistent results with digital scanning included, at the cost of a longer round-trip turnaround, commonly a week or two depending on the service and current volume. For a true beginner’s first few rolls specifically, a local lab is worth seeking out if one exists at all, since the ability to ask questions about weirdly exposed or oddly colored results in person speeds up the learning process considerably compared with receiving a batch of scans by email with no one to ask about them.
Troubleshooting Early Rolls That Come Back Wrong
A handful of results come up repeatedly on a true beginner’s early rolls, and most trace back to a specific, fixable cause rather than meaning the camera itself is broken. The whole roll comes back blank or nearly blank. This usually means the film was never actually advancing through the camera during shooting, often because it was not loaded correctly onto the take-up spool; confirm the rewind knob turns as each frame is advanced, a simple check that catches this before an entire roll is wasted.
Frames show a bright, cloudy streak or fogged patch, often near the edges. This is the classic sign of a light leak from a worn seal, covered in the buying inspection section above, and it is worth replacing the foam seals, a simple, inexpensive do-it-yourself task on many cameras, rather than assuming the camera itself needs replacing. Everything is consistently too dark or too bright. This points to a meter reading inaccurately or a manual exposure setting mismatched to the film speed actually loaded; double-check the camera’s film speed setting matches the number printed on the film canister, a simple setting mismatch that quietly throws off every single frame on the roll. Some frames are sharp and others are not, with no clear pattern. This is most often simply missed manual focus rather than a camera fault, and it is the single most common skill gap that improves fastest with practice on a manual camera with no autofocus to lean on.
Common Buying Mistakes
- Judging a camera by age rather than mechanical condition. A well-kept decades-old body outperforms a newer one with a dead meter or degraded seals every time.
- Skipping the shutter-speed and light-seal check. These two checks catch the overwhelming majority of problems that would otherwise ruin an entire roll with no warning.
- Starting with an uncommon format or mount. 35mm with a widely available mount keeps film cost down and camera and lens selection wide for a true beginner.
- Underestimating the ongoing cost of film and developing. This recurring cost, not the camera’s price, is usually the larger expense over a beginner’s first year.
- Buying a fully manual camera while expecting automatic-camera ease. Be honest about which experience is actually wanted before choosing between automatic and manual.
- Trying to learn shooting and developing at the same time. Let a lab handle developing while the shooting fundamentals are still being learned.
Your Film Camera Checklist
- Start with 35mm unless a specific reason points elsewhere.
- Decide honestly between automatic ease and manual learning before shopping for a specific camera.
- Test the shutter at multiple speeds and listen for a distinct sound at each one.
- Check the light seals for crumbling, stickiness or gaps before buying.
- Confirm the meter actually works against a known-good light source, not just that the camera has one.
- For an SLR, confirm an affordable used lens market exists for its specific mount.
- Budget film and developing as a real, ongoing cost from the very first roll.
- Let a lab handle developing and scanning while the shooting fundamentals are still new.
What a True Beginner Should Honestly Avoid Buying First
A few specific traps are worth naming plainly before a first film camera purchase. A rare, collectible camera, priced well above a functionally equivalent common model purely because of its reputation or scarcity, is a poor first purchase, since a true beginner cannot yet judge whether the premium is justified by anything that actually affects the photographs, and an expensive first camera raises the stakes of an early, inevitable learning mistake. A common, mechanically similar alternative teaches exactly the same skills for a fraction of the price.
A camera requiring a now-obsolete battery for its metering system, without a confirmed, reliable workaround or adapter, is also worth avoiding for a first purchase, since a meter that cannot be powered at all removes one of the most beginner-friendly features the camera might otherwise have offered. Similarly, a camera sold as untested or for parts, however tempting the low price, is a poor first purchase specifically because a true beginner lacks the experience to diagnose whether a problem is fixable or fatal, a judgment call far better made on a second or third camera once some mechanical familiarity with the format exists.
Building a Simple Film Photography Kit
Beyond the camera itself, a small, inexpensive kit rounds out what a true beginner actually needs to shoot comfortably. A handful of rolls of the same forgiving color negative film, bought together rather than one at a time, is worth having on hand so a finished roll does not mean waiting on a new purchase before shooting again. A simple case or a padded pouch protects a used camera, often already decades old, from the bumps of being carried casually rather than left permanently on a shelf.
A basic cleaning kit, a blower and a soft cloth, the same essentials covered in our lens cleaning field note, keeps the lens and viewfinder clear without resorting to a shirt sleeve or a tissue that can scratch coated glass. A small notebook or a phone note tracking what settings, film stock and lighting produced which results on early rolls is a genuinely useful, free addition, turning a beginner’s inevitable early mistakes into a documented, improving record rather than a string of mysteries with no way to learn from them systematically. Noting the frame number alongside each setting, where the camera’s frame counter makes that practical, makes it possible to match a specific note back to a specific negative once the developed roll actually returns from the lab weeks later, rather than trying to remember which settings produced which frame from memory alone.
The Bottom Line
Film photography asks for a different kind of patience than almost any digital hobby, and buying into that trade-off deliberately, rather than expecting digital-camera convenience in a film camera’s body, is what separates a beginner who sticks with the format from one who quietly abandons it after a frustrating first roll. The best film camera for a true beginner is not defined by its age or its reputation, it is defined by whether its shutter, light seals and meter actually work, because a mechanically sound camera from any decade performs the format’s one real job identically well. 35mm remains the right starting format for nearly everyone, and the honest choice between an automatic point-and-shoot and a manual SLR comes down to whether the goal is the format’s look with the least friction or a genuinely deeper understanding of exposure.
Budget the real, ongoing cost of film and developing from the first roll rather than treating the camera’s price as the whole expense, and buy used with confidence once the shutter, seal and meter checks in this field note have actually been run, since a passing camera performs exactly as well as a far more expensive one in working condition. Price your own realistic shooting frequency in the film photography budget planner, and if a digital camera purchase is also on the table, our first camera budget field note picks up that comparison from here, while our mirrorless camera for beginners field note covers the current digital equivalent of this same starting decision.
This field note compares film camera categories and starting points rather than specific products: no brand or model is named on purpose, since listings, film availability and prices change faster than an article can track. Figures for film cost, common mistake patterns and developing turnaround are illustrative starting points for a general beginner category, not a specification for any one camera or film stock, so verify the exact shutter condition, meter accuracy and light seal state of any specific used camera before buying.
Frequently asked questions
Is film photography actually more expensive than digital for a beginner?
Per photograph, yes, noticeably. Every frame shot on film costs real money in film stock and developing, typically adding up to somewhere around half a dollar to a dollar per exposure once both are counted, while a digital frame costs nothing to shoot beyond the camera's original price. Film's appeal for most beginners is not economy, it is the deliberate, limited-frame shooting discipline and the distinct look of the medium, both of which come at a real, ongoing cost worth planning for honestly.
What is the easiest type of film camera for a true beginner to start with?
A fully automatic 35mm point-and-shoot with built-in metering and autofocus is the gentlest entry point, since it removes the manual exposure and focus decisions that add a real learning curve to a manual SLR. A manual SLR teaches more about how photography actually works and is the better long-term choice for someone who wants to understand exposure deeply, but it asks more of a beginner in the first few rolls.
How long does it take to see the photos after shooting a roll of film?
This depends entirely on how the roll is developed. A lab that develops in-house can sometimes turn a roll around the same day, while a mail-in lab commonly takes anywhere from several days to a couple of weeks round trip. This delay is a defining, honest trade-off of the format: there is no way to check a shot immediately the way a digital camera's screen allows, and a whole roll's results are generally seen together rather than one at a time.
Do I need a light meter to shoot film, or does the camera handle exposure automatically?
It depends on the specific camera. Fully automatic point-and-shoot cameras and many SLRs include a built-in light meter that reads the scene and sets exposure, either fully automatically or by displaying a reading for the photographer to match manually. Fully manual cameras with no built-in meter at all exist too, and they require either a separate handheld light meter or experience estimating exposure, which is a meaningfully harder starting point for a true beginner.
What film format should a beginner start with, 35mm or something else?
35mm is the right starting format for almost every beginner, because it remains the most widely available film stock, the cheapest to buy and develop, and the format with by far the largest selection of affordable cameras and compatible lenses. Other formats, including medium format, offer real creative advantages but cost more per shot and have a smaller, pricier selection of cameras and film, making them a better second format than a first one.
Can a beginner use an old, inherited film camera, or should they buy something newer?
An inherited camera is frequently an excellent starting point, provided it passes a basic functional check: the shutter fires at multiple speeds, the light meter responds to light if it has one, and the film compartment's door seals light-tight with no visible foam seal degradation. A camera that passes those checks, even if decades old, works exactly the same way it did when new, since film cameras have no battery-dependent sensor or processor to age the way a digital camera does.
Does a beginner need to learn to develop film themselves, or can a lab handle everything?
A lab can handle everything for a true beginner, and this is the recommended starting point rather than a compromise. Developing film at home requires its own equipment, chemicals and a learned process with real room for costly mistakes on an entire roll at once. Learning to shoot well first, with a lab handling development and scanning, is a more manageable way to build the format's core skills before adding a second, separate skill on top.
Is a fully manual film camera too hard for a true beginner?
It is harder than an automatic option but not unreasonably so, and many beginners learn meaningfully more about photography from the experience specifically because it forces engagement with exposure and focus rather than letting the camera handle both invisibly. The honest trade-off is a steeper first few rolls of mistakes while the fundamentals click, against a much deeper, more transferable understanding of how a camera actually works once they do.