What's on this page
- Before you start
- Step 1: Use a fast enough shutter speed
- Step 2: Nail your focus
- Step 3: Stabilize the camera
- Step 4: Choose the sharpest aperture
- Step 5: Keep your ISO reasonable
- Step 6: Improve your shooting technique
- Step 7: Keep your gear clean and calibrated
- Step 8: Sharpen correctly in post
- A worked example: fixing a blurry handheld shot
- Common mistakes to avoid
- Troubleshooting the tricky shots
- Your sharp photo checklist
- The bottom line
Short answer: Take sharp photos by fixing the three biggest causes of blur first: a shutter speed fast enough for your lens and your subject, following the reciprocal rule of at least one over your focal length; focus placed precisely with a single point on the subject or the nearest eye; and a camera held or braced steady. Then refine with the sharpest aperture, an illustrative f/5.6 to f/8, a sensible ISO, clean glass, and light sharpening.
The most common disappointment in photography is not a badly composed shot or a dull color, it is a photo that looked perfect on the back screen and turns out soft the moment you view it larger. Sharpness is the quality that separates a snapshot from a photograph, and the frustrating part is that a blurry frame rarely announces which of its several possible causes is to blame. The good news is that blur is not mysterious. It comes from a short, knowable list of causes, and each one has a specific, repeatable fix. Once you can look at a soft photo and name why it is soft, you stop guessing and start correcting.
This is a how-to, so it leans on the reference field notes rather than repeating them. The shutter and aperture choices below are the same three settings covered in our exposure triangle field note, and if you want to set them by hand while you work through these fixes, our manual mode field note walks the order. The low-light corner of sharpness, where a wide aperture buys you a faster shutter, connects to our best lens for low light field note, and the question of which lenses stay crisp across the frame runs through our prime versus zoom field note. Price any glass you are tempted by with the upgrade budget planner before you assume the lens is the problem.
Key takeaways
- Blur has a short list of causes: shutter too slow, focus on the wrong spot, camera shake, subject motion, a bad aperture, high ISO, dirty glass, or clumsy sharpening. Name the cause before you fix it.
- The reciprocal rule is the single most useful habit: hand-hold at a shutter of at least one over your focal length, then round up for margin and multiply by your crop factor.
- Focus is decided by technique, not luck: use single-point autofocus, put the point on the subject (the nearest eye for a portrait), and confirm the lock before you shoot.
- Most lenses are sharpest a couple of stops down, an illustrative f/5.6 to f/8 on full frame. Avoid both extremes: wide open shows aberrations, and past f/16 diffraction softens everything.
- In low light, protect the shutter speed and let ISO rise, because a slightly noisy sharp photo always beats a clean blurry one.
Before you start
Getting sharp photos is a low-difficulty, high-payoff skill: nothing here requires new equipment, only a handful of habits you can build in a single afternoon of deliberate practice. Difficulty is beginner to intermediate, and a productive first session runs about one hour spent shooting the same subject while you change one variable at a time and watch what happens to sharpness. The point is to isolate causes so that when a real shot goes soft, you already know where to look.
Here is the short list of what you need, in rough order of how much each one helps:
- A camera you can control, meaning one where you can set or at least influence shutter speed, aperture, and the focus point. Nearly every interchangeable-lens camera qualifies, and many advanced compacts and phone apps do too.
- A lens you know, ideally with a maximum aperture around f/1.8 to f/2.8 so you have room to test the sharpest aperture, though a kit zoom teaches the mechanics perfectly well.
- A still subject and a moving one: a book on a table and a person walking, or a parked car and a passing one. Testing both teaches the two very different kinds of motion blur.
- Something to brace against or a tripod: a railing, a doorframe, a beanbag, or proper legs. You will feel how much steadier a braced shot is than a free-standing one.
- A little patience and a notebook habit: change one setting, take the shot, view it at full size, and note what changed. Sharpness is learned by isolating variables, not by spinning every dial at once.
With that gathered, the eight fixes below take you from soft, frustrating frames to crisp ones you can repeat on any scene. Run your own kit and budget through the upgrade budget planner first, because most sharpness problems are technique, not gear, and the fixes here cost nothing.
Step 1: Use a fast enough shutter speed
The first and most common cause of blur is a shutter speed too slow to freeze what is in front of the lens, so this is where you start. Shutter speed does two jobs at once for sharpness: it beats your own hand shake, and it freezes any motion in the subject. The floor for hand shake is the reciprocal rule, the single most useful habit in this whole field note: hand-hold at a shutter speed at least as fast as one over your focal length. A 50mm lens wants 1/50 of a second or faster, a 200mm lens wants 1/200 or faster, because a longer lens magnifies both the subject and your tiny movements.
Treat the reciprocal number as a floor, not a cruising speed, and round up for margin: shoot the 50mm nearer 1/100 rather than exactly 1/50. Two important caveats sharpen the rule. First, on a crop-sensor body you multiply the focal length by the crop factor before applying it, so a 50mm lens on a 1.5x crop camera behaves like a 75mm and wants roughly 1/80 or faster. Our manual mode field note covers setting this shutter by hand. Second, the reciprocal rule only addresses your shake, not the subject’s motion. A perfectly hand-holdable 1/100 still smears a running child or a flapping bird, because they are moving faster than the shutter can freeze them.
So set the shutter in two passes. First clear the reciprocal floor for your lens and sensor. Then look at the subject and, if it is moving, climb higher: an illustrative 1/500 for a walking person, 1/1000 or faster for sport or wildlife. The watch-out is paying for that fast shutter with too little light, which forces you to open the aperture or raise the ISO, both covered below. The trade is always worth it, because a sharp noisy frame beats a smooth blurry one every time. Decide what motion should look like, set the shutter to deliver it, and only then check the exposure.
Step 2: Nail your focus
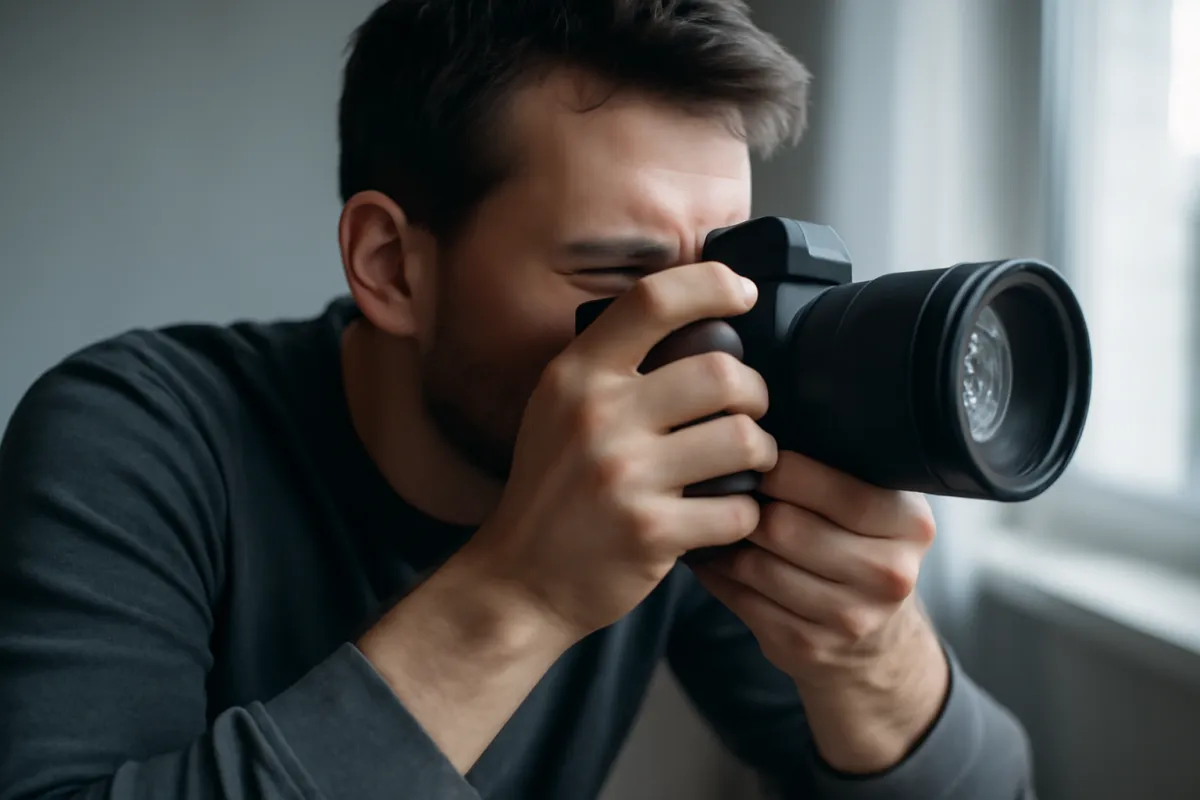
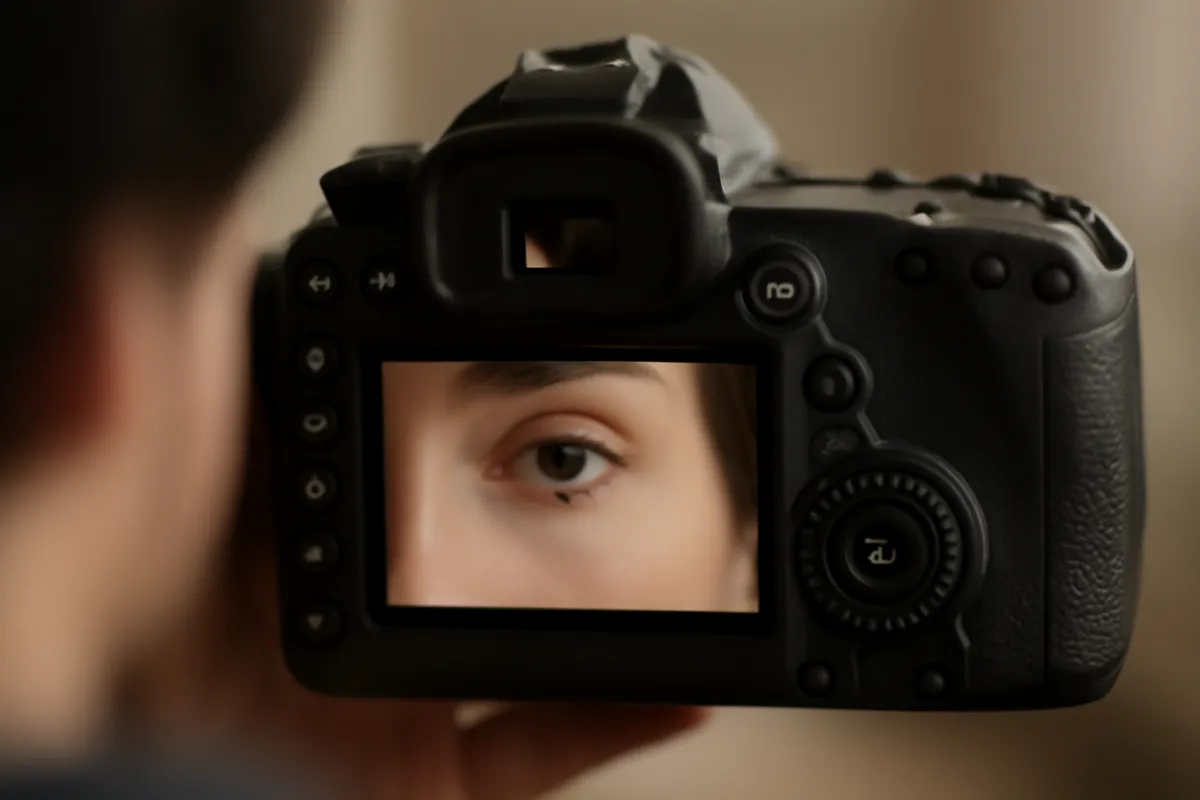
If the whole frame is not soft but your subject is, the problem is focus, not shake, and it is fixed by taking control of where the camera focuses rather than letting it decide. The first move is to switch away from any wide-area or fully automatic focus-point mode, where the camera guesses which object you meant, and use single-point autofocus instead. Single-point gives you one small, movable point that you place exactly where you want the sharpness to fall. For a portrait, that point goes on the subject’s nearest eye, every single time, because shallow depth of field is unforgiving and the eye is where a viewer looks first.
The workflow is simple and worth making automatic: move the point onto your subject, half-press the shutter to focus, wait for the confirmation that the camera has locked, and only then press fully to take the shot. A common beginner technique called focus-and-recompose works when depth of field is generous: you put the center point on the subject, half-press to lock focus, then recompose the frame while holding that half-press. The caveat is that at very wide apertures like f/1.8, recomposing can shift the plane of focus just enough to soften the subject, so at those apertures it is safer to move the point itself rather than recompose.
The technique that solves this cleanly is back-button focus, where you move focusing off the shutter button onto a dedicated rear button with your thumb. Because focusing and shooting are now separate actions, a locked focus does not reset every time you press the shutter, and you can hold focus on a static subject across many frames or let go to refocus on a moving one. It feels awkward for a day and then becomes hard to give up. Whichever method you choose, the discipline is identical: decide what should be sharp, put the point there deliberately, confirm the lock, and shoot. Focus is the one thing you cannot fix afterward, so it earns the extra second.
Step 3: Stabilize the camera
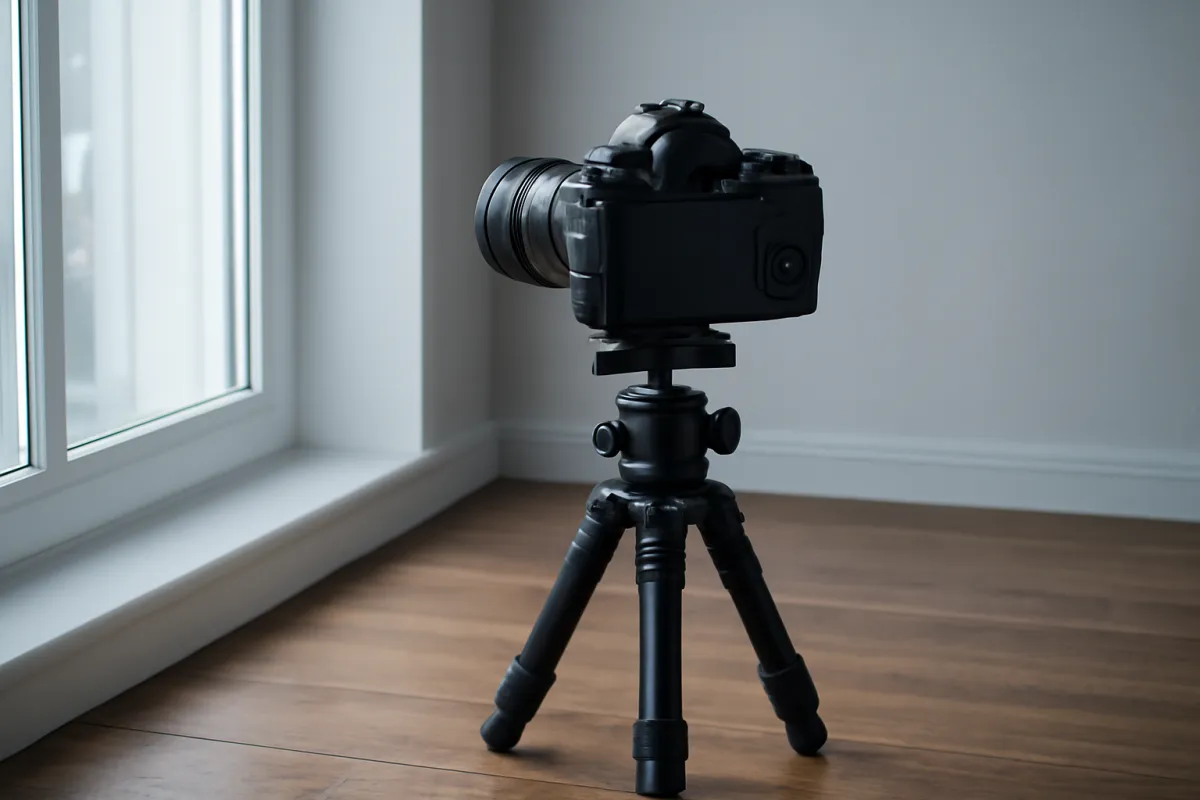
When the reciprocal rule is not enough, or when the light forces a shutter too slow to hand-hold, you win sharpness by removing shake at the source: steadying the camera. The most reliable tool is a tripod, which takes your hands out of the equation entirely and lets you use a slow shutter at a low ISO for the cleanest possible file. That makes it the natural choice for landscapes, architecture, product shots, and any low-light scene where the subject holds still. A tripod only cures shake, though, not subject motion, so a windblown branch or a walking person will still blur on the steadiest legs, which is worth remembering before you blame the tripod.
Built-in stabilization is the next line of defense. Many lenses and bodies offer image stabilization, often called IS, VR, or IBIS depending on the maker, and it can buy you several stops of slower shutter for a still subject, letting you hand-hold a shot that the reciprocal rule says should blur. The important caveat, stated correctly, is that stabilization fights your shake, not the subject’s motion, so it helps a static scene enormously and does nothing for a moving one. Turn it off when the camera is locked on a tripod, because on some systems an active stabilizer can hunt for a shake that is not there and slightly soften the frame.
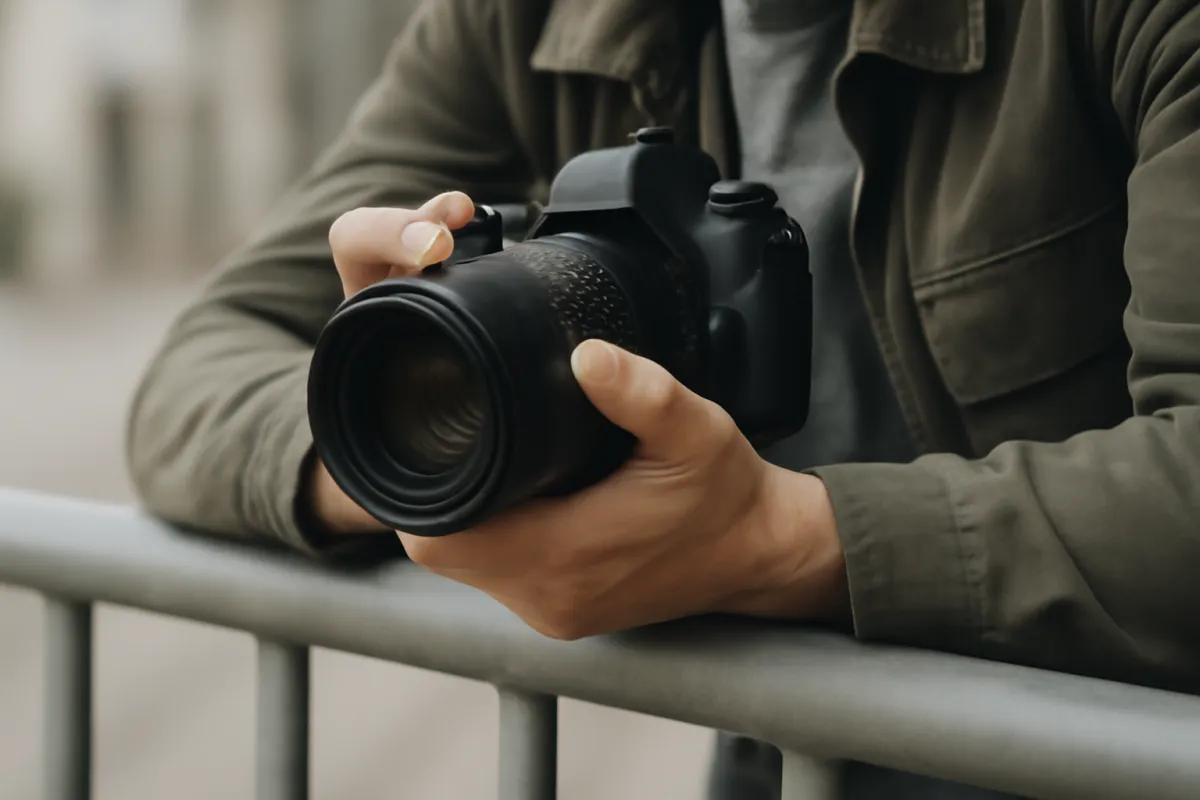
When you have neither tripod nor stabilizer, good bracing does more than most beginners expect. Tuck your elbows into your ribs, pull the camera firmly to your face, plant your feet, and exhale slowly as you gently squeeze the shutter, so you shoot in the still pause after the breath rather than mid-motion. Lean on a wall, a railing, a doorframe, or rest the camera on a beanbag or a solid surface. On a tripod or a hard surface, add a two-second self-timer or a remote release so the act of pressing the button does not reintroduce a shake, and on a DSLR use mirror lockup or the electronic shutter to remove mirror-slap vibration. Every one of these costs nothing.
Step 4: Choose the sharpest aperture
With shutter, focus, and stability handled, the next lever is the aperture itself, because a lens is not equally sharp at every f-number and choosing well adds real bite for free. The general optical principle, true across almost every lens, is that a lens is softest at its extremes and sharpest a couple of stops down from wide open, a band photographers call the sweet spot. On a typical full-frame lens that sweet spot lands somewhere around f/5.6 to f/8, though the exact number varies by lens and by sensor size, so treat that range as an illustrative starting point rather than a fixed rule and confirm it with your own glass.
The two extremes fail for different reasons, and understanding both keeps you out of trouble. Wide open, at f/1.8 or f/2.8, a lens shows more of its optical aberrations, softening especially toward the corners, and it hands you a razor-thin depth of field that leaves almost no margin for focus error, so a portrait can land with the eyelashes sharp and the eyes themselves soft. At the other end, stopping down past roughly f/11 toward f/16 or f/22, a physical effect called diffraction begins to soften the entire frame no matter how perfectly you focused, because the light is bending around the edges of a tiny opening. That is why f/22 is rarely the answer even when you want everything in focus.
So the decision balances two needs: enough depth of field to hold your subject, and staying inside the sharp band. For an everyday scene where you want maximum crispness, f/5.6 to f/8 is a dependable home base. For a portrait you may accept a little corner softness and open to f/2.8 for the background blur, then focus with extra care. For a landscape that needs front-to-back sharpness, f/8 to f/11 is the usual compromise, and if you truly need more depth you accept a touch of diffraction at f/11 rather than chasing f/22 and softening the whole image. Our prime versus zoom field note covers which lenses hold their sharpness best across the frame.
Step 5: Keep your ISO reasonable
ISO is the third corner of the exposure triangle, and it plays a quieter but real part in sharpness through a trade-off you have to manage rather than avoid. Raising ISO makes the sensor more sensitive, which lets you keep a fast shutter and a moderate aperture in dim light, but it also introduces noise, the grainy speckle that muddies fine detail, and the camera’s own noise reduction can smear that detail further as it tries to clean the grain up. So very high ISO can read as a subtle softness even when your focus and shutter were perfect, which is why keeping ISO reasonable matters to a crisp result.
The rule is to use the lowest ISO the light and your other settings allow, treating it as a floor you leave only when forced. In bright daylight that floor is your camera’s base ISO, usually ISO 100, where files are cleanest. In shade or a bright room it might be ISO 400. Our exposure triangle field note works this balance in full, and it pairs directly with this fix. The crucial caveat, and the reason ISO belongs in a sharpness field note at all, is the priority order when the light runs out: protect the shutter speed first, then the aperture, and let ISO rise last to whatever the sharp combination requires.
That priority matters because the two failure modes are not equal. A slightly noisy but sharp photo is usable and often cleans up well in editing, while a blurry photo is unrecoverable no matter how clean the noise. So when a low-light scene forces the choice, do not drop to a shutter that blurs in order to keep ISO low. Keep the shutter fast enough to beat shake and freeze the subject, open the aperture as wide as the lens allows, and accept ISO 3200 or 6400 as the price of sharpness. Modern cameras handle high ISO far better than most beginners fear. The genuine long-term fix is a wide-aperture lens, which gathers more light so you need less ISO in the first place, and our best lens for low light field note covers exactly that.
Step 6: Improve your shooting technique
Beyond settings, a set of small physical habits separates people who reliably get sharp frames from people who sometimes get lucky, and none of them cost anything. The first is breathing. Your body is never perfectly still, and the steadiest moment is the pause after a slow exhale, so the habit that snipers and target shooters use works for photographers too: frame the shot, breathe out slowly, and gently squeeze the shutter in the calm at the bottom of the breath rather than stabbing at it. Jabbing the button jerks the whole camera at the exact instant the shutter opens, which is why a soft squeeze matters more than it sounds.
The second habit is shooting in short bursts. Set the camera to continuous drive and take three or four frames instead of one, because across a quick burst your hand shake and the subject’s micro-movements vary frame to frame, and one of them will almost always be the sharpest. This costs nothing on a digital camera and dramatically raises your keeper rate for anything handheld or moving. When you review, zoom in and keep the crispest frame. It is not cheating, it is stacking the odds in your favor the way every working photographer does.
The third set of habits lives in the shutter mechanism itself. On a DSLR, the mirror flips up an instant before each exposure and that slap sends a tiny vibration through the camera, which matters at slow shutter speeds on a tripod, so use mirror lockup or the camera’s electronic shutter to remove it. On a mirrorless body there is no mirror, but an electronic shutter can still help by removing the small physical vibration of the mechanical shutter for static subjects. The caveat, stated correctly, is that a fully electronic shutter can distort fast-moving subjects or flicker under some artificial lights, so reserve it for still scenes and switch back to the mechanical shutter for action. Breathe, burst, and pick the right shutter mechanism, and you rescue frames that settings alone would have lost.
Step 7: Keep your gear clean and calibrated
Once your technique is sound, a stubborn softness that survives good shutter, focus, aperture, and holding usually traces back to the gear itself, and the fixes here are cheap or free. Start with the front of the lens. A smudge of fingerprint oil, a film of dust, or dried spray on the front element scatters light and steals contrast, which reads as a hazy, low-bite image even when focus is perfect. Clean the glass gently with a blower to remove grit first, then a proper microfiber cloth or lens tissue with a drop of lens fluid, working from the center outward. Never grind dry dust across the coating, because that is how you scratch a lens.
Filters deserve the same suspicion. A cheap, scratched, or low-quality protective filter sits directly in the light path and can visibly soften an otherwise excellent lens, so if your images look slightly hazy, take the filter off and reshoot as a test. Many photographers find their lens was never the problem, the twenty-dollar filter was. If you use a filter for protection, buy a good one, and take it off in tricky light where it can add flare or reflections. A clean rear element and a clean sensor matter too: sensor dust shows as soft dark spots at narrow apertures, and a sensor clean, done carefully or by a service, removes them.
The word calibrated covers two smaller issues worth knowing. On some DSLR systems a particular lens can consistently focus slightly in front of or behind where you aimed, a fault called front or back focus, which the camera’s autofocus micro-adjustment setting can correct; mirrorless cameras, which focus directly off the sensor, largely sidestep this. The caveat is not to reach for calibration first, because a genuine focus-calibration error is far rarer than simple technique blur, so rule out shutter, focus point, and holding before you blame the lens. Keep the glass clean, be skeptical of cheap filters, and only then consider calibration, and you remove the last hardware causes of a soft frame.
Step 8: Sharpen correctly in post
The final fix happens after the shutter, in editing, and it is the one most often overdone. Sharpening in software does not add detail the lens never captured; it increases the contrast along edges so the detail that is there reads as crisper. Understanding that limit keeps your expectations honest: sharpening polishes a good file, it cannot rescue a genuinely blurred one, so it belongs at the very end of your workflow after exposure and color are set, not as a substitute for the seven fixes above.
The technique for doing it well is built around one habit: view the image at 100 percent, its actual pixels, while you adjust, because sharpening judged on a small zoomed-out preview always looks too weak and tempts you to overdo it. Raise the sharpening until edges look defined and the image gains bite, then stop the moment you see a bright or dark outline, a halo, forming along high-contrast edges. Those halos, along with a gritty, crunchy texture appearing in smooth areas like skin, sky, or water, are the unmistakable signs of over-sharpening, and they are far more obvious and harder to undo than a slightly soft file. Most editors also offer a masking or threshold control that confines sharpening to real edges and leaves smooth areas alone, which is worth learning because it lets you sharpen eyelashes without turning skin to sandpaper.
Two caveats finish the fix. First, sharpen for the output, because an image bound for a large print can take more than one sized down for a phone screen, and many workflows apply a small amount of capture sharpening early and a final output sharpening sized to the destination. Second, high-ISO files need a gentler hand, since aggressive sharpening amplifies noise along with detail, so reduce noise first and sharpen lightly. When you are unsure how much to apply, apply less, because a gently sharpened photo always looks better than a brittle, over-cooked one. Sharpening is the last polish on a frame you already made sharp, not the place you try to make it sharp.
Causes of blur by frequency
Illustrative weighting, out of 100, of how often each cause is behind a soft photo in everyday shooting. This is a mental model built from common experience, not a measured study, so read it as a place to look first.
Shutter, focus, and shake account for the large majority of soft frames, which is why the first three fixes matter most. Diagnose the top of this list before you suspect the lens or the filter. Tune the model to your own shooting with the companion above.
A worked example: fixing a blurry handheld shot
Theory into practice: here is a single realistic scene run through the fixes, with illustrative settings, so the sequence is concrete rather than abstract. The scene is a photo of a friend standing indoors near a window on an overcast afternoon, and your first frame came out disappointingly soft. Before changing anything, you diagnose. The whole frame is soft, not just the subject, which points at shake or shutter rather than focus, and when you check the data the first shot was taken at 1/30 of a second on a 50mm lens, well below the reciprocal floor. There is the culprit.
Fix the shutter. The reciprocal rule for a 50mm lens is 1/50, and you want margin, so you aim for 1/250 to be safely sharp for a standing person who may shift slightly. Fix the aperture. Your kit lens was at f/3.5 wide open and a touch soft, so you stop down to f/5.6, into the sharp band, which also gives a little more depth of field to hold both the face and the near shoulder. Feed it with ISO. A faster shutter and a slightly narrower aperture need more light, so you let ISO climb: at 1/250 and f/5.6 in that window light the meter balances near ISO 400, an easy, clean value on any modern camera. Your working trio is now f/5.6, 1/250, ISO 400.
Fix the focus. You switch to single-point autofocus, place the point on the eye nearest the camera, half-press, confirm the lock, and only then shoot. Fix the hold. You tuck your elbows in, lean lightly against the window frame, exhale slowly, and fire a short burst of three frames rather than one. Finish in post. Reviewing at 100 percent, the sharpest of the three frames is crisp where it counts, so you apply a light touch of sharpening, stopping well before any halo appears on the edges. One soft snapshot, six fixes, and a frame that is sharp on purpose: f/5.6 for the sweet spot, 1/250 to beat shake, ISO 400 to feed it, single-point focus on the eye, braced and burst, lightly sharpened. Run your own scene’s kit through the upgrade budget planner before assuming you need a new lens.
The elements of a sharp photo
Illustrative share of the work that each group of fixes contributes to a crisp frame. The three parts sum to the whole result, so no single fix does it alone.
Most sharpness is won by holding steady with a fast enough shutter and by focusing accurately. The aperture, ISO, gear, and sharpening fixes refine a frame those two already made sharp. Adjust the split to your own work with the companion above.
Common mistakes to avoid
Most soft frames fail in one of a handful of predictable ways, and knowing them in advance is the fastest route to sharp photos. These are the pitfalls that come up again and again:
- Shutter speed too slow for the lens. Hand-holding a 200mm lens at 1/60 guarantees shake blur, because you are far below the reciprocal floor. Clear one over your focal length first, round up for margin, and multiply by the crop factor on a crop body.
- Focus point on the wrong thing. Leaving the camera in wide-area autofocus lets it lock onto the background or the nearest object instead of your subject. Switch to single-point, place it on the subject (the nearest eye for a portrait), and confirm the lock.
- Camera shake from a clumsy hold. Loose elbows, a stabbed shutter button, and a held breath all jerk the camera at the instant of exposure. Tuck in, brace, exhale, and squeeze gently, or put the camera on something solid.
- Diffraction at f/22. Stopping all the way down for maximum depth of field softens the whole frame through diffraction. Stay near the f/5.6 to f/8 sweet spot, and accept only a little diffraction at f/11 when you truly need the depth.
- Fear of ISO leading to slow shutters. Refusing to raise ISO in low light forces a shutter too slow to hold, trading recoverable noise for unrecoverable blur. Protect the shutter and let ISO climb.
- Over-sharpening in editing. Cranking the sharpening slider adds bright halos on edges and a gritty texture in smooth areas that look worse than the original softness. View at 100 percent and stop before the halos appear.
Troubleshooting the tricky shots
Real scenes do not always cooperate, so here is how to handle the situations that fight you. What if you are stuck in low light and cannot get a sharp, bright shot? This is the classic squeeze, and the honest answer is that you trade something: open the aperture as wide as the lens goes, hold the shutter as slow as you dare while staying above the reciprocal floor, and raise ISO to whatever that combination needs, accepting noise as the price of sharpness. Bracing or a tripod buys you the extra stops, and a wide-aperture lens is the real long-term fix, which our best lens for low light field note covers in full.
What if your subject is moving too fast to freeze? Prioritize shutter speed above everything: set 1/500 for a walking person, 1/1000 or faster for sport or wildlife, then open the aperture wide and raise ISO as needed to feed that fast shutter enough light. A short continuous burst raises your odds of catching the subject at a momentary peak of stillness, and placing your single focus point ahead of where the subject is heading, or using continuous autofocus that tracks motion, keeps the moving subject sharp. Accept shallow depth and some noise as the cost of a frozen frame.
What if a telephoto shot is soft even at a decent shutter? Long lenses magnify shake dramatically, so the reciprocal floor climbs fast: a 400mm lens wants 1/400 as a bare minimum and realistically faster, and even small vibrations show. Support the lens under its barrel rather than gripping only the body, use a tripod or monopod, and turn on stabilization for handheld work while turning it off on a locked tripod. What if a particular lens is soft no matter what you do? First rule out technique and aperture by testing it on a tripod at f/8 on a static, well-lit target. If it is still soft only wide open, that is normal lens behavior and stopping down or light sharpening handles it; if it is soft across the frame at every aperture, suspect a dirty or cheap filter, a smudged element, or, rarely, a genuine focus-calibration or lens fault worth a service check.
Your sharp photo checklist
Save this and run down it the next time a frame comes out soft, or before you shoot anything that has to be sharp:
- Diagnose first: whole frame soft points at shutter or shake, only the subject soft points at focus.
- Clear the reciprocal floor: shutter at least one over your focal length, rounded up, times the crop factor.
- Match the shutter to the subject’s motion: faster for anything moving, an illustrative 1/500 and up.
- Switch to single-point autofocus, place the point on the subject (the nearest eye for a portrait), and confirm the lock before shooting.
- Steady the camera: tripod for still subjects, bracing and a slow exhale when handheld, stabilization on for handheld and off on a tripod.
- Use a two-second timer or remote on a tripod, and mirror lockup or electronic shutter for static scenes.
- Choose the sharp aperture band, an illustrative f/5.6 to f/8, and avoid both wide open and past f/16.
- Protect the shutter first and let ISO rise in low light, because a noisy sharp frame beats a clean blurry one.
- Keep the front element clean and be skeptical of a cheap protective filter.
- Shoot a short burst and keep the crispest frame, then sharpen lightly at 100 percent, stopping before any halo appears.
The bottom line
Sharp photos are not a matter of luck or of owning the most expensive camera; they come from a short, repeatable list of fixes worked in order. Beat camera shake with a shutter speed that clears the reciprocal rule for your lens and sensor, then climb higher to freeze any motion in the subject. Take control of focus with a single point placed on what matters and a confirmed lock, steady the camera with a tripod or good bracing, and choose the aperture sweet spot a couple of stops down from wide open rather than either extreme. Keep ISO reasonable but never trade a sharp shutter for a low one, refine your breathing and burst technique, keep the glass clean and the cheap filters off, and finish with a light, halo-free touch of sharpening. The single most important habit is the reciprocal rule, because slow shutters cause more blur than any other single thing, and the single most freeing realization is that almost none of these fixes cost a cent. Diagnose the blur before you fix it, work the list in order, and the camera you already own will start returning the crisp frames you thought it could not. If the blur survives every fix and the failure really is the body’s autofocus, our field note on when to upgrade your camera shows how to confirm it before you spend. Price any glass you are still tempted by in the upgrade budget planner, then go shoot something and keep the sharpest frame.
This field note teaches a shooting workflow, not a product: no brand paid for a placement and none is named on purpose, only settings, ratios, and techniques that hold across every camera system. Every camera setting and dollar figure here is an illustrative starting point rather than a fixed rule, because the shutter speed, aperture, ISO, and sharpening amount that produce a crisp frame change with your lens, your sensor size, the light, and the subject in front of you. The aperture and shutter numbers describe standard photographic technique, not a measured test of any specific lens or body, so treat them as a place to begin, view your own frames at full size, and let the result on screen, not any writer’s recipe, decide your final settings.
Frequently asked questions
Why are my photos blurry even with a good camera?
A blurry photo is almost never the camera's fault, because sharpness is decided by technique long before the sensor gets involved. The three usual culprits are a shutter speed too slow to freeze either your hand shake or the subject's motion, a focus point that landed on the wrong part of the scene, and camera shake from an unsteady hold. A great camera makes all three easier to get right, but it cannot rescue a 1/15 second handheld frame or a focus point sitting on the background instead of the eye. Diagnose which kind of blur you have before you spend money: if the whole frame is soft it is shake or shutter, and if only the subject is soft it is focus. The fix is a habit, not a purchase.
What shutter speed do I need to avoid camera shake?
The rule of thumb is the reciprocal rule: hand-hold at a shutter speed at least as fast as one over your focal length, so a 50mm lens wants 1/50 of a second or faster and a 200mm lens wants 1/200 or faster. That is a floor rather than a comfortable speed, so give yourself margin and round up, shooting the 50mm nearer 1/100. On a crop-sensor body multiply the focal length by the crop factor first, because the tighter field of view magnifies shake too, so a 50mm lens on a 1.5x crop body behaves like 75mm and wants about 1/80 or faster. Image stabilization, whether in the lens or the body, can buy you several stops of slower shutter for still subjects, but it does nothing for a moving one. When in doubt, faster is safer.
What is the sharpest aperture on a lens?
Most lenses are at their sharpest a couple of stops down from wide open, which on a typical full-frame lens lands somewhere around f/5.6 to f/8, often called the sweet spot. Wide open, a lens shows more of its optical aberrations and gives you a razor-thin depth of field that leaves little room for focus error. Stopped down too far, past roughly f/11 to f/16 on full frame, a physical effect called diffraction begins to soften the whole frame no matter how well you focused. The exact sweet spot varies by lens and by sensor size, so treat f/5.6 to f/8 as an illustrative starting band rather than a fixed number, and if you need front-to-back sharpness for a landscape, accept a little diffraction at f/11 rather than chasing f/22.
How do I get my focus consistently sharp?
Switch away from any wide-area or fully automatic focus-point mode and use single-point autofocus, which lets you place one small point exactly where you want the sharpness to fall. For a portrait that point goes on the nearest eye every time, because shallow depth of field is unforgiving and the eye is where a viewer looks. Half-press to focus, confirm the camera has locked, and only then take the shot. Many photographers go a step further and move focus onto a dedicated rear button, called back-button focus, which separates focusing from the shutter so a locked focus does not reset every time you press to shoot. Whatever method you use, the discipline is the same: decide what should be sharp, put the point there, and confirm the lock before you commit.
Does a tripod really make photos sharper?
For any shot where the subject is not moving, a tripod is the single most reliable way to eliminate camera shake, because it removes your hands from the equation entirely. It lets you use a slow shutter and a low ISO for the cleanest possible file, which is exactly what you want for landscapes, architecture, product shots, and low light. The catch is that a tripod only solves shake, not subject motion, so a windblown branch or a walking person will still blur no matter how solid the legs are. For maximum benefit, pair the tripod with a two-second self-timer or a remote release so the act of pressing the shutter does not reintroduce a tiny shake, and on a DSLR consider mirror lockup or electronic shutter to remove the mirror slap vibration.
Why is my photo soft even when focus looks right?
When focus is clearly on the right spot but the image still lacks bite, suspect one of a few quieter causes. You may be shooting at an aperture that is either wide open, where aberrations soften the corners, or stopped down so far that diffraction dulls the whole frame, so try the f/5.6 to f/8 sweet spot as a test. A dirty front element, a cheap or scratched filter, or a smudge of fingerprint oil scatters light and steals contrast, so clean the glass and remove any low-quality filter and reshoot. Very high ISO can also read as softness, because heavy noise reduction smears fine detail. Finally, some lenses are simply softer wide open than stopped down, and a small amount of correctly applied sharpening in editing is a normal, expected finishing step rather than a fix for a real mistake.
How much should I sharpen a photo in editing?
Sharpening should be the last step and a light one, because it does not add detail that the lens did not capture, it only increases the contrast at edges to make existing detail read as crisper. The safe habit is to view the image at 100 percent while you adjust, apply just enough that edges look defined without a bright or dark outline forming around them, and stop there. Those pale halos and a gritty, crunchy texture in smooth areas like skin or sky are the tell-tale signs of over-sharpening, and they are far more obvious and harder to undo than a slightly soft file. Sharpen for the output too: an image destined for a large print can take more than one sized down for a phone screen. When unsure, use less, because a gently sharpened photo always looks better than a brittle, over-cooked one.
Should I raise ISO or use a slower shutter to fix a dark, blurry shot?
When the light is low and you are forced to choose, protect the shutter speed first and let ISO climb, because the two problems are not equal. A slightly noisy but sharp photo is usable and often easily cleaned up, while a blurry photo is unrecoverable no matter how clean the noise. So keep the shutter fast enough to beat shake and freeze your subject, open the aperture as wide as the lens allows, and raise ISO to whatever value that combination requires, accepting the grain as the price of a sharp frame. Modern cameras handle high ISO far better than most beginners assume, so do not fear ISO 3200 or 6400 when the alternative is blur. A wide-aperture lens is the real long-term fix, because it lets you gather more light without pushing ISO as hard.